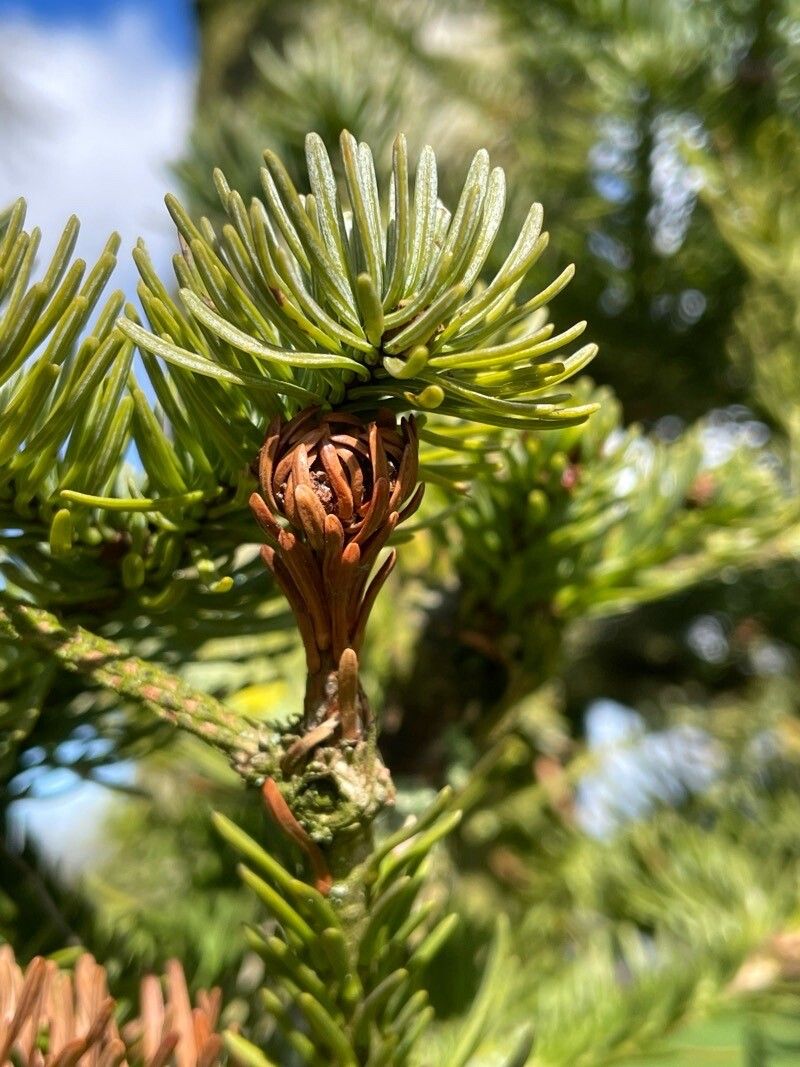
Oh, the Noble Fir! If you’ve ever had the pleasure of breathing in the scent of a majestic Abies procera, you know the magic I’m talking about. Its stately presence, the beautiful silvery-blue foliage… it’s truly a tree that inspires awe. And the idea of bringing more of these beauties into your garden? That’s a truly rewarding endeavor. Now, between us, propagating Abies procera isn’t quite like whipping up a batch of marigolds from seed. It’s a bit more involved, a journey that requires patience and a touch of finesse. So, if you’re a beginner gardener looking for something super straightforward, maybe start with a few easier houseplants first. But if you’re ready for a rewarding challenge, let’s dive in!
The Best Time to Start
When it comes to Abies procera, early spring, right as new growth begins to emerge, is your golden window. You’re looking for those soft, pliable shoots. If you wait too long, the wood will harden, and your chances of success decrease significantly. Think of it like trying to bend a dry twig versus a fresh sprig.
Supplies You’ll Need
- Sharp, clean pruning shears or a sharp knife: Essential for making clean cuts.
- Rooting hormone: A powdery or liquid form that encourages root development. I find the powdered kind works well for conifers.
- Well-draining potting mix: A keen mix of coarse sand, perlite, and peat moss (about a 1:1:1 ratio) is ideal. You don’t want anything that holds too much moisture.
- Small pots or propagation trays: Clean ones, of course!
- Clear plastic bags or propagation domes: To create a humid environment.
- Watering can with a fine rose: For gentle watering.
- Labels and a marker: Because trust me, you’ll forget what you planted in which pot!
Propagation Methods
For Abies procera, stem cuttings are your most reliable bet. Division isn’t really applicable for trees, and water propagation is a no-go for conifers; they just don’t do well with their stems sitting in water.
Here’s how to take successful stem cuttings:
- Select Your Mother Plant: Choose a healthy, vigorous Abies procera. Look for branches that have a good mix of this year’s new green growth and some slightly older, woodier stem. You want pieces that are about 4-6 inches long.
- Make the Cut: Using your clean shears or knife, take a cutting from a branch. Crucially, aim for a semi-hardwood cutting. This means the bottom portion of the cutting is woody, but the top inch or so is still soft and green. Make a clean cut just below a node (where a leaf or bud emerges).
- Prepare the Cutting: Gently strip off the lower needles from the bottom 1-2 inches of the cutting. This exposes the part of the stem where roots will form.
- Dip in Rooting Hormone: Dip the stripped end of the cutting into your rooting hormone, tapping off any excess. Make sure it’s nicely coated.
- Planting: Moisten your potting mix slightly. Then, poke a hole in the mix with a pencil or your finger, and carefully insert the cutting. Gently firm the mix around the base of the cutting to ensure good contact with the rooting hormone and the soil.
- Provide Humidity: Water the pot gently after planting. Then, cover the pot with a clear plastic bag (making sure it doesn’t touch the cuttings) or use a propagation dome. This creates a mini-greenhouse.
- Placement: Place the pots in a bright location but out of direct, harsh sunlight. Avoid drafts.
The “Secret Sauce”
Here are a couple of tricks I’ve learned over the years:
- Scrape for Success: Gently scrape a tiny sliver of bark off one or two sides of the stripped stem base. This “wound” can actually encourage the plant to send out more rooting hormones from that spot. No more than a half-inch long and very thin!
- The Bottom Heat Boost: If you happen to have a heat mat (the kind often used for seed starting), placing your pots on it can significantly speed up root development. Conifers often appreciate that gentle warmth from below while the top stays cooler.
Aftercare & Troubleshooting
Once your cuttings are planted, keep the soil consistently moist but never soggy. Check the moisture by poking your finger into the soil. When you see new growth (tiny needles starting to emerge or the cutting looking plumper and greener), that’s a good sign. It can take anywhere from a few weeks to several months for roots to develop. You can gently tug on a cutting; if there’s resistance, you likely have roots!
Now, the tough part. Rot is the biggest enemy. If your cutting starts to look mushy, black, or starts to wilt dramatically without any initial signs of life, it’s likely succumbed to rot. This usually happens from too much moisture and poor air circulation.
Once you see roots, you can gradually introduce your new plants to slightly less humid conditions by opening the plastic bag a little bit each day. When they are well-rooted and showing good growth, you can transplant them into slightly larger individual pots, still using that well-draining mix.
A Encouraging Closing
Propagating Abies procera is a gift to your future garden. It might take time and a little patience, but seeing those first tiny roots and new needles emerge is an incredibly rewarding feeling. Don’t be discouraged if not every cutting makes it. Learn from it, adjust your technique, and enjoy the process of nurturing these magnificent trees. Happy propagating!
Resource:
https://identify.plantnet.org/k-world-flora/species/Abies%20procera%20Rehder/data