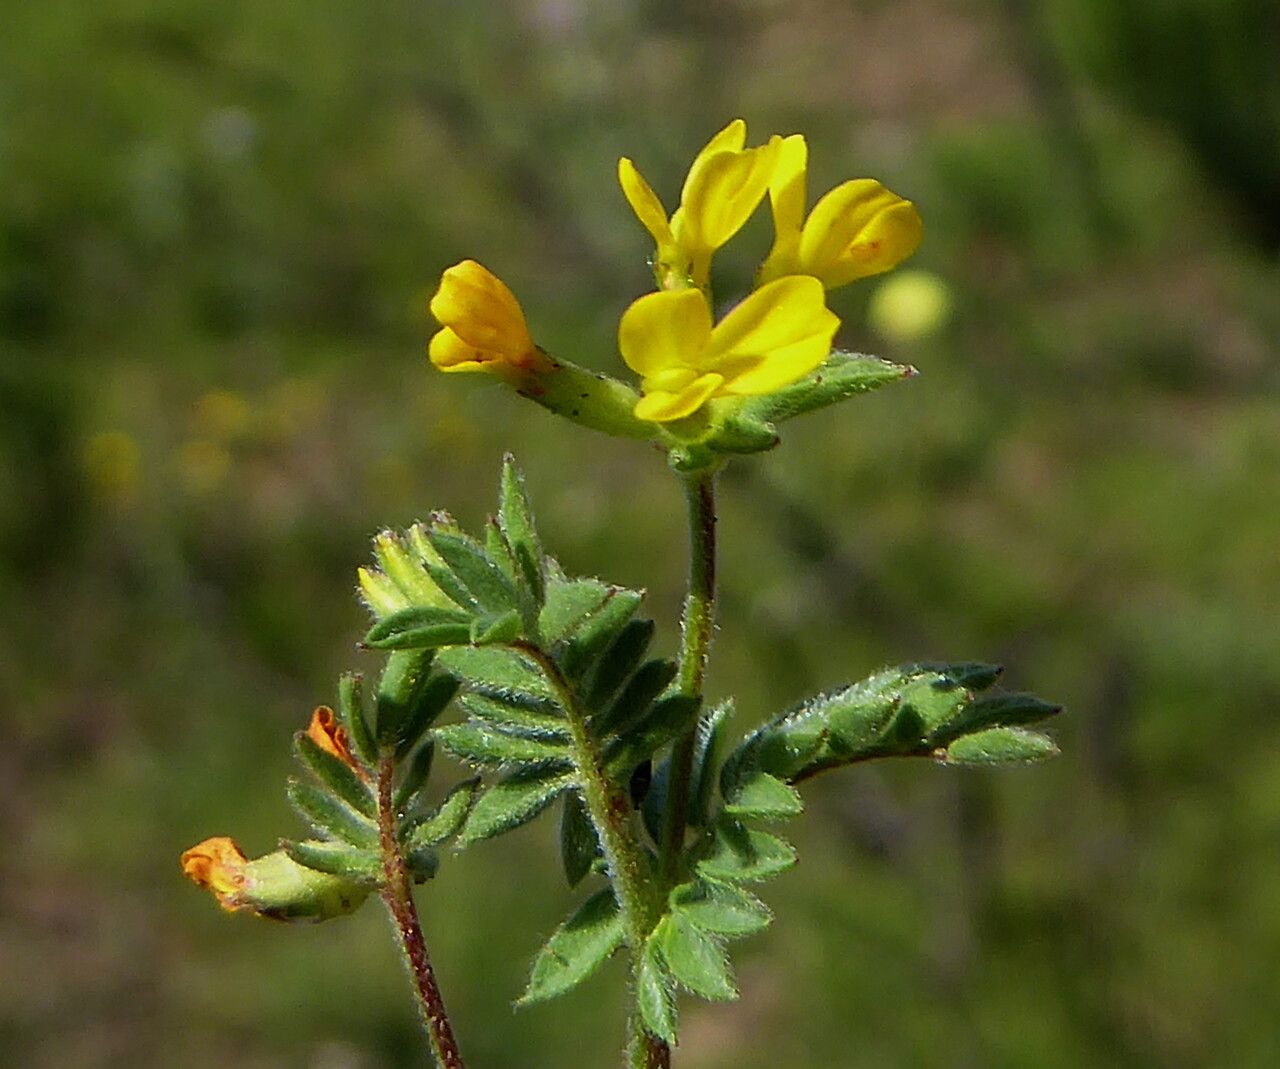
Hello there, fellow plant enthusiasts! Today, we’re delving into the charming world of Ornithopus compressus, often called African Locust Bean. I’ve spent countless hours with this lovely little plant, and let me tell you, its delicate, pea-like flowers and wispy foliage bring such a cheerful touch to any garden or even a sunny windowsill. Propagating it is a genuinely rewarding experience, giving you more of that sweet beauty for free. And for those new to the plant propagation game? I’d say Ornithopus compressus is one of the more accessible plants to try your hand at, which makes it a fantastic starting point!
The Best Time to Start
Generally, the spring is your golden ticket for propagating Ornithopus compressus. Think of it as giving your new plant babies the best possible start with lengthening days and warming temperatures. Aim for early spring, just as new growth is really taking off. This is when the plant has plenty of energy to dedicate to root production.
Supplies You’ll Need
Here’s what you’ll want to have on hand to ensure success:
- Sharp pruning shears or a clean knife: For taking clean cuts that heal well.
- A well-draining potting mix: I usually go for a blend of peat moss, perlite, and a bit of compost.
- Small pots or seed trays: With drainage holes, of course!
- Rooting hormone (optional but recommended): This can give your cuttings a real boost.
- A watering can with a fine rose nozzle: To avoid disturbing young roots.
- Plastic bags or a propagation dome: To create a humid environment for cuttings.
- Water: For hydrating your cuttings.
Propagation Methods
For Ornithopus compressus, I find stem cuttings to be the most reliable and straightforward method.
- Take Your Cuttings: In early spring, select healthy, non-flowering stems from your mature plant. Using your clean shears, snip off pieces that are about 4-6 inches long. Make sure each cutting has at least two sets of leaves.
- Prepare the Cuttings: Gently remove the lower leaves from the cutting, leaving just the top two or three. If you’re using rooting hormone, dip the cut end into about half an inch of the powder, tapping off any excess.
- Plant Them Up: Fill your small pots or trays with your prepared potting mix. Make a small hole in the center of each with your finger or a pencil. Carefully insert the bottom end of each cutting into the hole, ensuring the removed leaves are below the soil line.
- Firm and Water: Gently firm the soil around the base of each cutting. Then, give them a light watering with your fine-rose watering can. You want the soil to be moist, not waterlogged.
- Create Humidity: Cover the pots loosely with a plastic bag or place them under a propagation dome. This will help to keep the humidity high, which is crucial for cuttings to form roots.
The “Secret Sauce” (Pro Tips)
After years of messing about with plants, a few things just work better. Here are a couple of my personal tricks for Ornithopus compressus:
- Don’t let the leaves touch the water (if you opt for water propagation, which is less common for this one but doable): If a leaf dips into the water, it’s almost guaranteed to rot. Keep those aerial parts dry and focused on root development.
- Bottom heat is your friend: If you have a heat mat designed for seedlings, place your pots on it. This gentle warmth mimics spring soil temperatures and will significantly speed up root formation. You’ll be surprised at the difference it makes!
Aftercare & Troubleshooting
Once your cuttings have developed a good set of roots (you can gently tug on a leaf to feel for resistance, or peek at the drainage holes for emerging roots – usually after 4-6 weeks), it’s time to treat them like little seedlings. Gradually acclimate them to drier air by opening the plastic bag a little more each day over a week. Water them when the top inch of soil feels dry.
The most common issue you might encounter is rot. This usually happens if cuttings are kept too wet or don’t have enough air circulation. If you see mushy, discolored stems, it’s usually a sign that things have gone too far. In this case, it’s best to discard the affected cutting and evaluate your watering and humidity levels for the others.
A Little Patience, A Lot of Joy
Propagating plants is a journey, and Ornithopus compressus is a wonderful companion for that journey. Don’t be discouraged if your first batch isn’t a roaring success. Keep experimenting, keep nurturing, and enjoy the simple magic of watching new life emerge from a simple stem. Happy gardening!
Resource:
https://identify.plantnet.org/k-world-flora/species/Ornithopus%20compressus%20L./data