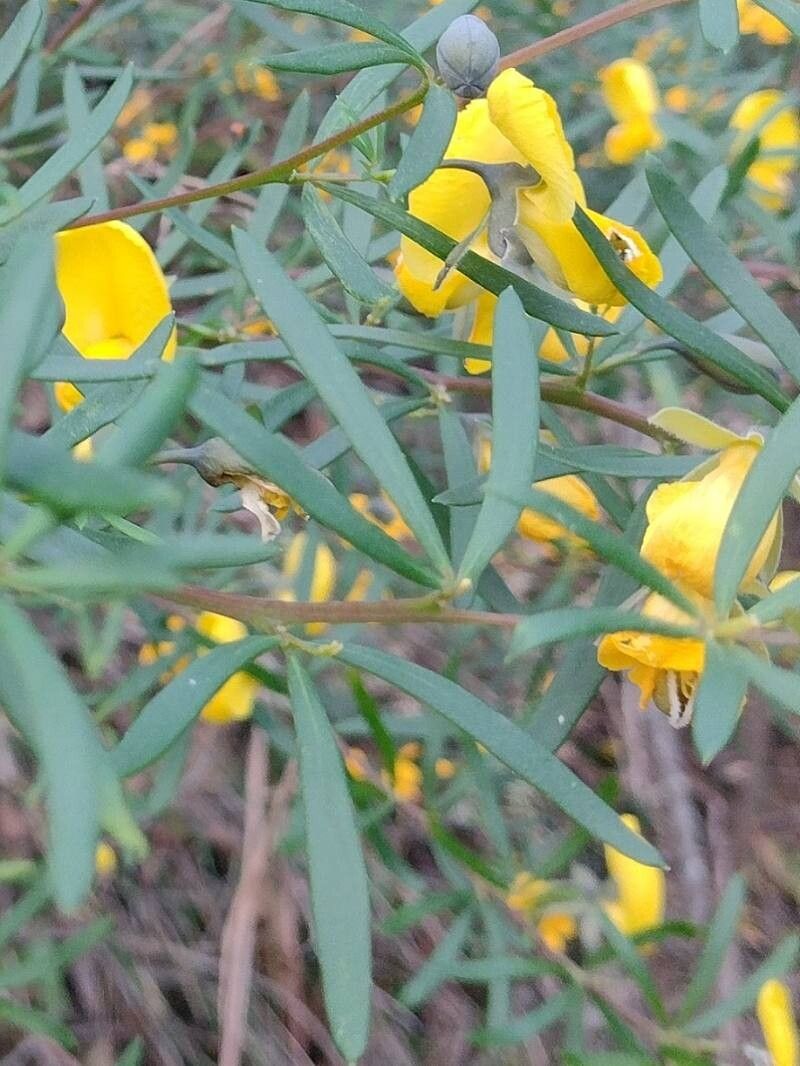
Well hello there, fellow plant lovers! Today, we’re going to talk about a truly delightful Australian native: Gompholobium latifolium, or the broad-leafed pea flower. This beauty, with its vibrant yellow pea-like blossoms, is just a joy to have in the garden or on a sunny patio. And the best part? Bringing new ones into the world from your existing plants is incredibly rewarding. Now, I won’t pretend it’s as simple as sticking a leaf in water, but with a little care, it’s definitely achievable.
The Best Time to Start
For Gompholobium latifolium, spring and early summer are your golden windows. This is when the plant is actively growing, and its stems have the energy to heal and root. Aim for when the plant is putting on new, but not yet woody, growth. You’re looking for stems that are flexible, not brittle.
Supplies You’ll Need
Before we get our hands dirty, let’s gather our tools. Having everything ready makes the process so much smoother.
- Sharp pruning shears or a clean knife: For taking clean, precise cuttings.
- Rooting hormone (optional but recommended): Powder or gel forms work well. It gives cuttings a helpful boost.
- Well-draining potting mix: A blend of equal parts seedling potting mix and perlite is excellent. You can also add a bit of coarse sand.
- Small pots or trays: Clean terracotta or plastic pots are fine. Make sure they have drainage holes.
- Watering can with a fine rose: To water gently without disturbing the cuttings.
- Plastic bags or a clear propagation dome: To create a humid environment around your cuttings.
- Labels and a marker: To keep track of what you’ve propagated and when.
Propagation Methods: Stem Cuttings
This is generally the most successful method for Gompholobium latifolium. It’s straightforward and yields good results.
- Take Cuttings: In spring or early summer, select healthy, non-flowering shoots. Using your clean shears, cut sections 4-6 inches long. Make the cut just below a leaf node (where leaves attach to the stem).
- Prepare the Cuttings: Gently strip off the lower leaves from about half of each cutting. This prevents them from rotting when they’re in the soil. If the remaining leaves are very large, you can cut them in half horizontally to reduce water loss.
- Apply Rooting Hormone: Dip the bottom inch of each cutting into a shallow dish of rooting hormone, tapping off any excess. This isn’t strictly necessary, but it does give your cuttings a better chance at establishing roots.
- Potting Up: Fill your small pots with the prepared potting mix. Use a pencil or your finger to make a hole in the center of the soil in each pot.
- Insert Cuttings: Gently insert the prepared cuttings into the holes, ensuring that the leaf nodes you bared are below the soil surface. Firm the soil around them gently.
- Water and Cover: Water the soil thoroughly but gently. Then, cover the pots with a clear plastic bag (making sure it doesn’t touch the leaves) or place them under a propagation dome. This traps humidity, which is vital for cuttings to root.
- Find a Spot: Place the pots in a bright location out of direct sunlight. A warm windowsill or a spot in a greenhouse is ideal.
The “Secret Sauce” (Pro Tips)
Here are a few little tricks I’ve learned over the years that can really make a difference.
- Bottom Heat is Your Friend: Gompholobium latifolium cuttings love a bit of warmth coming from below. If you have a heat mat designed for seedlings, pop your pots onto it. This encourages root formation much faster than just ambient room temperature.
- Don’t Drench, Mist: While you want the soil to be consistently moist, avoid waterlogging. It’s better to mist the inside of your plastic bag or dome daily or every other day to maintain humidity and keep the soil slightly damp. Overwatering is a sure way to invite rot.
- Patience with the Pot: Once you’ve potted up your cuttings, resist the urge to tug on them to check for roots. This can break delicate new root hairs. You’ll see new leaf growth as the first real sign that they’ve successfully rooted.
Aftercare & Troubleshooting
Once you start seeing signs of new growth—little shoots emerging—it’s time to gradually acclimatize your new plants.
- Airing Out: For the first week, lift the plastic bag or dome for a few hours each day to allow for air circulation. Gradually increase the time until you can remove it completely.
- Gentle Feeding: Once the new plantlets are well-established and showing vigorous growth, you can start feeding them with a mild, liquid fertilizer diluted to half strength every 4-6 weeks.
- Potting On: When they’ve outgrown their initial pots (you’ll see roots coming out of the drainage holes), it’s time to gently pot them up into slightly larger containers with fresh potting mix. They can then be treated like miniature versions of the parent plant.
Troubleshooting: The most common enemy here is rot. If your cuttings turn mushy and black at the base, it’s a sign of too much moisture and not enough air. This is why good drainage and careful watering are so crucial. If you notice a cutting looking sad but not rotten, try increasing the humidity slightly and ensuring it’s not in too much direct sun. Sometimes, a cutting just doesn’t take; don’t be discouraged!
A Encouraging Closing
Propagating plants is a wonderful way to connect with nature and expand your garden without spending a fortune. Be patient with your Gompholobium latifolium cuttings. Each one is a tiny act of hope, and the moment you see those first new leaves unfurl, well, it’s pure magic. Happy propagating!
Resource:
https://identify.plantnet.org/k-world-flora/species/Gompholobium%20latifolium%20Sm./data