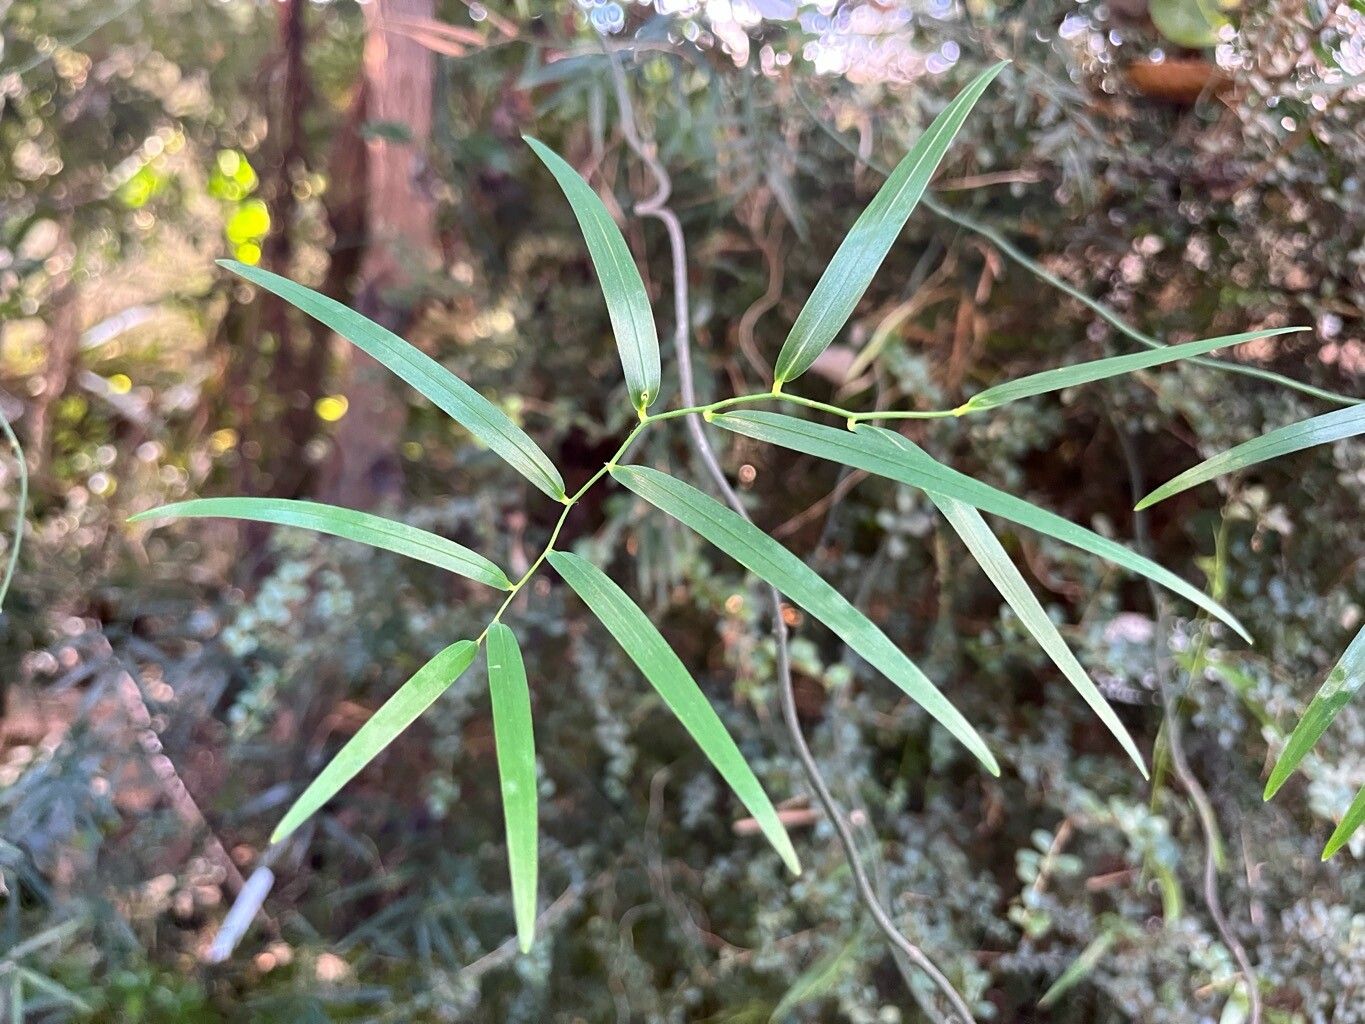
Hello there, fellow garden enthusiasts! Today, we’re diving into the delightful world of Geitonoplesium cymosum, often called the scrambling lily or climbing lily. If you’ve ever admired its graceful, arching stems adorned with clusters of delicate white flowers, then you’re in for a treat, because learning to propagate this beauty is incredibly rewarding. It’s a plant that asks for a little attention, but the payoff is so worth it as you fill your garden or home with more of its charm. For beginners, I’d say it’s moderately easy – a little patience goes a long way!
The Best Time to Start
My personal sweet spot for propagating Geitonoplesium cymosum is late spring to early summer. This is when the plant is in its most vigorous growth phase. You’ll find it’s producing plenty of fresh shoots, which are perfect for taking cuttings. Trying to propagate when the plant is dormant or stressed just makes things harder on yourself.
Supplies You’ll Need
Here’s a quick rundown of what you’ll want to have on hand:
- Sharp, clean pruning shears or a propagating knife.
- Well-draining potting mix. A good blend of perlite, peat moss, and a bit of compost works wonders.
- Rooting hormone (optional, but I find it speeds things up).
- Small pots or propagation trays.
- Clear plastic bags or propagation domes to create a humid environment.
- A spray bottle with clean water.
- (For division) A garden trowel or soil knife.
Propagation Methods
Let’s get our hands dirty! I’ve found two main methods work best for Geitonoplesium cymosum: stem cuttings and division.
Stem Cuttings:
- Select your cutting: Look for healthy, non-flowering stems that are about 4-6 inches long. You want stems that are new growth but have started to firm up a bit – not completely soft and floppy.
- Make the cut: Using your clean shears, make a cut just below a leaf node (that little bump where a leaf attaches to the stem).
- Prepare the cutting: Gently remove the lower leaves, leaving just a couple at the very top. This prevents them from rotting when they’re in the soil or water.
- Apply rooting hormone (optional): If you’re using rooting hormone, dip the cut end into it, tapping off any excess.
- Pot it up: Fill your small pots with the well-draining mix. Make a small hole with your finger or a pencil and insert the cutting. Gently firm the soil around it.
- Water and cover: Water lightly to settle the soil. Then, cover the pot with a clear plastic bag or a propagation dome. This creates a mini-greenhouse to keep the humidity high, which is crucial for cuttings to root.
- Placement: Place the pots in a bright spot, but out of direct, harsh sunlight.
Division:
This is a fantastic method for older, established plants.
- Prepare for digging: Water your plant well a day or two before you plan to divide it. This makes the soil easier to work with and reduces transplant shock.
- Remove from pot/ground: Carefully lift the entire plant out of its pot or dig it up from the garden.
- Inspect the root ball: Gently shake off excess soil to get a good look at the root system. You’ll likely see multiple crowns or clumps.
- Separate the divisions: Using a clean trowel or soil knife, carefully separate the plant into smaller sections. Each section should have healthy roots and some leafy growth. Don’t be afraid to get in there – a little firm persuasion might be needed.
- Replant immediately: Plant each division directly into prepared pots or back into the garden, watering them in well.
The “Secret Sauce” (Pro Tips)
Here are a couple of tricks I’ve learned over the years that really make a difference:
- Don’t let the lower leaves touch the soil: This is a big one when taking cuttings. If those leaves are buried, they’ll start to decay and can introduce rot to your cutting before it even has a chance to root. Trim them off cleanly.
- Bottom heat is your friend: If you can, place your pots on a heat mat designed for seedlings. This warmth encourages root development from below, mimicking late spring conditions and really speeding up the rooting process.
Aftercare & Troubleshooting
Once your cuttings have roots (you can gently tug on them – if there’s resistance, they’re rooting!), or your divisions are replanted, it’s time for continued care. Keep the soil consistently moist, but not waterlogged. Remove the plastic bags or domes gradually over a few days to let the new plant acclimatize to normal humidity.
The most common issue you’ll encounter is rot. If you see your cutting turning black and mushy, or wilting despite moist soil, it’s likely rot. This usually happens from too much moisture and poor air circulation. If you catch it early, you might be able to save a healthy section of the cutting above the rot. For division, keep an eye out for wilting, which can indicate transplant shock. Ensure they are well-watered and in a slightly shaded spot for the first week or two.
A Little Patience, A Lot of Joy
Propagating plants is one of life’s simple pleasures. It’s about nurturing new life and extending the beauty of your garden. Don’t get discouraged if your first attempt isn’t perfect. Keep trying, observe your plants, and enjoy the process of watching those tiny roots develop. Happy propagating!
Resource: