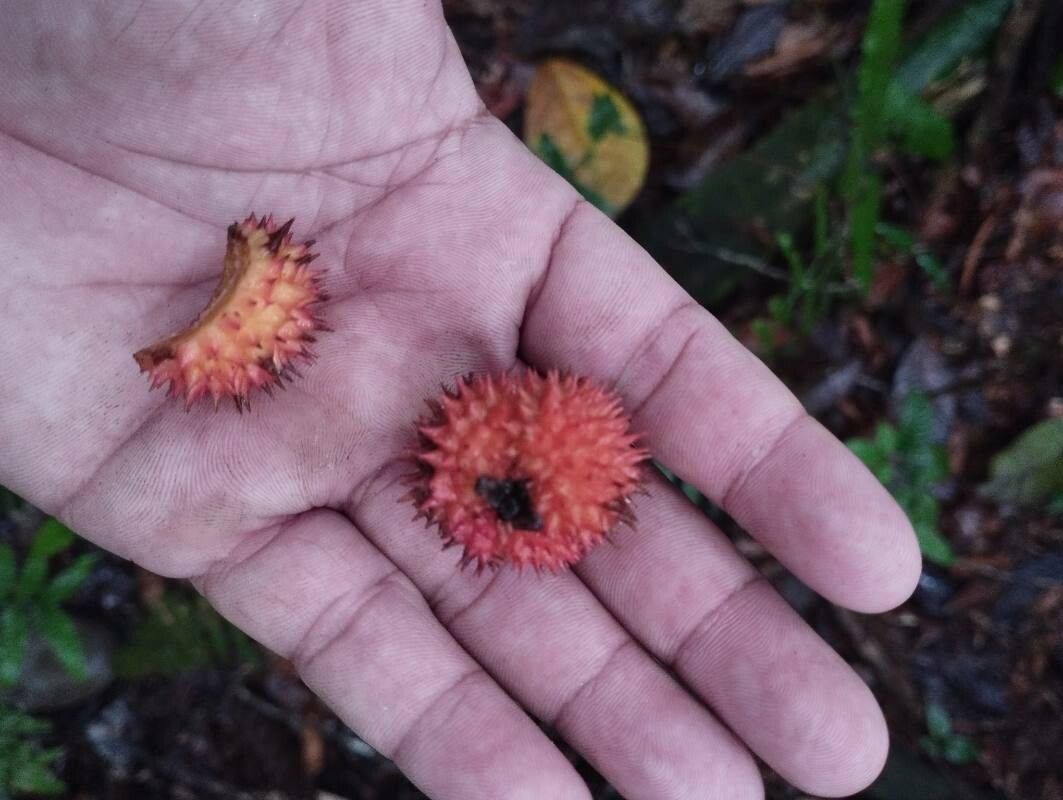
Oh, hello there! Grab a cup of your favorite brew, and let’s chat about a truly special plant: Paullinia granatensis, or as many of us know it, Guarana. This tropical vine truly captures the imagination with its gorgeous, deeply lobed leaves and, of course, those iconic seed-bearing fruits that give us that wonderful energy boost. Propagating this beauty yourself is not only incredibly satisfying, but it’s also a fantastic way to share its charm with friends or simply expand your own lush collection. Now, is it a walk in the park for absolute beginners? I’d say it leans a little more towards the intermediate gardener, but with a little patience and these tips, you’ve absolutely got this!
The Best Time to Start
Timing is everything, isn’t it? For Paullinia granatensis, you’ll find the most success during its active growing season, which is typically late spring through summer. This is when the plant is full of youthful vigor, and those cuttings are more likely to be energized and ready to root. Look for healthy, vigorous new growth – those are your golden tickets.
Supplies You’ll Need
Gathering your tools beforehand makes the whole process so much smoother. Here’s what you’ll want to have on hand:
- Sharp Pruning Shears or a Clean Knife: Essential for taking clean cuts.
- Potting Mix: A well-draining, peat-based mix or a blend of peat moss, perlite, and a little sand works beautifully.
- Small Pots or Seed Trays: Choose something that offers good drainage.
- Rooting Hormone (Optional but Recommended): This can give your cuttings a real boost. Look for one with IBA (indole-3-butyric acid).
- Plastic Bags or a Propagator: To create a humid environment.
- Watering Can with a Fine Rose: For gentle watering.
- Labels: To keep track of what you’ve propagated (and when!).
Propagation Methods
Let’s get our hands dirty with the most reliable ways to multiply your Guarana plants.
Stem Cuttings (My Go-To)
This is my favorite and generally the most successful method for Paullinia granatensis.
- Select Your Cuttings: From a healthy, mature plant, choose semi-hardwood cuttings. These are stems that are starting to firm up but still have some flexibility. Look for stems that are about 6-8 inches long and have at least two or three sets of leaves.
- Make the Cut: Using your sharp shears or knife, make a clean cut just below a leaf node. This is where roots are most likely to form.
- Prepare the Cutting: Gently remove the lower leaves, leaving just one or two at the very top. This prevents them from rotting in the soil and reduces water loss. If the remaining leaves are very large, you can cut them in half horizontally to further reduce transpiration.
- Apply Rooting Hormone: If you’re using rooting hormone, dip the cut end into the powder or gel. Tap off any excess.
- Plant the Cutting: Make a hole in your potting mix with a pencil or your finger. Gently insert the cutting into the hole, ensuring the leaf nodes are buried. Firm the soil gently around the base.
- Water and Cover: Water thoroughly until you see water draining from the bottom. Then, cover the pot with a clear plastic bag or place it in a propagator. This traps humidity, which is crucial for preventing the cuttings from drying out. Make sure the leaves don’t touch the sides of the bag if possible.
Water Propagation (A Visual Treat)
While I prefer the soil method for long-term success, watching roots develop in water can be so encouraging!
- Prepare the Cutting: Follow steps 1-3 from the stem cutting method.
- Place in Water: Find a clean jar or glass and fill it with fresh, room-temperature water. Place the cutting in the water, ensuring that at least one or two leaf nodes are submerged. Crucially, make sure no leaves are sitting in the water.
- Change Water Regularly: Change the water every 2-3 days to keep it fresh and prevent bacterial growth.
- Watch for Roots: You should start to see small white roots appearing from the nodes within a few weeks.
- Transplant When Ready: Once the roots are at least an inch long, it’s time to carefully transplant them into your well-draining potting mix. Treat them as gently as you would a delicate seedling.
The “Secret Sauce” (Pro Tips)
Here are a couple of little tricks I’ve learned over the years that can make a big difference:
- Bottom Heat is Your Friend: Paullinia granatensis loves a bit of warmth. Placing your pots on a warm windowsill or, even better, a heat mat can significantly speed up root development. Just a gentle warmth, around 70-75°F (21-24°C), is perfect.
- Don’t Rush the Roots (Soil Method): When taking cuttings for soil propagation, resist the urge to pull them up too soon to check for roots. You could damage those delicate new formations! Instead, give them a gentle tug. If there’s resistance, you likely have roots. Another sign is new leaf growth, which indicates the cutting is actively growing and has established itself.
- Air Circulation Matters: While humidity is vital, stagnant air can lead to fungal issues. If you’re using a plastic bag or propagator, open it up for about 15-30 minutes each day to allow for some air exchange.
Aftercare & Troubleshooting
Once you see those beautiful roots peeking out, congratulations!
- Acclimating to the Air: If your cuttings were in a plastic bag or propagator, gradually get them used to the drier air. Slowly increase the time you leave the bag open over a week or two before removing it entirely.
- Watering: Continue to water your new plants whenever the top inch of soil feels dry. Avoid letting them sit in soggy conditions, as this can still lead to root rot.
- Light: Once rooted and growing, they’ll appreciate bright, indirect light. Avoid harsh, direct sun which can scorch their new leaves.
- Troubleshooting – Rot: The most common sign of failure is rot, which usually appears as a mushy, black stem at the soil line. This is often caused by overwatering or poor drainage. If you see this, unfortunately, that cutting is likely lost, but don’t despair! Just grab another cutting and adjust your watering carefully. Another issue might be wilting. This could be because the cutting hasn’t rooted yet and is drying out, or it might be too little water. Double-check that humidity is maintained.
A Little Encouragement
Propagating plants is a journey, not a race. There will be times when some cuttings just don’t make it, and that’s perfectly normal, even for us seasoned gardeners. The key is to be patient, observe your little green charges, and learn from each attempt. The reward of holding a brand new Paullinia granatensis that you nurtured from a simple stem is truly a special kind of magic. Happy propagating!
Resource: