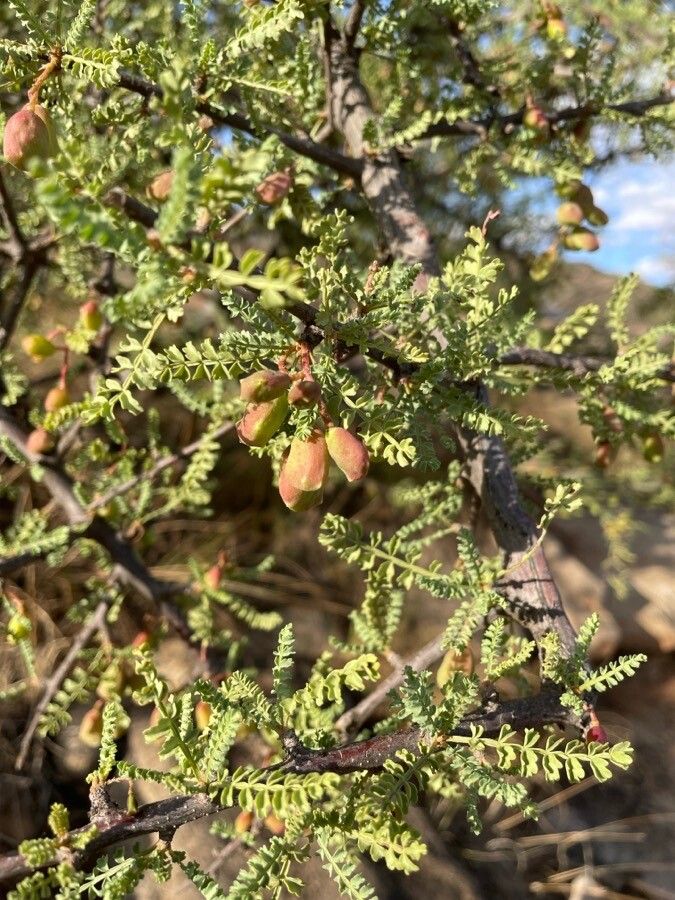
Hey there, fellow garden lovers! Today, I want to chat about a plant that’s really captured my heart over the years: Lannea alata. You might know it by its common name, the Winged Lannea, and let me tell you, its glossy, winged leaves and elegant form are just gorgeous. They really add a touch of the tropics right to your home. Propagating this beauty is such a rewarding experience. Watching a tiny cutting transform into a thriving plant is pure magic, and it’s a fantastic way to share the plant love with friends. Now, for beginners, I’d say Lannea alata leans towards moderately easy. It’s not a guaranteed win right out of the gate, but with a little care and understanding, you’ll be successful.
The Best Time to Start
For the highest success rate with Lannea alata, I always recommend propagating during its active growing season. This is typically in late spring to early summer. The plant is full of energy then, and your cuttings will have the best chance of rooting quickly and healthily. Trying to propagate when the plant is dormant will likely lead to disappointment.
Supplies You’ll Need
Here’s what you’ll want to have on hand before you get started:
- Sharp Pruning Shears or a Clean Knife: For taking clean cuts. A dull tool can damage the stems.
- Rooting Hormone (Optional, but Recommended): A powder or gel designed to encourage root development.
- Well-Draining Potting Mix: A good quality mix for houseplants, or a blend of equal parts peat moss, perlite, and coco coir.
- Small Pots or Seedling Trays: Make sure they have drainage holes!
- Clear Plastic Bag or Dome: To create a humid environment for your cuttings.
- Watering Can or Spray Bottle: For gentle watering.
- Dibber or Pencil: To make a small hole for inserting cuttings.
Propagation Methods
Lannea alata is most commonly and successfully propagated through stem cuttings. Here’s how I do it:
- Select a Healthy Stem: Look for a mature, healthy stem that hasn’t flowered recently. You want a stem that’s firm and green, not woody or too soft.
- Take Your Cutting: Using your sharp shears or knife, make a cut just below a leaf node (where a leaf attaches to the stem). Aim for a cutting that’s about 4-6 inches long and has at least two to three leaf nodes.
- Prepare the Cutting: Gently remove the lower leaves from the cutting, leaving just the top couple of leaves. If the remaining leaves are very large, you can cut them in half to reduce water loss through transpiration. This is a crucial step for success.
- Apply Rooting Hormone (Optional): Dip the cut end of the stem into your rooting hormone. Tap off any excess.
- Plant the Cutting: Fill your small pots with your well-draining potting mix. Use your dibber or pencil to make a hole, then gently insert the cut end of your Lannea alata stem. Firm the soil around it.
- Water Gently: Water the soil thoroughly but gently. You don’t want to disturb the cutting.
- Create Humidity: Place the potted cutting inside a clear plastic bag or cover it with a propagation dome. This creates a mini-greenhouse effect, keeping the humidity high, which is vital for rooting. Make sure the leaves don’t touch the plastic, as this can lead to rot. You might need to prop up the bag with stakes.
The “Secret Sauce” (Pro Tips)
As I’ve worked with these plants over the years, a few little tricks have really made a difference:
- Bottom Heat is Your Friend: For faster rooting, especially if your home isn’t consistently warm, I highly recommend using a heat mat. Place your pots on the heat mat. It gently warms the soil from below, encouraging root development much more effectively. It’s like giving your cutting a little warm hug.
- Don’t Over-Water, Ever! This is probably the most common mistake people make. The soil should be consistently moist but never soggy. Soggy soil is a direct invitation for rot. Check the moisture by touching the soil surface. If it feels dry an inch down, it’s time to water.
- Patience is Key (Seriously!): Lannea alata can be a bit of a slow starter when it comes to rooting. Don’t get discouraged if you don’t see new growth immediately. It can take anywhere from 4 to 8 weeks, sometimes even longer, for roots to develop. Resist the urge to constantly pull at the cutting to check for roots!
Aftercare & Troubleshooting
Once you start seeing new growth appearing on your cutting, that’s a great sign that roots have formed! At this point, you can gradually acclimate your new plant to lower humidity. Open the plastic bag for a few hours each day, then gradually increase the time it’s open. Eventually, you can remove the bag altogether. Continue to water as needed, keeping the soil consistently moist but not wet.
Now, about troubleshooting. The most common issue you’ll encounter is rot. If your cutting turns mushy, blackens, or starts to fall apart, it’s likely due to overwatering or lack of air circulation. Unfortunately, once rot sets in, it’s very hard to save the cutting. Make sure your soil drains well and that you’re not keeping it waterlogged. Another sign of failure can be a cutting that just seems to wither and dry out, despite being in a humid environment. This can sometimes happen if the cutting was taken from unhealthy parent material or if the humidity wasn’t high enough to prevent it from drying out before roots could form.
Happy propagating, my friends! Remember, gardening is a journey, and each little plant you nurture is a testament to your care and dedication. Be patient with your Lannea alata, enjoy the process, and celebrate every little bit of success. You’ve got this!
Resource:
https://identify.plantnet.org/k-world-flora/species/Lannea%20alata%20(Engl.)%20Engl./data