Hey there, fellow plant lovers! It’s so wonderful to have you join me. Today, we’re diving into the fascinating world of a truly unique specimen: Pachypodium rosulatum, also known as Madagascar Palm or Elephant’s Foot.
Why Grow Pachypodium rosulatum?
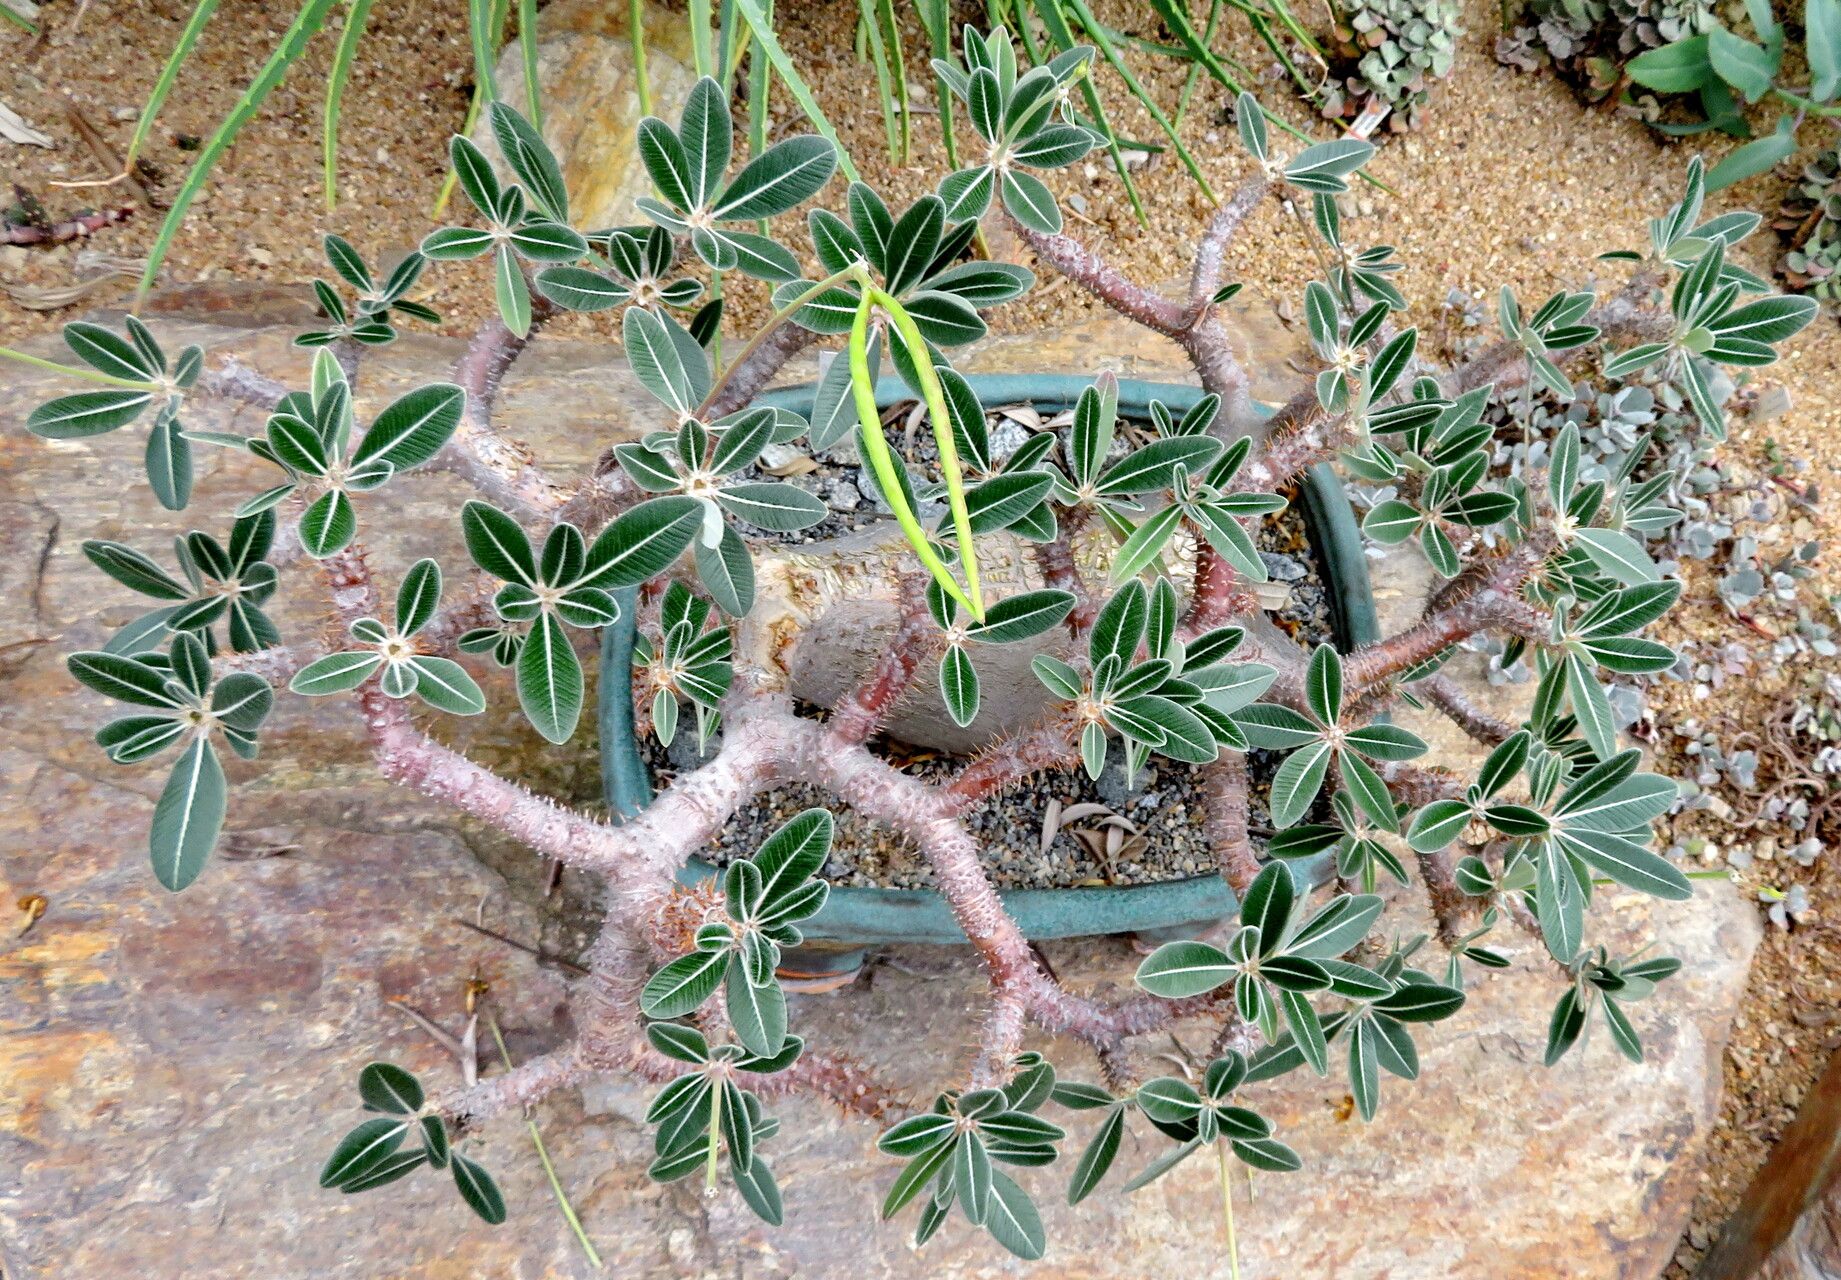
Honestly, what’s not to love? These plants are living sculptures! Their swollen, bulbous caudex (that’s the woody trunk!) is absolutely captivating, often looking like an ancient, miniature tree even when quite young. Then, come the bright yellow, star-shaped flowers that are just a burst of sunshine. They bring a touch of the exotic and a whole lot of character to any collection. Propagating them yourself? It’s incredibly rewarding. You get to witness that miracle of new life, and frankly, it’s a lot more budget-friendly than buying a mature specimen.
Now, if you’re new to the plant scene, I’d say Pachypodium rosulatum is probably a moderate challenge to propagate. It’s not the absolute easiest thing to start from cuttings, but with a little patience and the right approach, you can absolutely succeed. It’s a journey that’s well worth the effort!
The Best Time to Start
Timing is everything, right? For Pachypodium rosulatum, the absolute best time to propagate is during its active growing season, which is typically late spring through summer. This is when the plant has plenty of stored energy to put into root development. You want to be working with plump, healthy stems that are actively producing leaves. Avoid propagating when the plant is dormant or stressed.
Supplies You’ll Need
Gathering your tools beforehand makes the whole process smoother. Here’s what I usually have on hand:
- Sharp, clean pruning shears or a sharp knife: Essential for making clean cuts to prevent disease.
- Rooting hormone powder or gel: This isn’t strictly mandatory for every plant, but it can significantly increase your success rate with Pachypodium. Willow Water can also be a good natural alternative.
- Well-draining potting mix: A cactus and succulent mix is ideal. You can also create your own by mixing equal parts potting soil, perlite, and coarse sand.
- Small pots or propagation trays: Ensure they have drainage holes!
- Watering can or spray bottle: For gentle watering.
- Optional: Heated mat or a warm location: Bottom heat can really speed up root formation.
Propagation Methods
Let’s get our hands dirty! There are a couple of solid ways to try propagating Pachypodium rosulatum.
Stem Cuttings: My Preferred Method
This is generally the most successful approach for Pachypodium rosulatum.
- Select a healthy stem. Look for a stem that’s at least 4-6 inches long and has a few sets of leaves. Avoid any older, woody stems.
- Make a clean cut. Using your sharp, sterilized shears or knife, make a clean cut just below a leaf node.
- Allow it to callus. This is CRUCIAL! Do not put your cutting directly into soil or water. Place the cutting in a dry, airy spot out of direct sunlight for 3-7 days, or until the cut end has dried and calloused over. This prevents rot.
- Apply rooting hormone. Once calloused, dip the cut end into your rooting hormone powder or gel. Tap off any excess.
- Pot it up. Fill your small pot with your well-draining mix. Make a hole in the center with your finger or a pencil.
- Insert the cutting. Gently place the calloused, hormone-coated end of the cutting into the hole. Backfill around it, ensuring it’s stable.
- Water sparingly. Water lightly to settle the soil. You don’t want to soak it.
- Provide warmth and light. Place the pot in a warm spot with bright, indirect light. Avoid direct sun, which can scorch the new cutting.
Water Propagation (Use with Caution!)
While I lean towards soil, some folks have success with water. This method requires extra care to prevent rot.
- Prepare the cutting. Follow steps 1-3 from the stem cutting method (select, cut, and callus).
- Use a clean container. Choose a glass jar or vase.
- Fill with water. Use room-temperature water.
- Suspend the cutting. Crucially, ensure that no leaves are touching the water. You can use a mesh lid, skewers, or even prop it up carefully so only the calloused stem base is submerged.
- Change water regularly. Replace the water every 2-3 days to keep it fresh and oxygenated.
- Place in bright, indirect light.
- Watch for roots. Roots should start to appear in a few weeks to a couple of months.
The “Secret Sauce” (Pro Tips)
Now for a few things I’ve learned over the years that can really make a difference:
- Don’t Go Crazy with Watering: Pachypodium are desert dwellers. When propagating, less is more. Overwatering is the number one killer of cuttings. I like to wait until the soil is almost completely dry before watering again. A light misting of the leaves is okay if it’s very dry, but never let the base of the stem sit in soggy soil.
- Bottom Heat is Your Friend: If you have a heated propagator mat, use it! A consistent soil temperature of around 70-80°F (21-27°C) is ideal for encouraging root development. Even placing the pot on top of a warm refrigerator or on a sunny windowsill (if it’s not blasting direct sun) can help.
- Patience is a Virtue (Seriously): Pachypodium rosulatum can be a bit slow to root. Don’t despair if you don’t see rapid growth. It can take anywhere from 4 weeks to 3 months or even longer for roots to establish. Resist the urge to constantly dig it up to check.
Aftercare & Troubleshooting
So, you see those little white roots peeking out of the drainage hole or emerging on your water-propagated cutting? Hooray!
- Transitioning to Soil (if water propagated): Once you have a good network of roots, gently transplant your cutting into a pot with your well-draining succulent mix. Water it in lightly.
- Ongoing Care: Treat your new little plant like a miniature version of its parent. Plenty of bright, indirect light and water only when the soil is dry to the touch. They don’t like to sit in wet conditions.
- Watch for Rot: The most common problem you’ll encounter is rot. If your cutting turns mushy, black, or slimy, it’s likely succumbed to rot. This is usually due to too much moisture. There’s often no coming back from this, but you can sometimes salvage a healthy portion of the stem if caught early enough and re-attempt propagation.
- Wilting: A little wilting can happen. If the cutting is still firm and not mushy, it might just be adjusting. Ensure it has enough light and hasn’t been overwatered.
Happy Propagating!
Watching a new Pachypodium rosulatum sprout and grow from a simple cutting is a truly special feeling. It’s a testament to nature’s resilience and your nurturing hand. Remember to be patient, trust the process, and celebrate every little bit of progress. You’ve got this! Happy gardening!
Resource:
https://identify.plantnet.org/k-world-flora/species/Pachypodium%20rosulatum%20Baker/data