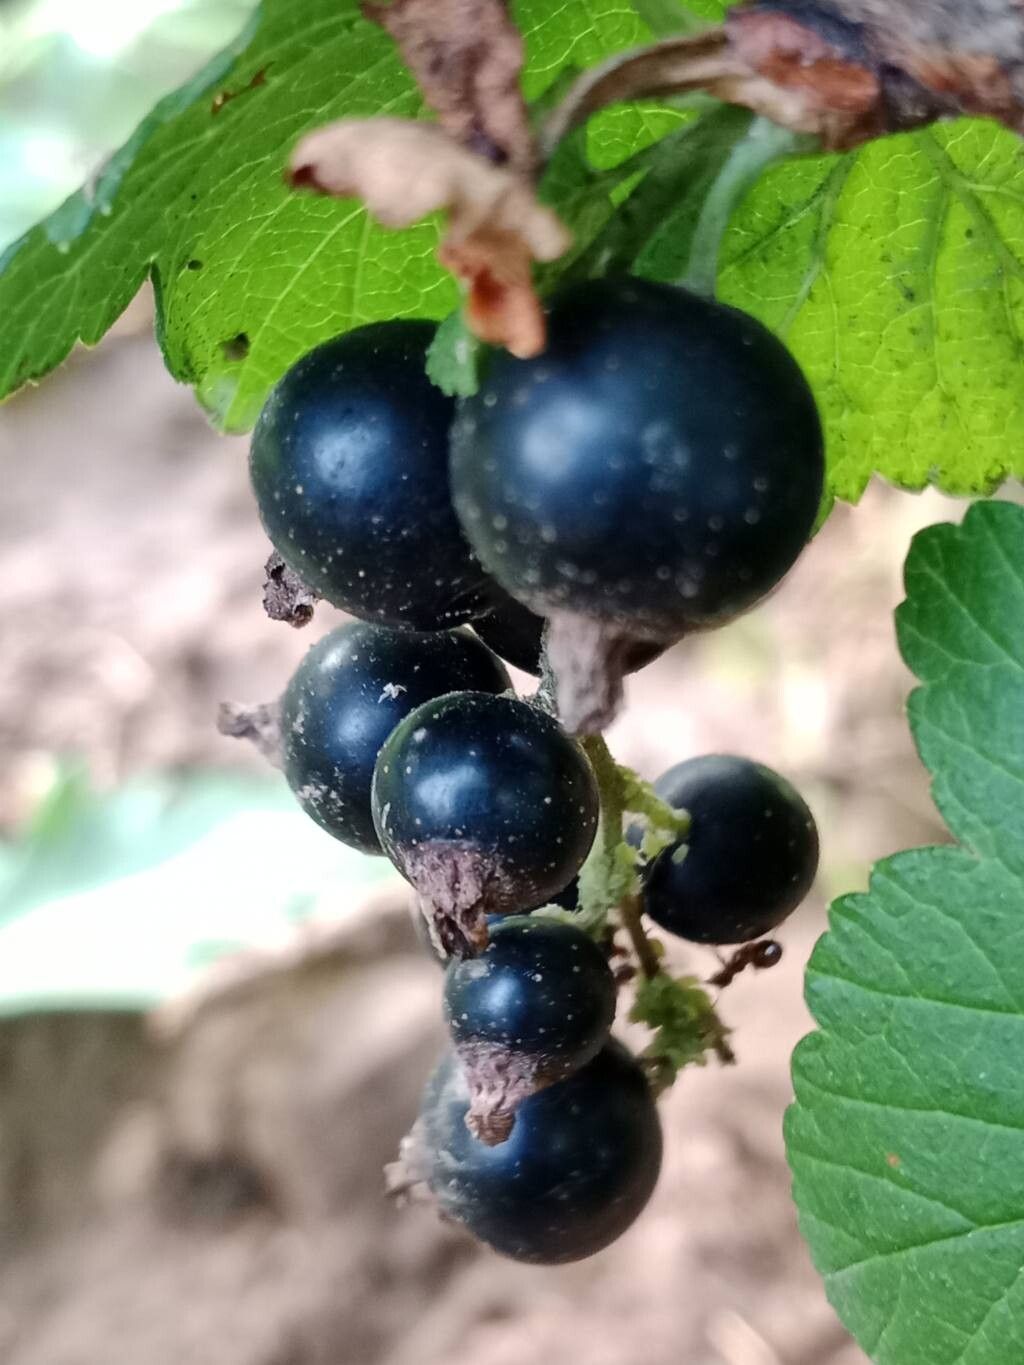
Hello there, fellow garden enthusiasts! It’s so lovely to share a moment with you today. We’re going to dive into a topic close to my heart: propagating blackcurrants, or Ribes nigrum as we know them in the botanical world. There’s something incredibly satisfying about taking a piece of a beloved plant and coaxing it into a whole new life, isn’t there? Blackcurrants, with their wonderfully tangy berries perfect for jams, cordials, and even pies, are a fantastic addition to any garden. And the good news? Propagating them is absolutely doable, even for those of you just starting out on your gardening journey. It’s not a fussy plant, and with a little know-how, you’ll be well on your way to a blackcurrant abundance.
The Best Time to Start
The sweet spot for propagating blackcurrants is typically in the late summer or early autumn. This is when the current year’s growth has started to firm up – you’ll know it’s ready when the stems are no longer floppy and green, but have a bit of rigidity to them. This hardwood cutting stage gives them the best chance to establish roots before winter truly sets in. You can also have success with softwood cuttings in late spring or early summer, but autumn is generally my go-to for reliability.
Supplies You’ll Need
Before we get our hands dirty, let’s gather our tools:
- Sharp pruning shears or secateurs: Cleanliness is key here to prevent disease.
- Rooting hormone powder or gel (optional but recommended): This gives your cuttings a helpful boost.
- Small pots or seed trays: Around 3-4 inches is a good size.
- A good quality potting mix: I like a blend of peat-free compost, perlite, and a little grit for drainage.
- A sharp knife or grafting knife: For preparing the cuttings.
- Watering can with a fine rose: To water gently.
- A plastic bag or propagator lid: To create a humid environment.
Propagation Methods
Let’s get propagating! I find that taking stem cuttings is the most straightforward and successful method for blackcurrants.
Taking Hardwood Cuttings (Late Summer/Early Autumn):
- Choose your stems: Look for healthy, mature shoots from the current season’s growth. They should be about the thickness of a pencil and a nice firm brown.
- Make your cuts: Using your clean secateurs, cut a section of stem about 8-12 inches long. Make the bottom cut just below a bud, at a slight angle. This is where roots will emerge. The top cut should be straight across, just above another bud.
- Prepare the cuttings: Remove any leaves from the bottom two-thirds of the cutting. You can even gently scrape a small strip of bark off the bottom inch of the stem on one side – this can encourage root formation.
- Apply rooting hormone: Dip the bottom 1-2 inches of each cutting into the rooting hormone, tapping off any excess.
- Pot them up: Fill your pots with your prepared potting mix. Make a hole with a pencil or stick, and insert the cutting so that two-thirds of it is below the soil surface, with at least two buds buried. Firm the soil gently around the cutting.
- Water thoroughly: Give them a good, gentle watering.
- Create humidity: Cover the pots with a clear plastic bag, a propagator lid, or place them in a cold frame. This keeps the moisture in, which is crucial for the cuttings.
Water Propagation (Late Spring/Early Summer – Less common for blackcurrants but possible):
- Take similar softwood cuttings as described above.
- Strip off lower leaves.
- Place cuttings in a jar of water, ensuring no leaves are submerged.
- Keep in a bright spot, changing the water every few days. Roots should appear in a few weeks.
- Once roots are about an inch long, carefully pot them into your potting mix.
The “Secret Sauce” (Pro Tips)
Here are a few little tricks I’ve picked up over the years that really make a difference:
- Bottom Heat is Your Friend: If you can, place your pots on a heated propagator mat or in a warm greenhouse. This encourages root development from below, giving your cuttings a significant advantage. It doesn’t have to be scorching, just a gentle warmth.
- Don’t Overcrowd: Give your cuttings a little breathing room. If they’re too close together, they can compete for resources and are more prone to fungal issues. Space them out nicely in their pots.
- Patience is a Virtue (Really!): I know it’s tempting to peek all the time, but try to resist. Let the cuttings settle in. You’ll know they’re rooting when you see a tiny bit of new leafy growth emerging, or if you give a very gentle tug and feel resistance. This can take anywhere from 5-10 weeks, sometimes longer.
Aftercare & Troubleshooting
Once you see signs of life – new shoots appearing – congratulations! It’s time to start acclimatizing your cuttings to the outside world. Gradually remove the plastic covering over a week or two. Water them consistently, keeping the soil moist but not waterlogged. Think of it as giving them a sip when they need it, not drowning them.
The most common issue you’ll encounter is rot. If a cutting turns mushy or black and falls over, it’s usually a sign of too much moisture and not enough air circulation, or potentially a fungal infection. If this happens, discard the affected cutting immediately to prevent it from spreading. Ensure your potting mix is well-draining to help prevent this.
A Encouraging Closing
Propagating blackcurrants is a truly rewarding process. It’s a wonderful way to expand your garden, share plants with friends, and connect with nature on a deeper level. Don’t be discouraged if not every cutting takes; it’s part of the learning curve. Just keep trying, learn from each experience, and most importantly, enjoy the journey. Happy gardening!
Resource:
https://identify.plantnet.org/k-world-flora/species/Ribes%20nigrum%20L./data