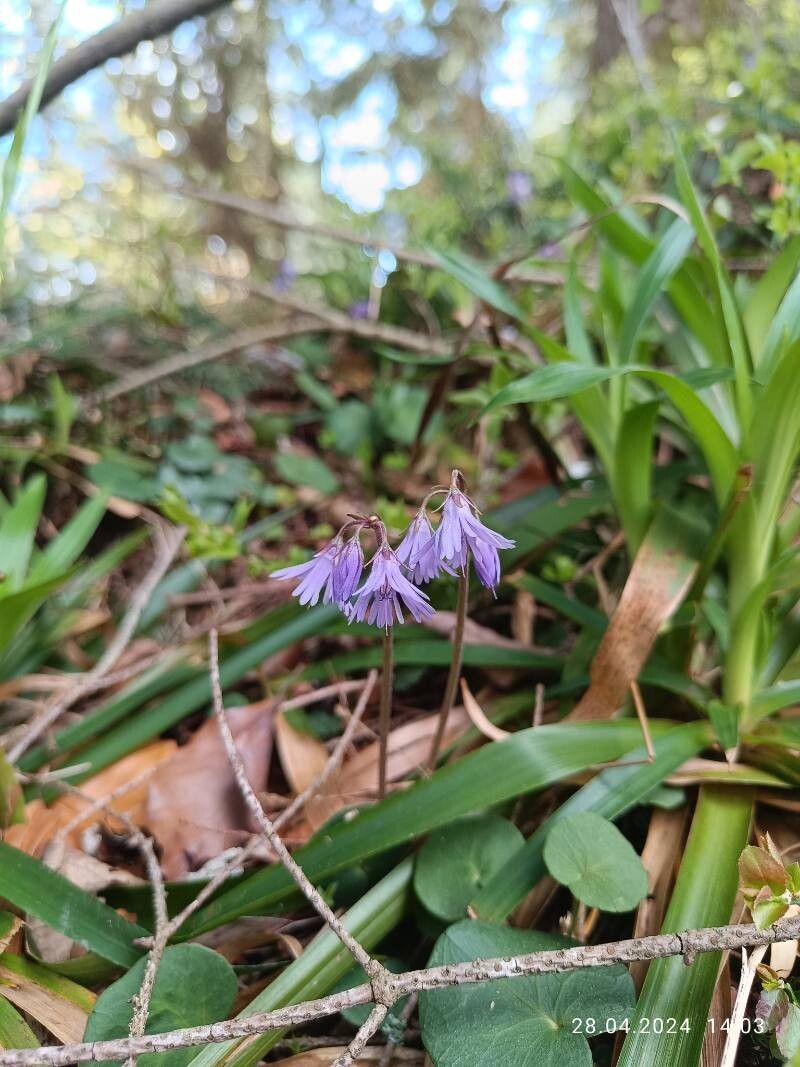
Hey there, fellow garden lovers! Today, we’re diving into the charming world of Soldanella carpatica, also known as Carpathian Snowbells. If you’re drawn to the delicate nodding flowers of blues and purples that peek through late winter or early spring snow, you’re in for a treat. Propagating these little gems can feel a bit like unlocking a secret, and trust me, it’s incredibly rewarding to see your own little patch of them unfurl. Now, I won’t lie to you, Soldanella carpatica isn’t the absolute easiest plant to propagate for a complete beginner. It likes specific conditions. But with a little patience and these tips, I’m confident you can have success!
The Best Time to Start
For Soldanella carpatica, the sweet spot for propagation is typically late spring or early summer, right after they’ve finished their spectacular blooming show. This is when the plant has good energy stored up and new growth is vigorous but hasn’t hardened off too much. Trying to propagate when the plant is dormant or stressed is just asking for disappointment.
Supplies You’ll Need
Here’s what you’ll want to have on hand:
- Sharp, clean pruning shears or a sharp knife: For taking clean cuttings.
- A good quality, well-draining potting mix: I like a blend of coarse sand, perlite, and peat moss – roughly a 1:1:2 ratio. You want good aeration.
- Small pots or seed trays: With drainage holes, of course!
- Rooting hormone powder (optional but recommended): This can give your cuttings a helpful boost.
- A watering can with a fine rose attachment: For gentle watering.
- A plastic bag or a propagator lid: To create a humid environment.
- Labels and a permanent marker: To keep track of your efforts!
Propagation Methods
For Soldanella carpatica, the most successful method is usually taking basal cuttings or division.
Basal Cuttings:
- Prepare your cuttings: In late spring or early summer, locate new, non-flowering shoots coming from the base of the plant. Using your clean shears, carefully cut about 2-3 inches of a healthy shoot, making the cut as close to the base as possible. Try to get a little bit of the root crown with it if you can.
- Prepare the cuttings: Gently remove any lower leaves, leaving just a few at the top. If the leaves are quite large, I often pinch them in half to reduce water loss while the cutting tries to root.
- Apply rooting hormone: Dip the cut end of each stem into rooting hormone powder. Tap off any excess.
- Plant the cuttings: Fill your pots or trays with your prepared potting mix. Make a small hole with a pencil or your finger and gently insert the cutting. Firm the soil around it so it stands upright.
- Create humidity: Water the soil gently until it’s moist but not soggy. Then, cover the pot with a clear plastic bag or place it in a propagator lid. This is crucial for maintaining humidity.
- Provide light and warmth: Place the pots in a bright spot with indirect light. A little bit of bottom heat can also be very beneficial.
Division:
This is often the easiest route if you have an established clump.
- Gently lift the plant: In the same late spring or early summer window, carefully dig around the base of the plant and lift the entire clump from the soil.
- Separate the divisions: You’ll see that the clump is likely made up of several smaller plants. Gently pull or use your knife to carefully separate these into smaller sections. Each section should have some roots and at least a few healthy shoots.
- Replant immediately: Plant each division into its own pot with fresh, well-draining potting mix. Water them in well.
The “Secret Sauce” (Pro Tips)
Here are a couple of tricks I’ve learned over the years that make a big difference:
- Don’t let the leaves touch stagnant water. If you’re trying water propagation (less ideal for Soldanella but sometimes people try it), make sure only the very bottom of the stem is submerged. Any leaves in the water will likely rot and take your cutting with them.
- Bottom heat is your friend! For cuttings, placing the pots on a propagation mat or a warm windowsill can significantly speed up the rooting process and increase your success rate. It mimics the warmth of spring soil.
- Be patient with the soil. Soldanella roots are delicate. Don’t be tempted to keep pulling them up to check for roots! Resist the urge. Wait at least 4-6 weeks before gently tugging on a cutting to feel for resistance, which indicates root formation.
Aftercare & Troubleshooting
Once your cuttings have taken root (you’ll see new growth appearing at the top, or feel resistance when you tug gently), it’s time for a bit more care.
- Acclimatize them: Slowly remove the plastic bag or propagator lid over a week or so to allow them to adjust to normal humidity.
- Watering: Continue to keep the soil consistently moist but not waterlogged. As they grow, you can start watering them as you would mature Soldanella.
- Transplanting: Once they have a decent root system and are showing good top growth, you can transplant them into their permanent garden spot or larger pots.
The most common issue you’ll encounter is rot. This is usually due to overwatering and poor drainage. If you see your cutting wilting, turning mushy, or developing black spots, it’s a sign of rot. Sadly, there’s not much you can do once rot sets in. The best preventative measure is ensuring excellent drainage and not letting them sit in water. You might also find some cuttings simply don’t take; that’s part of the process!
A Little Bit of Patience Goes a Long Way
Propagating plants is a journey, not a race. Soldanella carpatica deserves a little extra attention, perhaps, but the reward of seeing a new plant flourish from a tiny cutting or division is truly special. So, give it a go, enjoy the process, and don’t be discouraged if the first attempt isn’t perfect. Happy gardening!
Resource:
https://identify.plantnet.org/k-world-flora/species/Soldanella%20carpatica%20Vierh./data