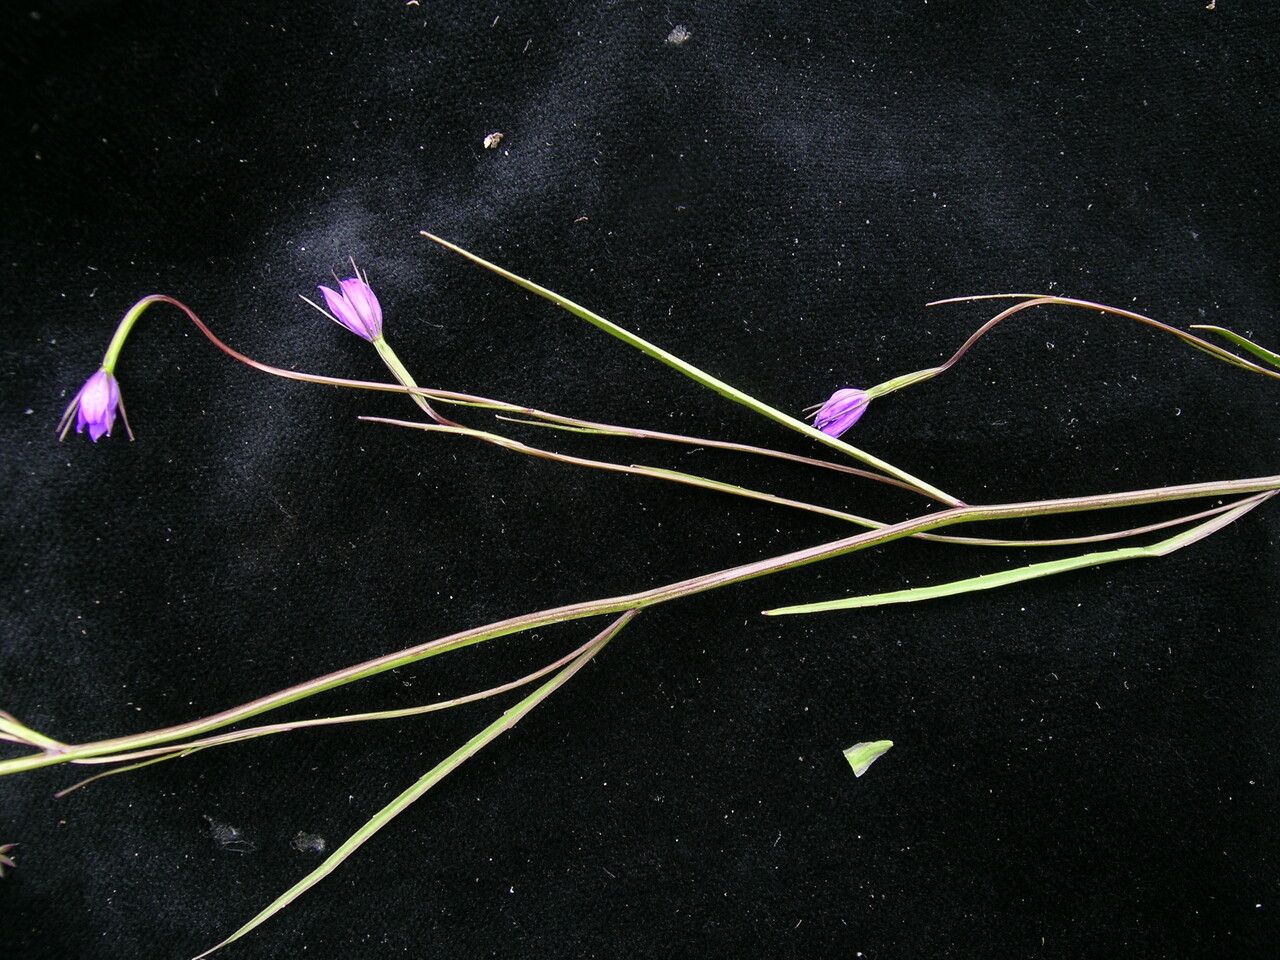
Oh, hello there! Grab your favorite mug; let’s chat about a little gem that’s captured my heart over the years: Campanula aristata, or as I like to affectionately call it, the “Bellflower’s Starry Cousin.” Its delicate, star-shaped blooms in shades of luminous blue and soft lavender have a way of making any corner of the garden sing. And the absolute joy of coaxing new life from these beauties? It’s a reward all its own. Now, is it an absolute breeze for a complete novice? Let’s just say it’s more of a delightful challenge, but nothing you can’t absolutely master with a little patience and the right guidance.
The Best Time to Start
For Campanula aristata, I find the sweet spot for propagation is in late spring to early summer. This is when the plant has typically finished its main flush of flowering and is putting on vigorous new growth. You’re looking for stems that are semi-hardwood – they’ll snap cleanly when bent, but still have a bit of flexibility to them, rather than being completely soft and floppy or woody and stiff. Aim for shoots that haven’t flowered yet this season, or those that have just finished.
Supplies You’ll Need
Here’s what I’ll have ready when it’s time to get busy:
- Sharp, clean pruning shears or a sharp knife: For taking precise cuttings. Sterilize them with rubbing alcohol.
- Rooting hormone (optional but recommended): A powder or gel designed to encourage root development.
- Small pots or seed trays with drainage holes: Clean ones, of course!
- A well-draining potting mix: I like a blend of coarse sand, perlite, and a good quality peat-free potting compost. About a 1:1:2 ratio works wonders.
- A plastic bag or clear plastic dome: To create a mini greenhouse effect.
- A tray or propagator: To hold the pots.
- Bottom heat (optional, but a game-changer): A heat mat can significantly speed up the rooting process.
- A watering can with a fine rose: For gentle watering.
Propagation Methods
I typically have the best luck with stem cuttings for Campanula aristata. Division can work too, but sometimes these slender stems are just begging to be multiplied this way.
Stem Cuttings:
- Select Your Cuttings: Gently examine your Campanula aristata plant for those semi-hardwood stems I mentioned. Look for healthy, disease-free growth.
- Make the Cut: Using your sterile shears or knife, take cuttings about 3-4 inches long. Make the cut just below a leaf node (where a leaf attaches to the stem). This is where the magic happens for root formation.
- Prepare the Cuttings: Carefully remove the lower leaves, leaving just the top two or three sets. This prevents them from rotting in the soil. You can also gently scrape a small sliver of bark off one side of the base, about half an inch long; this encourages root initiation.
- Apply Rooting Hormone (Optional): Dip the cut end of the stem into the rooting hormone, tapping off any excess.
- Plant Your Cuttings: Fill your small pots or trays with your prepared, slightly damp potting mix. Make a hole with a pencil or dibber in the center of each pot. Insert the cut end of the Campanula aristata cutting into the hole, ensuring the leaf nodes are buried. Gently firm the soil around the stem.
- Water Gently: Water the pot thoroughly using your fine-rose watering can, ensuring the soil is moist but not waterlogged.
- Create Humidity: Pop the pots into a clear plastic bag, sealing it loosely at the top, or cover them with a clear plastic dome. This is crucial for keeping the cuttings hydrated.
- Provide Light and Warmth: Place your cuttings in a bright spot with indirect light. If you have a heat mat, place the tray on it now. Aim for a temperature between 65-70°F (18-21°C).
The “Secret Sauce” (Pro Tips)
Here are a couple of things I’ve learned that really make a difference:
- Don’t Let the Leaves Touch the Water: When setting up your cuttings, make absolutely sure none of the leaves, even the lower ones you think you’ve removed, are dipping into any standing water at the bottom of the pot or tray. This is a fast track to rot.
- A Little Bottom Heat Goes a Long Way: While Campanula aristata can root without it, adding gentle bottom heat from a propagator or heat mat makes a huge difference. It mimics natural spring conditions and really encourages those roots to get going much faster and more reliably. It’s like giving them a cozy incubator!
Aftercare & Troubleshooting
Once your cuttings are potted, keep an eye on them. Mist the inside of the plastic bag or dome every few days if it looks dry, but try not to let the soil get saturated. You’ll know they’re rooting when you see fresh green growth appearing or feel a gentle tug when you very carefully try to pull on a cutting. This usually takes 3-6 weeks, depending on conditions.
Once new growth is evident and you feel some resistance, it’s time to gradually acclimatize them to normal humidity. Start by opening the bag or dome for a few hours each day.
The most common issue you’ll encounter is rot. If you see cuttings turning mushy or black at the base, they’ve likely succumbed to overly wet conditions. It’s a bummer, but the best approach is to remove the affected cuttings immediately to prevent it from spreading to others. Ensure you have good drainage and don’t be tempted to overwater.
A Encouraging Closing
Propagating Campanula aristata might take a little nurturing, but seeing those tiny roots develop and a new plant emerge is one of gardening’s purest pleasures. Be patient with them, trust the process, and don’t be afraid to experiment. Happy propagating, and may your garden be ever more beautiful!
Resource:
https://identify.plantnet.org/k-world-flora/species/Campanula%20aristata%20Wall./data