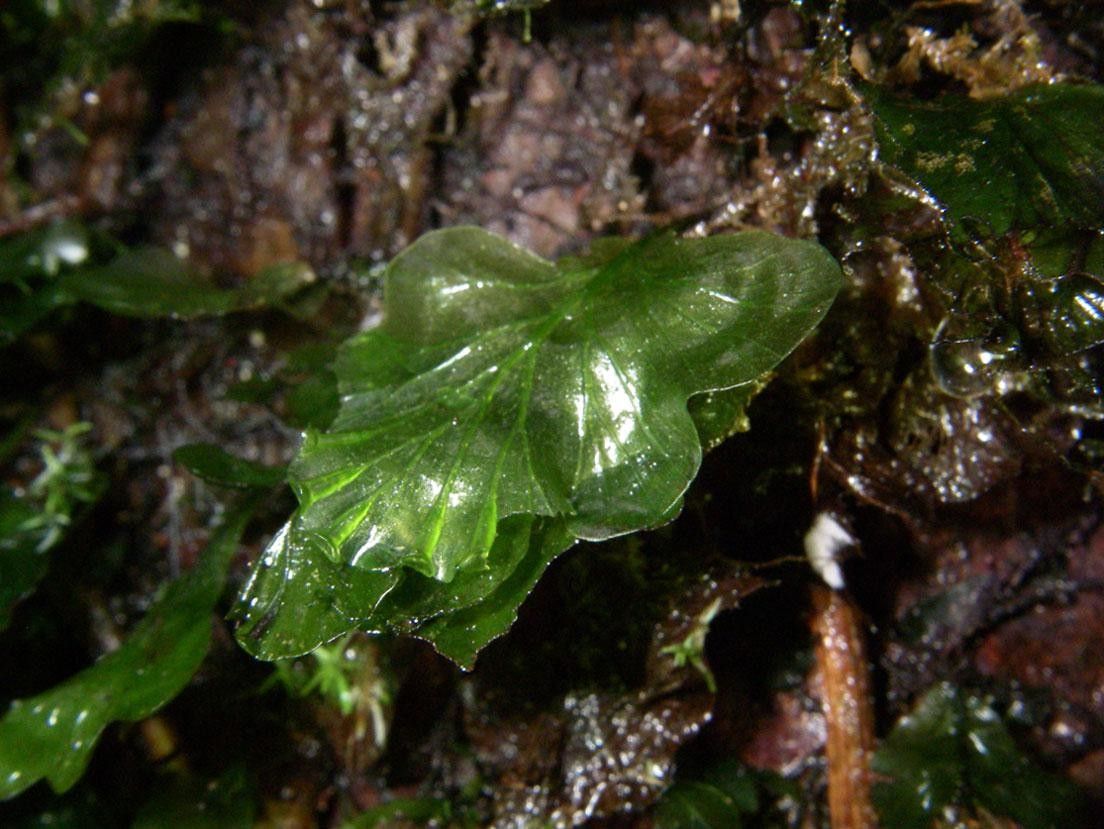
Unlocking the Mystery of Trichomanes godmanii: Your Guide to Spreading the Magic
Oh, the charm of Trichomanes godmanii! If you’re anything like me, just looking at those delicate, almost ethereal fronds makes you want to fill your home with them. They bring such a touch of the wild, that lush, forest-floor feel, right into our living spaces. And for those of us who love to multiply our plant collection, propagating this gem is a wonderfully rewarding endeavor. Now, I won’t lie and say it’s as simple as sticking a pothos cutting in a jar. Trichomanes godmanii can be a bit more discerning, but with a little understanding and a gentle hand, you’ll be amazed at how successful you can be. Think of it as earning your green thumb stripes!
The Sweet Spot for Starting Your Propagation Adventure
When it comes to Trichomanes godmanii, timing is everything. I’ve found the late spring through early summer to be the absolute best time to get your cuttings. This is when the plant is actively growing, buzzing with energy. You’ll notice new fronds unfurling, and these are your prime candidates for propagation. Trying to take cuttings when the plant is dormat or stressed will just lead to disappointment, believe me!
Gathering Your Tools for Success
Before we dive in, let’s make sure you have everything ready. A little preparation goes a long way.
- Sharp, clean pruning shears or a craft knife: We need to make clean cuts to avoid damaging the plant or introducing diseases.
- Well-draining potting mix: I like a blend of sphagnum moss, perlite, and a touch of coco coir for this fussy friend. It needs to retain some moisture but drain freely.
- Small pots or propagation trays: Think 2-4 inch pots, nothing too large to start.
- Clear plastic bags or a propagation dome: This will create that humid environment our Trichomanes craves.
- Watering can with a fine rose or misting bottle: Gentle watering is key.
- Optional: Rooting hormone: While not always strictly necessary for Trichomanes godmanii, a light dip can give your cuttings a little boost. I personally prefer liquid rooting hormones for this type of plant.
Becoming a Trichomanes Multiplier: Your Propagation Methods
For Trichomanes godmanii, the most straightforward and successful method I’ve found is stem propagation.
- Identify a healthy stem: Look for a stem that has at least two to three healthy fronds and a section of bare stem in between. You want to make sure there’s enough “meat” for it to root.
- Make the cut: Using your clean shears or knife, make a clean cut just below a node. A node is that slight swelling on the stem where leaves or roots emerge. This is where the magic happens!
- Prepare the cutting: Gently remove any fronds that will be below the soil line. This prevents them from rotting. If you’re using rooting hormone, dip the cut end into it now.
- Planting your cutting: Fill your small pot with your prepared, slightly pre-moistened potting mix. Make a small hole in the center with your finger and gently insert the cut end of your stem. Firm the soil around it so it stands upright.
- Creating the Microclimate: This is crucial! Water the soil lightly. Then, place the pot inside a clear plastic bag, sealing it loosely, or pop on a propagation dome. This will trap humidity and create a mini-greenhouse effect.
The “Secret Sauce”: My Insider Tips
Years in the greenhouse have taught me a few things that aren’t always in the textbooks!
- Don’t drown it, but keep it consistently moist: This plant loves humidity, but sitting in soggy soil is a fast track to root rot. I aim for the soil to feel like a wrung-out sponge. If you see water pooling, you’ve gone too far.
- Provide gentle warmth: Trichomanes godmanii really thrives with a little bottom heat. Placing your propagation tray on a seedling heat mat (on a low setting) can significantly speed up root development. It mimics that wonderfully warm, humid jungle floor.
The Waiting Game: Aftercare and What to Watch For
Once your cuttings are nestled in their humid homes, patience is your best friend.
- Light: Place your propagations in a spot with bright, indirect light. No direct sun for these delicate youngsters!
- Watering: Check the moisture levels every few days. You want the soil to stay consistently damp but not waterlogged. If the plastic bag is starting to get too much condensation, air it out for a few hours.
- Roots! You’ll start to see signs of rooting within a few weeks to a couple of months. A good indicator is new frond growth appearing. You can also gently tug on the cutting; if there’s resistance, it’s likely established roots.
Troubleshooting: The most common issue you’ll encounter is rot. If you see a cutting turning black and mushy, it’s usually a sign of too much moisture. Unfortunately, this cutting is likely lost. Remove it immediately to prevent it from affecting others. Ensure your soil is draining well and that you’re not overwatering. Yellowing fronds can also indicate too much light or not enough humidity.
Savoring the Success
Propagating plants is a journey of observation and connection. With Trichomanes godmanii, it might take a little extra care, but the reward of seeing those tiny new fronds emerge is just magnificent. Don’t get discouraged if a cutting doesn’t make it; each attempt teaches you more. Enjoy the process, celebrate every little bit of growth, and soon you’ll have a whole collection of these captivating ferns to share the magic with! Happy propagating!
Resource:
https://identify.plantnet.org/k-world-flora/species/Trichomanes%20godmanii%20Hook.%20ex%20Baker/data