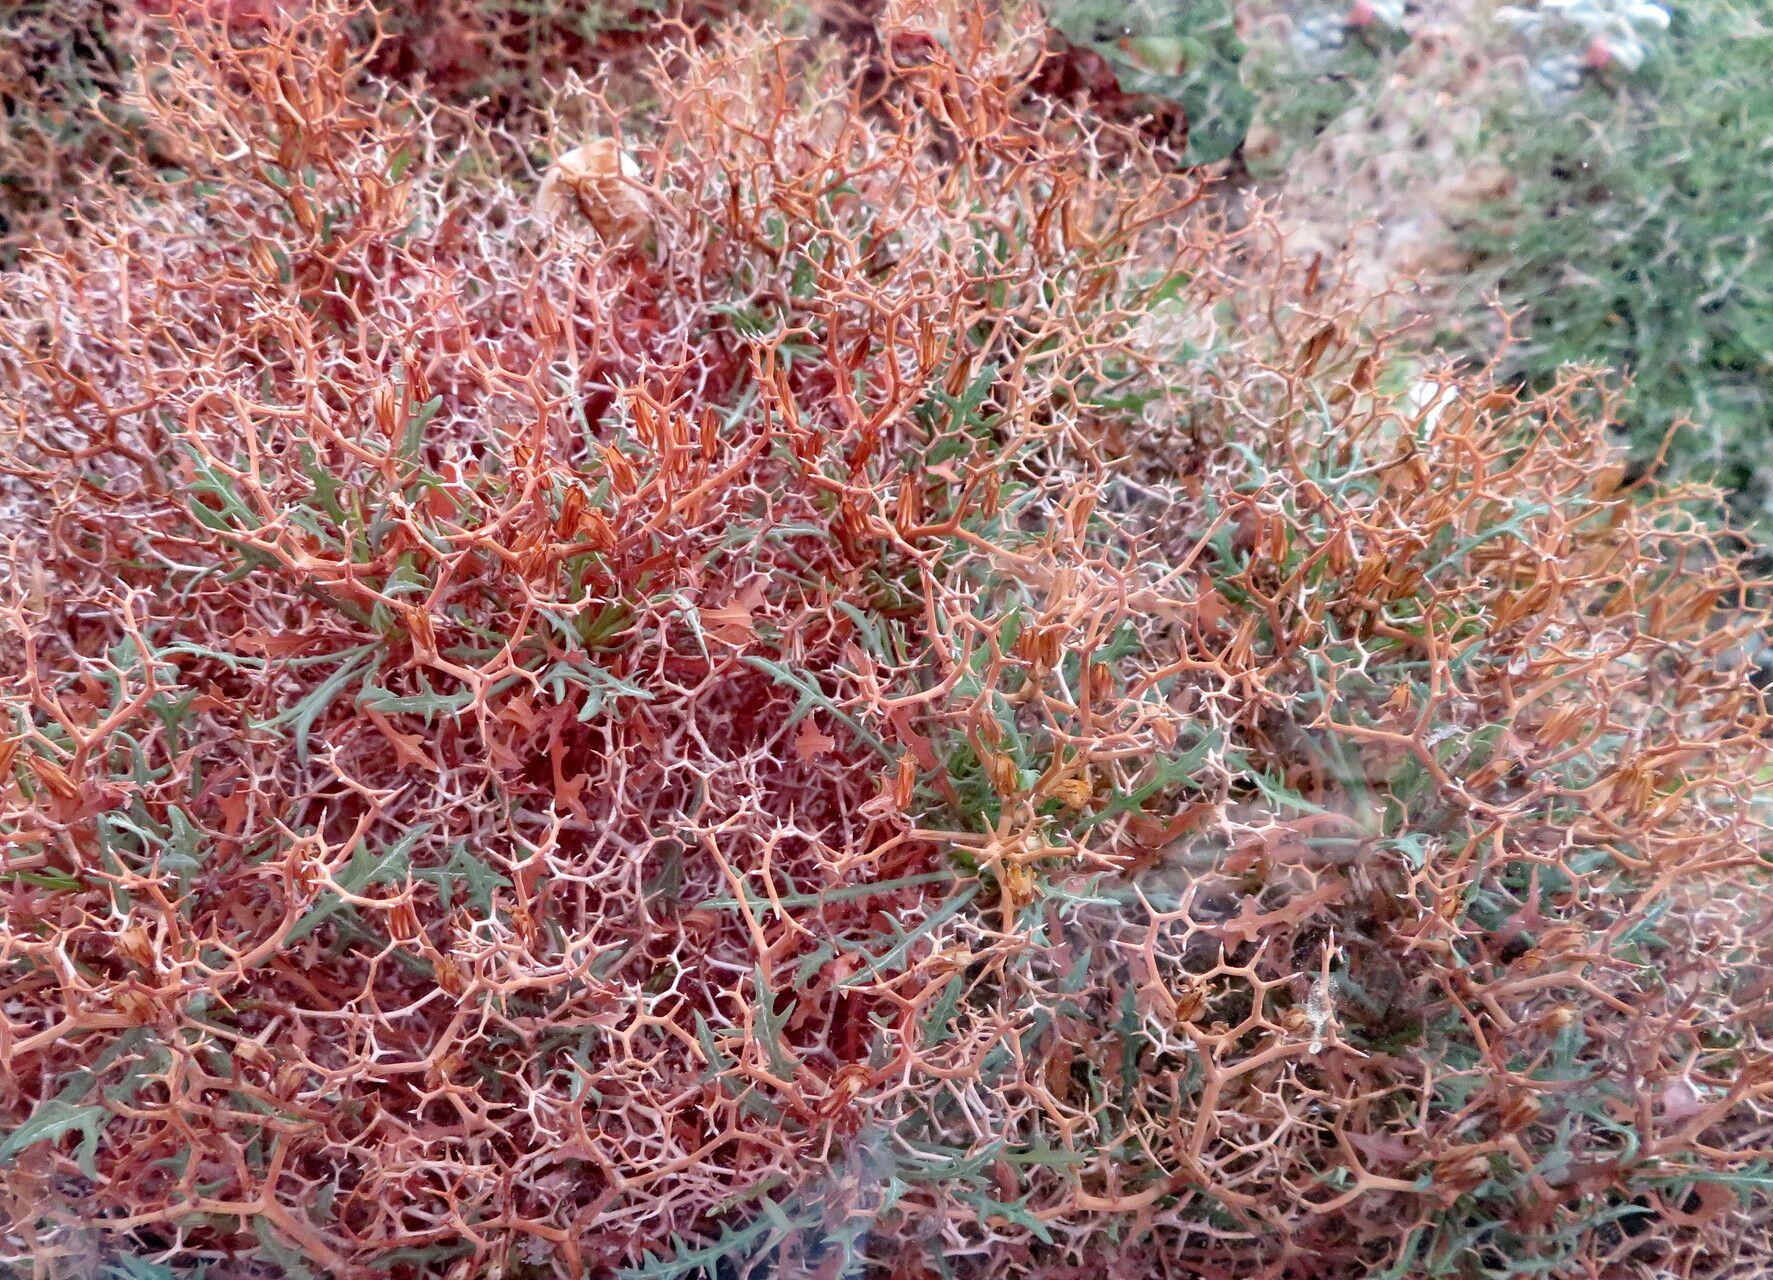
Oh, hello there, fellow plant lover! Grab a mug, because today we’re diving into the delightful world of propagating Launaea cervicornis. If you’ve ever admired those striking, architectural stems of this succulent, you know exactly why they capture our attention. They look like little coral branches, don’t they? And the best part? You can have more of these beauties for yourself!
Propagating Launaea cervicornis is a truly rewarding experience. Watching a tiny cutting transform into a thriving new plant is such a joy. For beginners, I’d say this one falls into the “moderately easy” category. It’s not as foolproof as, say, a Pothos, but with a little care and attention, you’ll be successful.
The Best Time to Start
The absolute best time to propagate Launaea cervicornis is during its active growing season. For most of us, that means spring and early summer. This is when the plant has the most energy to put into root development. Trying to propagate when it’s dormant, usually in the cooler, darker months, will significantly reduce your chances of success.
Supplies You’ll Need
Here’s what you’ll want to have on hand before you begin:
- Sharp, clean pruning shears or a sharp knife. Sterilize them to prevent disease transmission.
- A well-draining potting mix. I love a mix of equal parts succulent/cactus soil and perlite. This ensures excellent aeration and prevents waterlogging.
- Rooting hormone (optional but recommended). This little helper can speed up the process and increase success rates.
- Small pots or seedling trays. Terra cotta is great because it breathes.
- Watering can or spray bottle. For gentle watering.
- Labels and a marker. So you don’t forget what you’ve propagated!
Propagation Methods
Let’s get our hands dirty! The primary way we propagate this beauty is through stem cuttings.
Stem Cuttings:
- Sanitize your tools. This is crucial, and I can’t stress it enough. Clean shears mean healthy plants.
- Select a healthy stem. Look for a firm, mature stem that’s at least 3-4 inches long. Avoid anything that looks leggy or diseased.
- Make a clean cut. Cut the stem just below a leaf node (where a leaf attaches to the stem). This is where roots love to emerge.
- Remove lower leaves. Gently pull off the bottom 1-2 inches of leaves from your cutting. This prevents them from rotting once planted.
- Let it callus. This is a super important step for succulents! Place your cuttings in a dry, well-ventilated spot out of direct sunlight for 2-5 days. You want the cut end to dry and form a callus. This prevents rot when you plant it.
- Apply rooting hormone (optional). Once callused, dip the cut end into your rooting hormone powder, tapping off any excess.
- Plant your cuttings. Fill your small pots with your prepared succulent mix. Make a hole with a pencil or your finger, deep enough to anchor the cutting. Gently insert the callused end of the cutting.
- Water lightly. Water just enough to settle the soil around the cutting.
The “Secret Sauce” (Pro Tips)
Now, for a couple of things I’ve learned over the years that can really help your Launaea cervicornis cuttings thrive:
- Bottom warmth is your friend. If you can, place your pots on a heating mat designed for seedlings. This gentle warmth stimulates root growth from below, making a huge difference, especially in cooler indoor environments.
- Don’t overwater, ever! This is the number one killer of succulent cuttings. Wait until the soil is completely dry before watering again. A light misting might be enough initially. When you do water, water thoroughly until it drains from the bottom.
Aftercare & Troubleshooting
Once your cuttings are in their pots, place them in a bright, indirect light location. Avoid harsh, direct sun, which can scorch the young, vulnerable cuttings.
You’re looking for signs of root development. This can take anywhere from 2 weeks to over a month. A gentle tug on the cutting will reveal if it’s anchored by new roots. If you feel resistance, congratulations, you have a rooted plant!
The most common issue you’ll face is rot. If your cutting starts to look mushy, discolored, or just doesn’t seem to be callusing or rooting, it’s likely due to too much moisture or insufficient callusing. If you see rot, it’s often best to discard the affected cutting and try again, paying close attention to the callusing and watering steps.
A Heartfelt Encouragement
Propagating plants is a journey, and sometimes it has its ups and downs. Don’t be discouraged if your first few attempts aren’t perfect. Be patient with your little cuttings, give them the right conditions, and you’ll be rewarded. Enjoy the process of nurturing new life – it’s one of the most fulfilling aspects of gardening! Happy propagating!
Resource: