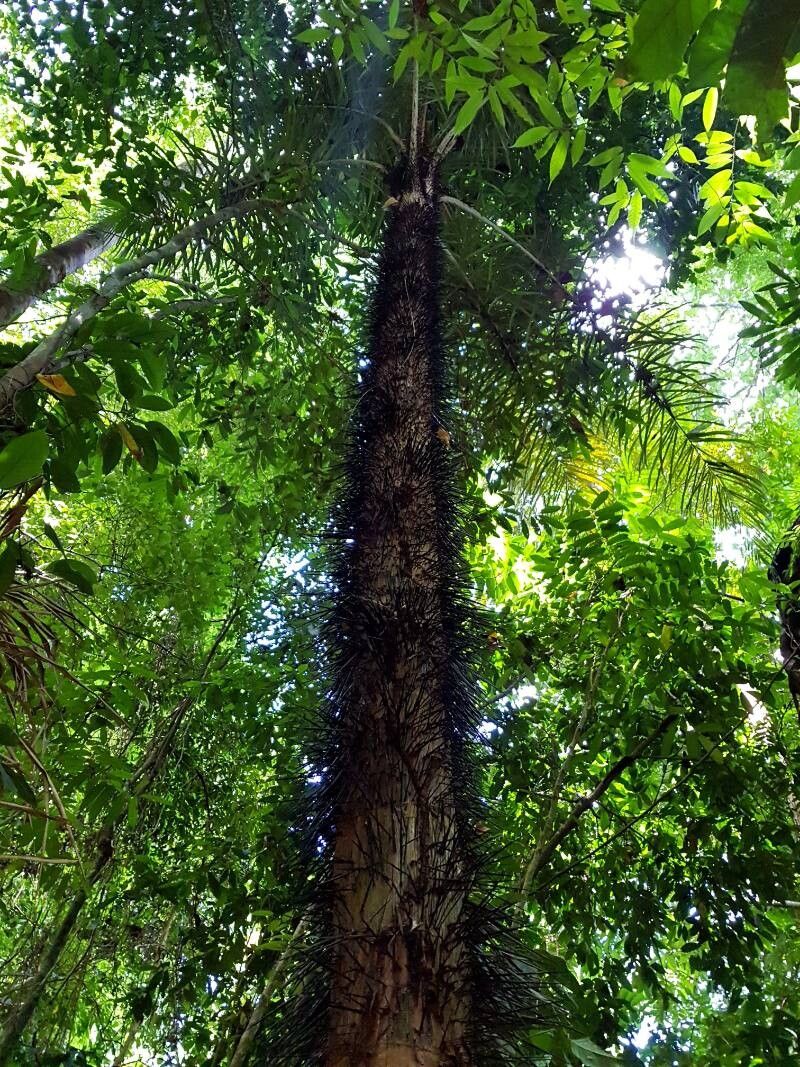
Hello, fellow garden enthusiasts! Today, we’re diving into the wonderful world of Astrocaryum confertum. If you’re drawn to the architectural beauty and tropical flair of palms, then this one might just steal your heart. Its elegant fronds, often with a lovely silvery underside, add a striking vertical element to any garden or even as a statement indoor plant. Propagating your own Astrocaryum confertum is a truly rewarding endeavor, letting you build your collection or share these beauties with friends. Now, I’ll be honest, Astrocaryum confertum isn’t the absolute easiest palm to propagate for a complete beginner, but with a little patience and the right approach, you’ll absolutely be successful!
The Best Time to Start
Generally, the warmer months are your best bet for propagating Astrocaryum confertum. Think late spring through summer. This is when the plant is actively growing and has the energy reserves needed for root development. You’re looking for a healthy, mature plant that’s showing good vigor. Avoid trying to propagate from a plant that looks stressed or is just coming out of a dormant period.
Supplies You’ll Need
Gathering your supplies beforehand makes the whole process much smoother. Here’s what you’ll want to have on hand:
- Sharp, sterile pruning shears or a clean knife: Essential for making clean cuts.
- Well-draining potting mix: A blend of perlite, coarse sand, and peat moss works wonderfully. You can also find specialized palm or cactus mixes.
- Rooting hormone powder or gel (optional but recommended): This can significantly boost your success rates by encouraging root formation.
- Small pots or propagation trays: With good drainage holes, of course!
- Plastic bags or a propagation dome: To create a humid environment.
- Watering can with a fine rose attachment: For gentle watering.
- Labels and a marker: So you don’t forget what you’ve propagated and when.
- A clean, slightly gritty substrate like perlite or coarse sand: If you’re opting for a specific method.
Propagation Methods
For Astrocaryum confertum, the most common and effective method is propagation by division. This palm typically produces pups (new baby plants) from its base.
Propagation by Division:
- Gently remove the parent plant from its pot. If it’s in the ground, carefully dig around it, ensuring you don’t damage the root ball.
- Inspect the base of the plant. You’re looking for smaller offshoots (pups) that have their own roots emerging from the main stem or root system.
- Using your sharp, sterile knife or pruning shears, carefully separate the pup from the mother plant. Try to get as many of the pup’s roots as possible. If it’s really attached, a slight wiggle and a clean cut are your best bet.
- If using rooting hormone, dip the cut end of the pup into the hormone powder or gel. Tap off any excess.
- Pot the pup into its own small pot filled with your well-draining potting mix. Make sure it’s snug but not packed too tightly.
- Water thoroughly but gently.
- Place the newly potted pup in a warm, bright spot out of direct sunlight. Covering it with a plastic bag or placing it under a propagation dome will help maintain humidity, which is crucial for new root development. Just ensure there’s some airflow to prevent mold.
The “Secret Sauce” (Pro Tips)
Here are a few little tricks I’ve picked up over the years that can make a big difference:
- Don’t rush the separation. Sometimes, the pups are more tightly bound to the mother plant than you think. If you’re struggling, give it another week or two. A little patience here can mean a much healthier start for your new plant.
- The humidity tent is your friend, but watch for fog. While you want high humidity, if the inside of your plastic bag or dome is constantly dripping with condensation, you risk fungal issues. Briefly opening it for a few minutes each day can help with air circulation.
- Bottom heat can be a game-changer. If you have a seedling heat mat, placing your pots on it can really encourage root growth, especially if your home is a bit on the cooler side. It mimics the warmth of tropical soil.
Aftercare & Troubleshooting
Once your Astrocaryum confertum pup is potted, keep the soil consistently moist but not waterlogged. This is a delicate balance. I like to check the soil moisture with my finger – when the top inch feels dry, it’s time to water. Avoid the temptation to constantly poke and prod for roots; this can disturb delicate new growth. You’ll know you’re successful when you see signs of new leaf development.
The biggest challenge you might face is rot. This usually happens from overwatering or poor drainage. If you see the base of the pup becoming mushy or discolored, or if the leaves start to yellow and droop dramatically, it’s likely rot. Unfortunately, once rot sets in, it’s very difficult to save. In this case, inspect the roots for any signs of life. If none, it’s best to discard the affected plant and start again, paying closer attention to watering and drainage.
A Encouraging Closing
Propagating plants is a journey of discovery, and while it might have its moments, the thrill of seeing a new Astrocaryum confertum thrive from a small pup is unbeatable. Be patient with your new little palm, give it the consistent care it needs, and celebrate every bit of progress. Happy propagating!
Resource: