Hey there, fellow plant lovers!
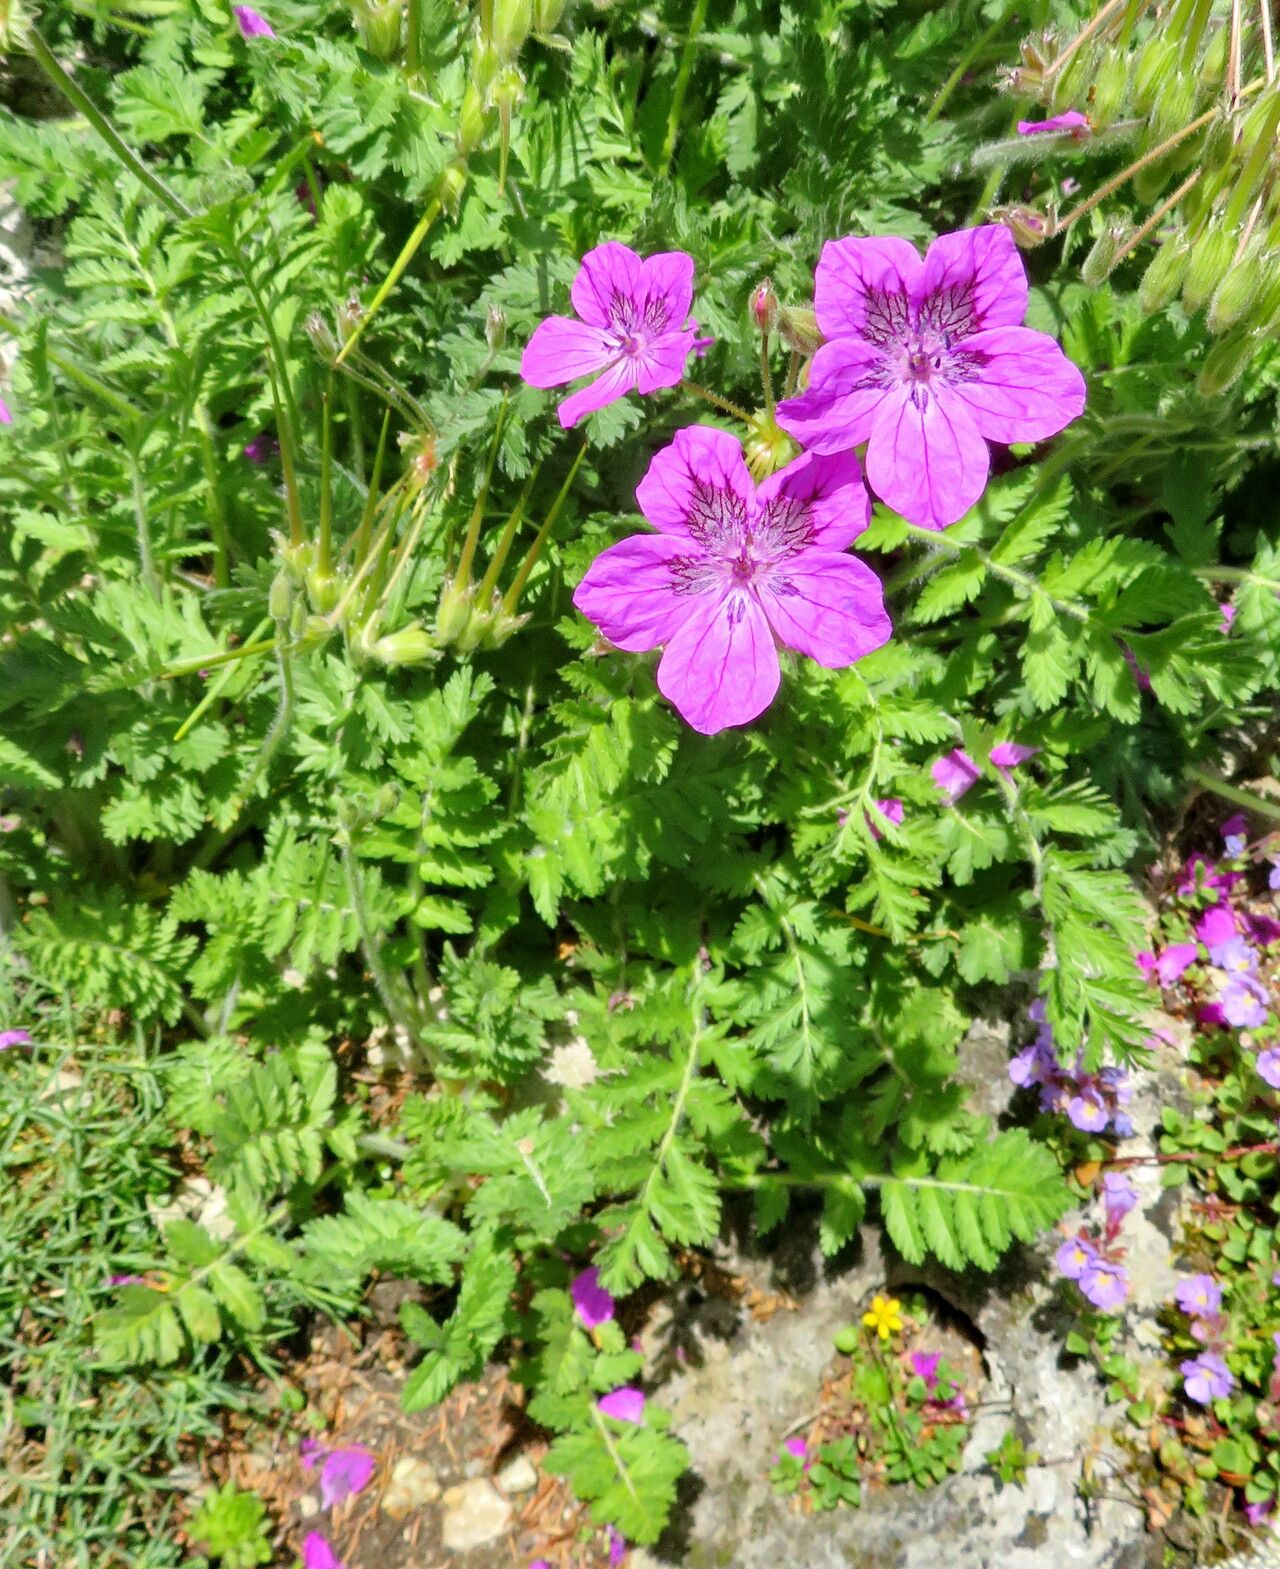
If you’re anything like me, you find yourself drawn to those plants that offer a little something extra – a unique texture, a subtle beauty that just sings in the garden. Erodium carvifolium, with its finely cut, fern-like leaves and delicate flowers, is one of those gems. It’s a plant that adds a touch of understated elegance, and honestly, growing more of it yourself is incredibly satisfying. Thinking about diving into propagation? Good news! Erodium carvifolium is a pretty rewarding plant to multiply, and for the most part, it’s quite accommodating for those just starting out.
The Best Time to Start
For the highest success rate, I’ve found that late spring to early summer is your golden window. This is when the plant is actively growing after a good spell of warmer weather. You’re looking for healthy, non-flowering stems. Trying to root in the dead of winter or when the plant is stressed from extreme heat can be a bit more challenging.
Supplies You’ll Need
Here’s a little checklist to get you prepared. Don’t worry; it’s not extensive!
- Sharp, clean pruning shears or a sharp knife: Essential for clean cuts.
- Potting mix: A well-draining mix is key. I like a blend of perlite and peat moss, or a good quality seedling mix.
- Small pots or trays: About 3-4 inches in diameter works well.
- Rooting hormone (optional but helpful): Especially for cuttings.
- Plastic bags or a propagation dome: To create a humid environment.
- A spray bottle: For misting.
- Labels: To keep track of what you’ve rooted!
Propagation Methods
Erodium carvifolium is quite amenable to stem cuttings, and it’s my go-to method for increasing my stock.
Stem Cuttings:
- Take your cuttings: In late spring or early summer, select healthy, non-flowering stems from your Erodium. Look for stems that are firm but not woody. Using your clean shears, cut a piece about 3-4 inches long, making the cut just below a leaf node (that little bump where a leaf attaches to the stem).
- Prepare the cuttings: Gently remove the lower leaves from the cutting, leaving just a few at the very top. This prevents them from rotting once planted. If you’re using rooting hormone, dip the cut end of the stem into it now, tapping off any excess.
- Plant your cuttings: Fill your small pots with your prepared potting mix. Make a small hole in the center with your finger or a pencil. Gently insert the cut end of the Erodium cutting into the hole, ensuring the leaf nodes you removed are below the soil surface. Firm the soil gently around the stem.
- Create humidity: Water the soil lightly until it’s moist but not waterlogged. To maintain humidity, you can either place a plastic bag loosely over the pot (making sure the leaves don’t touch the sides) or cover it with a propagation dome.
- Provide light and warmth: Place the pot in a bright location but out of direct, harsh sunlight. A windowsill that gets bright, indirect light is perfect. If you have a heat mat, placing it under the pots can speed things up, but it’s not strictly necessary.
The “Secret Sauce” (Pro Tips)
Over the years, I’ve learned a few tricks that make a real difference.
- Don’t let the leaves touch the water (if water propagating): While I lean towards soil for Erodium, if you do try water propagation, make sure only the cut stem is submerged. Any leaves below the waterline will quickly rot, bringing the whole endeavor down.
- Bottom heat is your friend: If you struggle with cuttings taking too long, a gentle bottom heat source (like a propagation mat set on low) can significantly speed up root development. It mimics the warmth of spring soil.
- Give them a gentle tug: After about 3-4 weeks, you can give a cutting a very gentle tug. If there’s resistance, it means roots have formed! If it pulls out easily, it likely needs more time.
Aftercare & Troubleshooting
Once you see new growth emerging from your cuttings, that’s a fantastic sign that roots have formed! Gradually introduce your new Erodium plants to the outdoors by briefly opening the plastic bag or dome for short periods each day. Once they seem happy and are producing fresh leaves, you can remove the cover entirely. Keep the soil consistently moist but not soggy as they establish.
The most common issue you’ll encounter is rot, often indicated by the stem turning black and mushy at the soil line. This is usually a sign of too much moisture and not enough air circulation. Don’t be discouraged if a few don’t make it; it happens to all of us! Just clean out the pot and try again with fresh cuttings.
A Encouraging Closing
Growing new plants from Erodium carvifolium is a wonderfully rewarding process. Be patient with yourself and your cuttings. Nature works on its own timeline, and sometimes, all it takes is a little waiting and a lot of nurturing. Enjoy the journey of coaxing new life from your favorite plants! Happy gardening!
Resource:
https://identify.plantnet.org/k-world-flora/species/Erodium%20carvifolium%20Boiss.%20&%20Reut./data