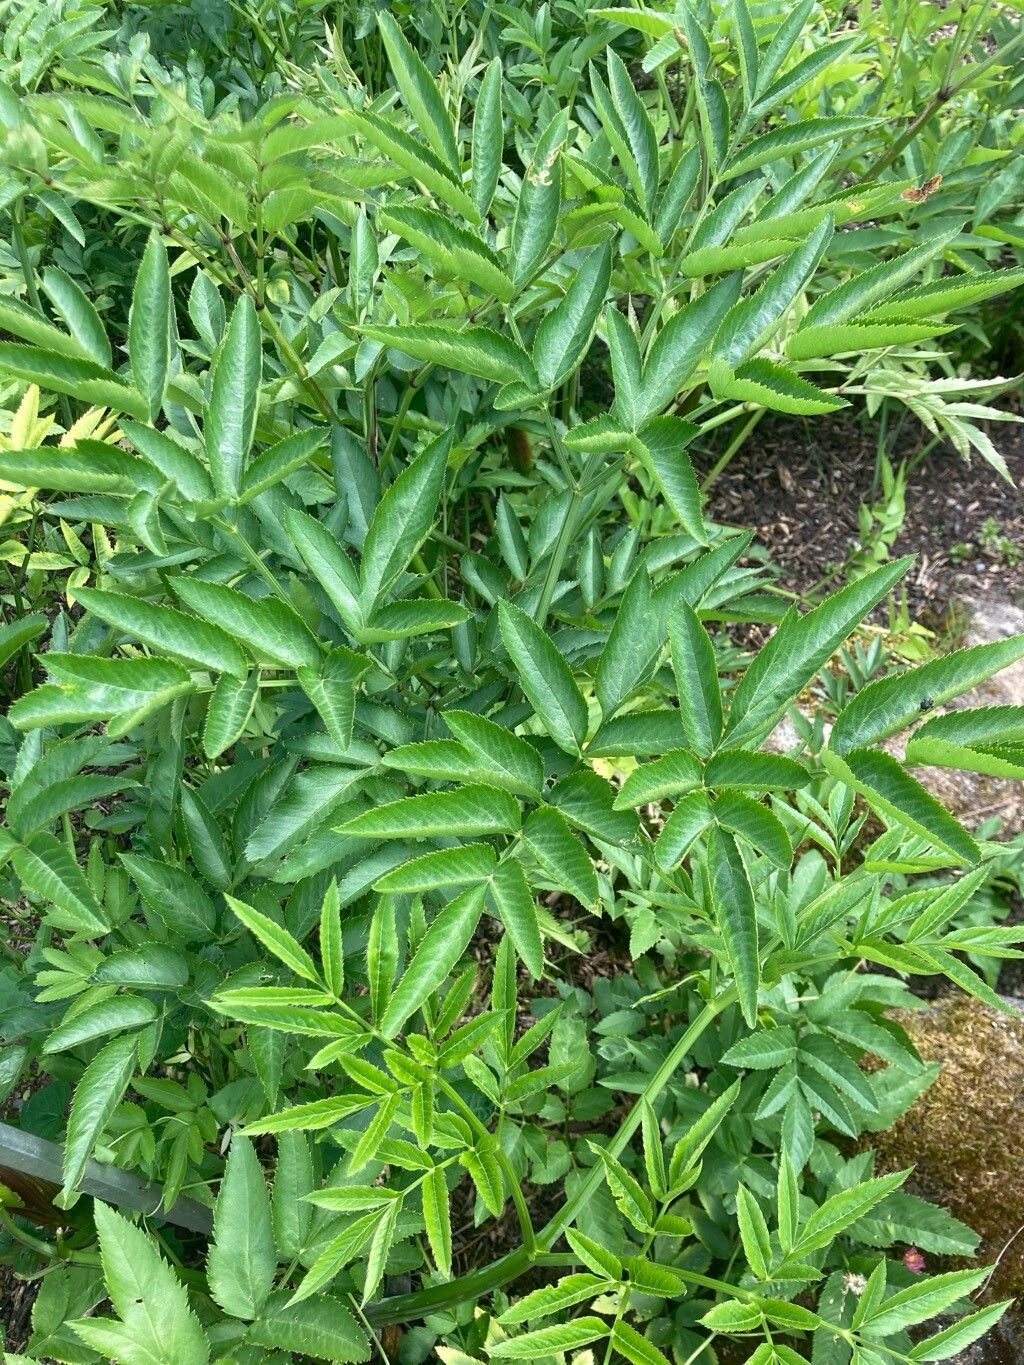
Well hello there, fellow garden enthusiasts! Today, I want to chat about a plant that’s truly special, and one I’ve come to adore over the years: Angelica heterocarpa. There’s something so elegantly wild about its architectural form and those delicate, lace-like umbels of flowers. It’s like a gentle giant in the garden, attracting a whole host of beneficial insects. And the best part? You can easily bring more of this beauty into your own patch by propagating it.
Now, if you’re new to the gardening game, you might be wondering if this is an ambitious undertaking. Honestly, Angelica heterocarpa is a pretty forgiving plant when it comes to propagation. While it’s not quite as simple as tossing out a few seeds, it’s absolutely achievable for beginners willing to put in a little care. The reward of nurturing a new plant from a tiny cutting or division is just immense.
The Best Time to Start
My go-to time for propagating Angelica heterocarpa is late spring to early summer. This is when the plant is actively growing, and new shoots are tender and full of life. It means they’re primed to root. Waiting until after the main flush of growth in springtime gives you nice, healthy stems to work with.
Supplies You’ll Need
Here’s what I always have on hand when I’m getting ready to propagate:
- Sharp pruning shears or a clean knife: For making clean cuts.
- Propagation pots or trays: Small pots with good drainage are ideal.
- Well-draining potting mix: I like a mix of equal parts seed-starting mix and perlite. This ensures good aeration.
- Rooting hormone (optional but recommended): A good quality powdered hormone can give your cuttings a real boost.
- Watering can with a fine rose: For gentle watering.
- Plastic bags or a propagator lid: To create a humid environment for young cuttings.
- Small labels and a waterproof pen: To keep track of what you’ve planted!
Propagation Methods
For Angelica heterocarpa, I find two methods work exceptionally well: stem cuttings and division.
Stem Cuttings: Bringing on New Life
This is my favorite way to multiply my angelica plants. It’s satisfying to see a cutting transform into a thriving new specimen.
- Select your cuttings: Look for healthy, non-flowering stems that are about 4-6 inches long. Gently twist or snip them from the parent plant, making sure to get a piece that includes a leaf node (where a leaf attaches to the stem).
- Prepare the cuttings: Remove the lower leaves from the cutting. You want to leave just a couple of sets of leaves at the top. This prevents them from rotting in the soil. If the remaining leaves are very large, I’ll often snip them in half to reduce water loss.
- Apply rooting hormone: Dip the cut end of the stem into your rooting hormone, tapping off any excess.
- Plant the cuttings: Gently insert the treated end into your prepared potting mix. Make a small hole with a pencil or your finger first so you don’t rub off the hormone. Firm the soil gently around the stem.
- Create humidity: Water the potting mix lightly. Then, cover the pot or tray with a plastic bag or propagator lid to maintain high humidity. Make sure the leaves don’t touch the plastic if possible.
- Provide warmth and light: Place the cuttings in a bright spot out of direct sunlight. A little bit of gentle warmth from below (like a heat mat) can really speed things up, but isn’t strictly necessary.
Division: Sharing the Roots
If your angelica has become a bit crowded or you want to establish a new plant quickly, division is a great option.
- Prepare to dig: Water the parent plant well a day or two before you plan to divide it. This helps the soil stay together around the roots.
- Carefully lift the plant: Dig around the plant, being careful not to damage the main roots. Gently lift the entire clump out of the ground.
- Separate the divisions: You can often pull the root ball apart with your hands, or you might need to use a clean, sharp spade or knife to cut through thicker roots. Aim for divisions that have at least one healthy shoot and plenty of root mass.
- Replant immediately: Replant the divisions in their new locations or in pots with fresh, well-draining soil. Water them in well.
The “Secret Sauce” (Pro Tips)
Here are a couple of things I’ve learned over the years that make a big difference:
- Don’t let those leaves touch the water! If you’re doing water propagation (which I sometimes do for angelica, though cuttings are my preference), make absolutely sure the leaves aren’t submerged. They’ll rot in a heartbeat. Just the stem should be in the water.
- Bottom heat is your friend! Especially with cuttings, a gentle warmth from below can dramatically speed up the rooting process. It mimics what happens in nature when things are just starting to sprout. You can buy simple propagator mats for this.
- Patience is key with angelica. They aren’t the fastest rooters. Don’t be discouraged if you don’t see results for several weeks. Keep that humidity high and the light consistent.
Aftercare & Troubleshooting
Once you see signs of new growth (tiny leaves appearing!), you know you’ve got roots!
- Gradual acclimatization: If you’ve used a plastic bag or propagator lid, slowly start to open it up over a few days to help your new plant adjust to normal humidity levels.
- Watering: Keep the potting mix consistently moist, but not soggy. Overwatering is a common culprit for rot.
- Transplanting: Once your new angelica has developed a decent root system (you might see roots emerging from the drainage holes), you can transplant it into a larger pot or its final garden spot.
The most common issue you’ll encounter is rot. If your cutting becomes mushy or blackens, it’s usually a sign of too much moisture and not enough air circulation. If a division looks like it’s wilting and the roots are soft and smelly, that’s also rot. In these cases, unfortunately, it’s usually best to discard the affected cutting or division and learn from the experience.
A Big Hug from Your Garden
So there you have it! Propagating Angelica heterocarpa is a wonderfully rewarding way to expand your collection and share this stunning plant. Be patient with yourself and with your little green charges. Enjoy the process of nurturing something new, and soon enough, you’ll have even more of that gorgeous angelica grace in your garden. Happy propagating!
Resource:
https://identify.plantnet.org/k-world-flora/species/Angelica%20heterocarpa%20M.J.Lloyd/data