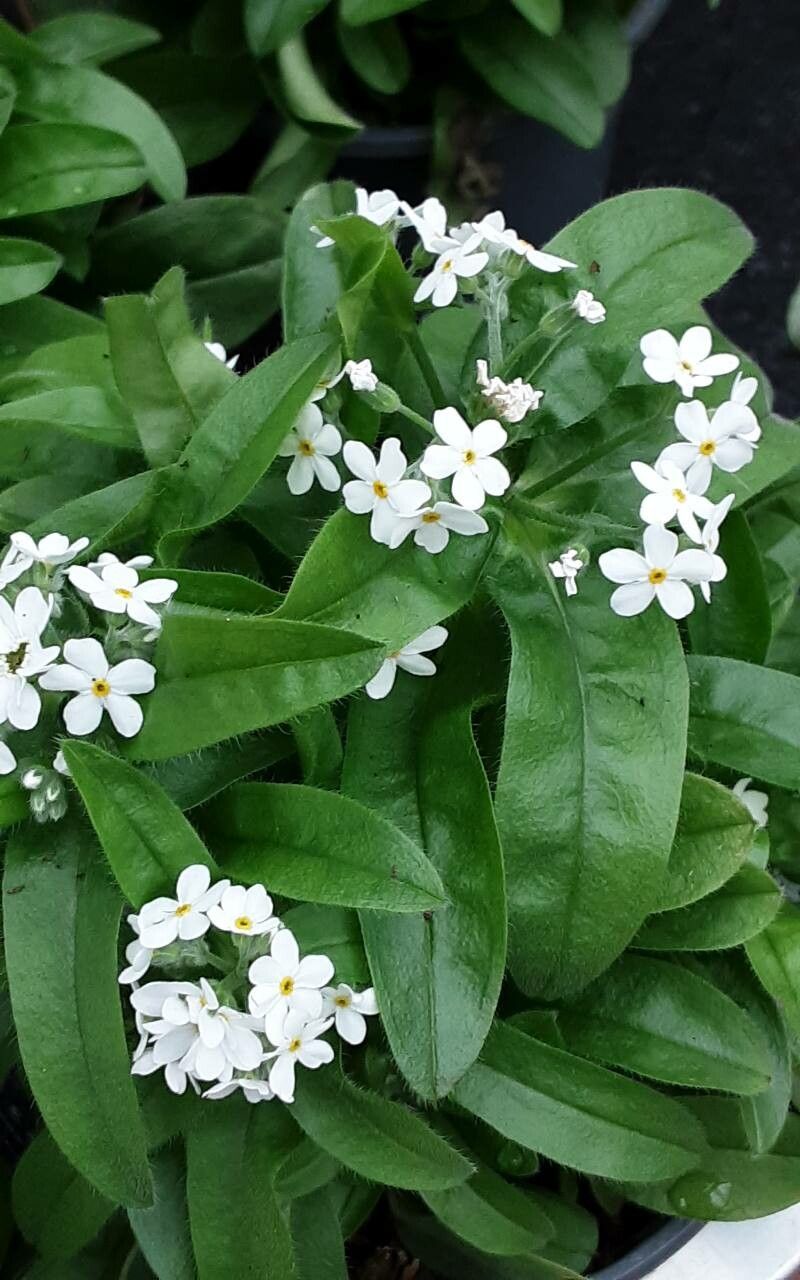
Oh, hello there, fellow garden enthusiast! Pull up a chair and let’s chat about one of my absolute favorite little treasures: Myosotis martini, or as most of us affectionately call them, forget-me-nots. Their delicate blue blooms, like tiny scattered bits of sky, just bring such pure joy to any garden bed. And the best part? They’re surprisingly easy to multiply! If you’re looking to fill your garden with even more of that charming blue or share a piece of your gardening passion with friends, propagating forget-me-nots is a wonderfully rewarding endeavor, even for those just starting out.
The Best Time to Start
My experience has shown me that late spring to early summer is your golden window for propagating forget-me-nots. Think about it: the plants are in a growth spurt, full of vigor, and have plenty of healthy stems to work with. Waiting until after they’ve finished their main flush of blooms is also a great time, as the energy isn’t being directed solely into flowering anymore.
Supplies You’ll Need
Before we get our hands dirty, let’s gather our tools:
- Sharp pruning shears or a clean knife: For making neat cuts.
- Rooting hormone (optional but helpful): Especially for stem cuttings.
- Small pots or seed trays: With drainage holes, of course!
- A good propagation mix: I prefer a blend of half peat moss and half perlite or coarse sand. This ensures excellent drainage, which is key.
- Watering can with a fine rose attachment: For gentle watering.
- Plastic bags or a propagator lid: To create a humid environment.
Propagation Methods
Forget-me-nots are quite versatile, but I find stem cuttings and division to be the most reliable methods.
Stem Cuttings
This is my go-to for creating many new plants quickly.
- Take your cuttings: In late spring or early summer, select healthy, non-flowering stems from a mature forget-me-not plant. Using your sharp shears, cut sections of stem about 3-4 inches long. Make your cuts just below a leaf node – that little bump where a leaf meets the stem.
- Prepare the cuttings: Gently remove the leaves from the bottom half of each cutting. This prevents them from rotting when buried. If you’re using rooting hormone, dip the cut end into it now.
- Plant the cuttings: Fill your pots or trays with the propagation mix. Make little holes with a pencil or your finger, and insert the cuttings, ensuring at least one leaf node is below the soil surface. Gently firm the soil around them.
- Create a mini-greenhouse: Water the mix thoroughly until it’s moist but not soggy. Then, cover the pots with a plastic bag, securing it with a rubber band, or use a propagator lid. This traps humidity, which is vital for cuttings.
Division
This method is fantastic when your forget-me-nots have become a bit crowded or woody.
- Dig up the plant: In spring or early fall, when the plant is not actively flowering, carefully dig up the whole clump.
- Separate the roots: Gently shake off excess soil. You should be able to see natural divisions in the root ball. You can often tease these apart with your fingers. If the roots are tangled, use a clean, sharp spade or knife to cut through them, ensuring each division has healthy roots and some leafy shoots.
- Replant immediately: Plant the divisions into their new homes, spacing them appropriately, and water them in well.
The “Secret Sauce” (Pro Tips)
Here are a few little tricks I’ve picked up over the years:
- Don’t let the leaves touch the water (for water propagation): While forget-me-nots can root in water, I find it’s often a one-way ticket to rot. If you do try it, make sure only the cut stems are submerged, not the leaves.
- Bottom heat is your friend (for cuttings): If you have a heat mat designed for seedlings, placing your pots on it can significantly speed up the rooting process for cuttings. It provides that gentle warmth that encourages root development.
- Air circulation is crucial: Once you see signs of rooting (new growth!), gradually introduce more air to your cuttings by opening the plastic bag or propagator lid a little each day. Too much humidity for too long can encourage fungal diseases.
Aftercare & Troubleshooting
Once your cuttings have developed a good network of roots (you can gently tug on them to test – if there’s resistance, they’re rooted!), it’s time to transplant them into their own pots. Use a good quality potting mix and water them regularly, but allow the soil to dry out slightly between waterings. For divisions, treat them like newly planted shrubs – keep them consistently moist until they are established.
The most common sign of failure is rot. If your cuttings turn black and mushy, it’s usually a sign of too much moisture and not enough air circulation. If a division wilts and seems to be dying despite regular watering, it might not have established enough roots, or the soil might be too dry. Don’t despair – gardening is a journey, and sometimes we have to try again.
A Encouraging Closing
Growing more of your beloved forget-me-nots is such a delightful experience. Be patient with the process, trust your instincts, and don’t be afraid to experiment. Witnessing those tiny roots emerge and knowing you’ve helped create new life is one of the most satisfying feelings a gardener can have. Happy propagating!
Resource:
https://identify.plantnet.org/k-world-flora/species/Myosotis%20martini%20Sennen/data