Oh, Penstemon cardinalis, what a beauty! Those vibrant, scarlet blooms are just captivating, aren’t they? They really bring a splash of fiery color to any garden, especially attracting all sorts of lovely pollinators. And the best part? You can easily have more of these stunners to fill your beds or share with fellow garden enthusiasts. While some plants can be a bit fussy, I find Penstemon cardinalis to be a really rewarding plant to propagate. It’s a great project for beginners, truly!
The Best Time to Start
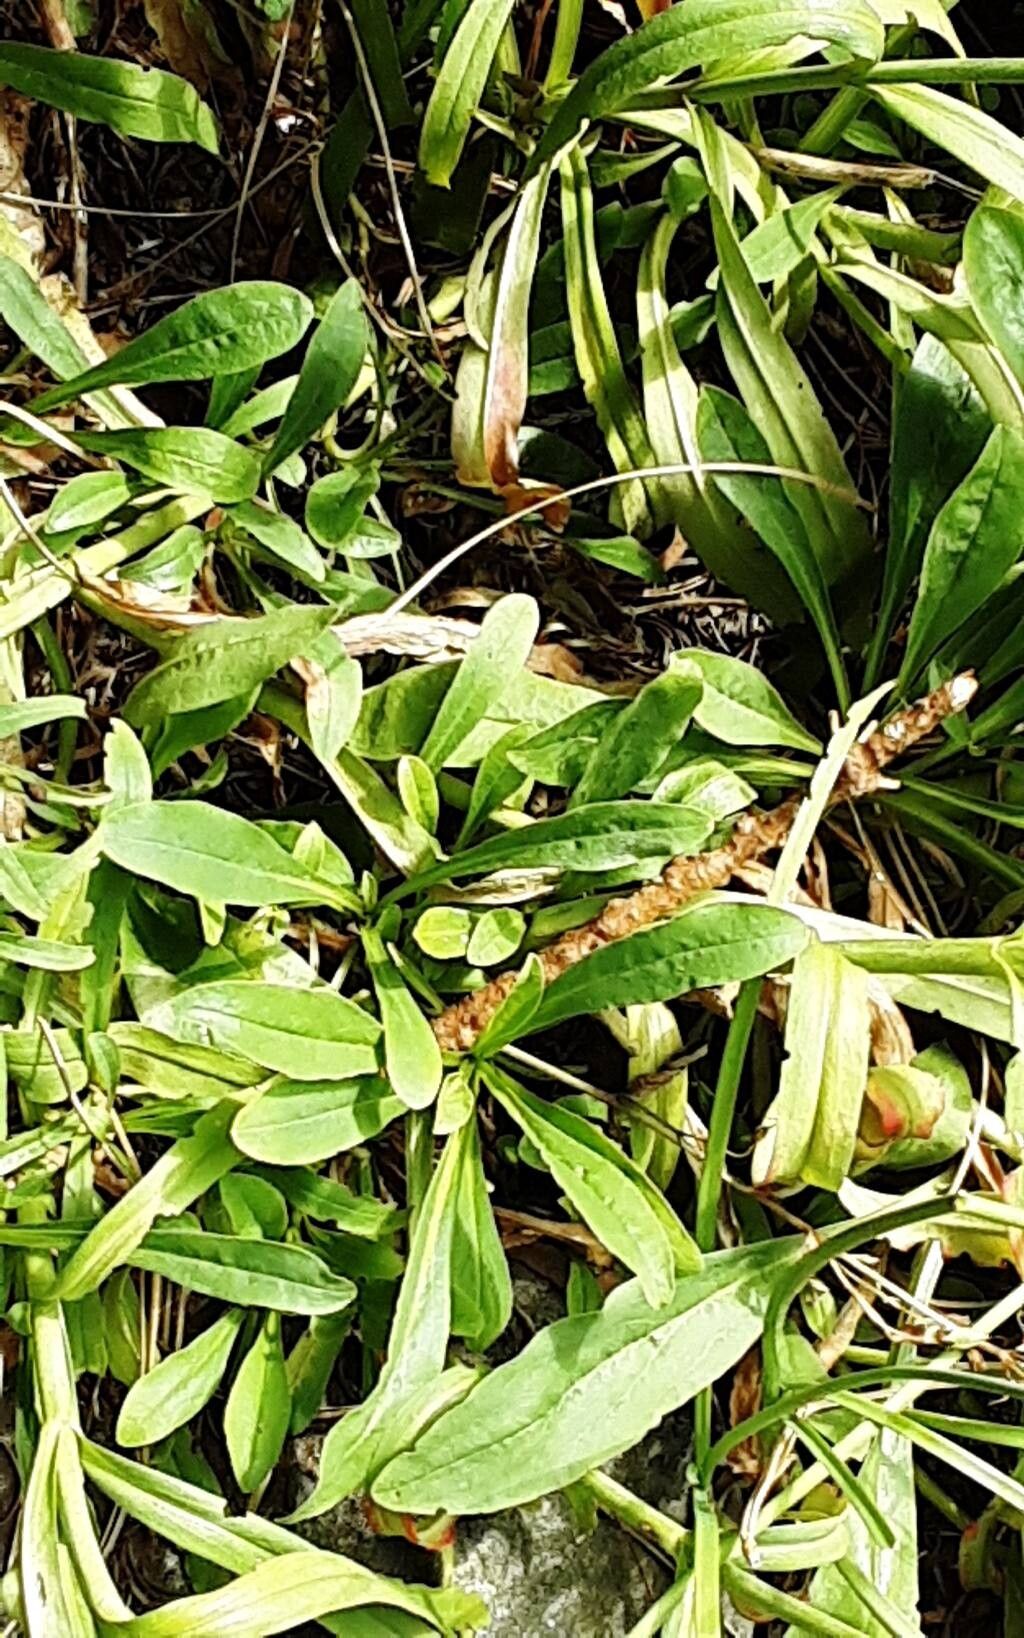
For Penstemon cardinalis, the sweet spot for propagating is late spring to early summer. This is when the plant is actively growing and has plenty of young, flexible stems that are perfect for cuttings. You’re looking for stems that have just finished flowering or are just starting to elongate after the main bloom. Avoid very woody, old stems.
Supplies You’ll Need
Gathering your tools beforehand makes the whole process smoother. Here’s what I like to have on hand:
- Sharp, clean pruning shears or a sharp knife
- Small pots or seed trays with drainage holes
- A good quality seed-starting mix or a blend of perlite and coco coir. I often add a bit of coarse sand too.
- Rooting hormone (optional, but it can give you a boost!)
- A spray bottle for misting
- A clear plastic bag or propagation dome to create a humid environment
- A marker for labeling your pots
Propagation Methods
I find stem cuttings to be the most reliable method for Penstemon cardinalis. Here’s how I do it:
- Take your cuttings: First, select a healthy, non-flowering stem from a mature plant. Using your clean shears, make a clean cut just below a leaf node (where a leaf attaches to the stem). You want cuttings that are about 4-6 inches long.
- Prepare the cuttings: Gently remove the leaves from the bottom half of the cutting. This prevents them from rotting when buried. If your cutting has any flower buds, pinch those off.
- Apply rooting hormone (optional): Dip the cut end of the stem into your rooting hormone, tapping off any excess.
- Plant your cuttings: Fill your small pots with your prepared potting mix. Make a hole in the center with a pencil or your finger and insert the cut end of the Penstemon cutting. Gently firm the soil around it.
- Water and cover: Water the soil gently until it’s moist but not waterlogged. Then, cover the pot with a clear plastic bag or place it under a propagation dome. This will create a humid environment that helps the cuttings stay hydrated while they root.
The “Secret Sauce” (Pro Tips)
Having done this a time or two, I’ve picked up a few tricks that I swear by:
- Don’t let the leaves touch the soil: When preparing your cuttings, it’s crucial to remove all leaves from the bottom half. Any leaves that touch the soil are prime spots for rot to set in, which will kill your cutting before it even has a chance to root.
- Bottom heat is your friend: Penstemons, like many perennials, really appreciate a little warmth coming from below. If you have a heating mat, placing your pots on it can significantly speed up the rooting process. It mimics the natural warmth of spring soil.
- Mist, don’t soak: While humidity is key, you don’t want your cuttings sitting in soggy soil. Misting the leaves lightly with your spray bottle every day or two is usually enough to keep them happy and prevent fungal issues.
Aftercare & Troubleshooting
Once your cuttings are planted, keep them in a bright spot, but out of direct sunlight for the first few weeks. They’re still delicate!
You’ll know your cuttings are rooting when you see new growth appearing at the tips of the stems. You might also feel a slight tug if you gently try to pull on a cutting – a sign that roots have formed.
The most common sign of failure is wilting followed by turning black and mushy. This is usually a sign of rot, often caused by overwatering or poor drainage. If you see this, unfortunately, that cutting is likely a goner. Just pull it out and start fresh. Another issue can be cuttings drying out entirely if the humidity isn’t maintained.
A Encouraging Closing
Propagating Penstemon cardinalis is a journey of patience and observation. Don’t get discouraged if every single cutting doesn’t make it – that’s perfectly normal, even for experienced gardeners! The thrill of seeing those tiny roots emerge and then watching your new plant grow is just fantastic. So, get your hands dirty, enjoy the process, and soon you’ll have a whole new patch of scarlet beauty to admire. Happy gardening!
Resource: