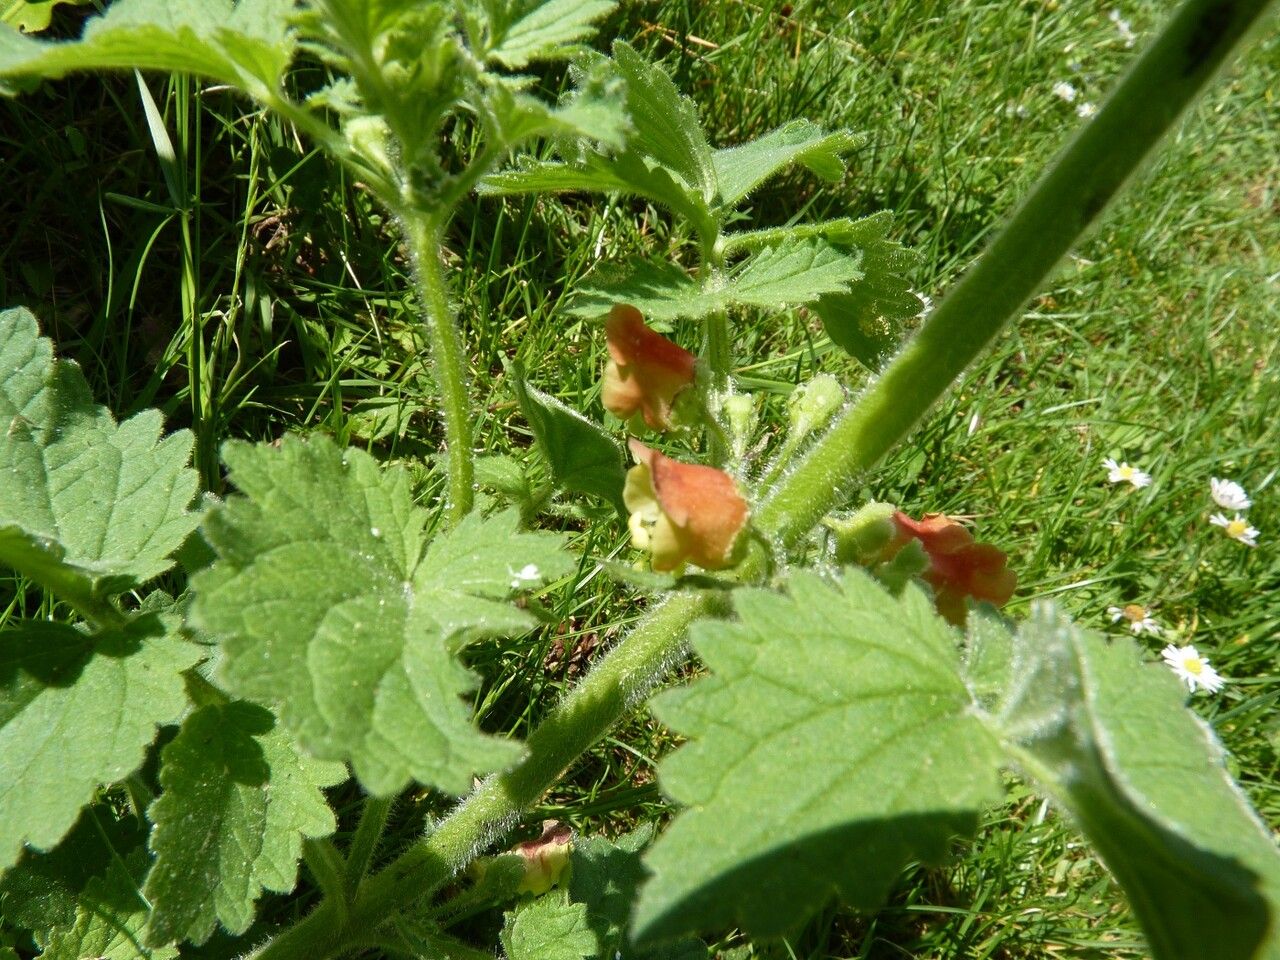
Hey there, fellow garden enthusiasts! Today, I want to chat about a plant that’s really captured my heart over the years: Scrophularia grandiflora. If you’re looking for a plant that offers gorgeous, architectural blooms and a bit of unique charm, you’ve come to the right place. Its tall spires of intricate, often bicolored flowers are simply stunning. And the best part? It’s surprisingly rewarding to propagate. While it might seem a little specialized at first glance, I promise, with a few key pointers, you’ll be well on your way to doubling your collection of these beauties. Don’t let the “grandiflora” in the name intimidate you; it’s quite achievable, especially with the right approach.
The Best Time to Start
For Scrophularia grandiflora, the absolute sweet spot for propagation is late spring to early summer. This is when the plant is actively growing and has plenty of fresh, pliable stems to work with. Think of it as the season when everything is buzzing with energy – that’s prime time for making new plants. You want to grab stems that are not too woody, but also not just brand new, tender shoots. A good rule of thumb is to look for stems that have developed a bit of firmness but are still flexible.
Supplies You’ll Need
Gathering your supplies upfront makes the whole process smoother. Here’s what I’ve found most helpful:
- Sharp Pruning Shears or a Clean Knife: For taking clean cuttings that heal well.
- Rooting Hormone (Optional, but Recommended): A little boost can really encourage root development. Look for one with a fungicide to prevent rot.
- Potting Mix: A well-draining mix is crucial. I often use a blend of perlite and peat moss or coco coir, roughly 50/50. Some gardeners also add a bit of coarse sand.
- Small Pots or Seed Trays: With drainage holes, of course!
- Clear Plastic Bags or a Propagator: To create a humid environment.
- Watering Can with a Fine Rose: For gentle watering.
- Labels and a Marker: To keep track of your cuttings!
Propagation Methods
I’ve found the most effective way to multiply Scrophularia grandiflora is through stem cuttings. It’s straightforward and yields great results.
- Taking the Cuttings: In late spring or early summer, select healthy, non-flowering stems. Using your clean shears, cut pieces that are about 4-6 inches long. Make your cut just below a leaf node (where a leaf attaches to the stem).
- Preparing the Cuttings: Carefully remove the lower leaves, leaving only the top one or two. This prevents them from rotting when the cutting is in the pot. If the remaining leaves are very large, you can even snip them in half to reduce water loss.
- Applying Rooting Hormone: If you’re using rooting hormone, dip the cut end of each stem into it, tapping off any excess. Follow the product’s instructions carefully.
- Planting the Cuttings: Fill your pots or trays with your prepared potting mix. Make a small hole in the soil with a pencil or dowel for each cutting. Gently insert the prepared cuttings into these holes, ensuring the leaf nodes are below the surface.
- Watering and Covering: Water the soil gently but thoroughly. Then, place the pots inside a clear plastic bag or a propagator. Seal it up to trap humidity. You can also just loosely tent a bag over the pot.
The “Secret Sauce” (Pro Tips)
After years of coaxing plants to root, I’ve picked up a few tricks that make a real difference with Scrophularia grandiflora.
- Bottom Heat is Your Friend: Where possible, providing gentle warmth from below can dramatically speed up root formation. A heat mat designed for seedlings is perfect for this. It encourages those roots to get going much faster than if they’re just at room temperature.
- Don’t Let Leaves Touch the Soil: This sounds simple, but it’s crucial. Any leaves that are in contact with the damp potting mix are prime candidates for fungal diseases and rot. Make sure all remaining foliage is held above the soil line.
- Patience with the “Wiggle Test”: When you think your cuttings might have rooted, resist the urge to pull them out to check! Instead, gentle tug on a cutting. If you feel even a slight resistance, it means roots are starting to form. Don’t disturb them too much until they are well-established.
Aftercare & Troubleshooting
Once you’ve got your cuttings potted up and covered, the main job is maintaining consistent moisture and humidity. Keep them in a bright spot out of direct sunlight. Check the soil moisture every few days; it should always feel lightly damp, never soggy.
If things aren’t going as planned, don’t get discouraged. The most common issue is rot. This usually happens if the soil is too wet or the humidity is too low. If you see stems turning mushy or black, they’re likely lost. Remove them immediately to prevent the rot from spreading. Sometimes, cuttings just don’t root; that’s part of the learning process. If you don’t see any signs of root development after a few weeks, don’t be afraid to try again with fresh cuttings.
A Encouraging Closing
Propagating Scrophularia grandiflora is a wonderful way to expand your garden and share these delightful plants with friends. Be patient with the process. It might take a few weeks, or even a couple of months, for your cuttings to develop sufficient roots. Enjoy the quiet satisfaction of nurturing new life in your home. Happy propagating!
Resource:
https://identify.plantnet.org/k-world-flora/species/Scrophularia%20grandiflora%20DC./data