Growing Baobabs from Scratch: My Guide to Propagating Adansonia grandidieri
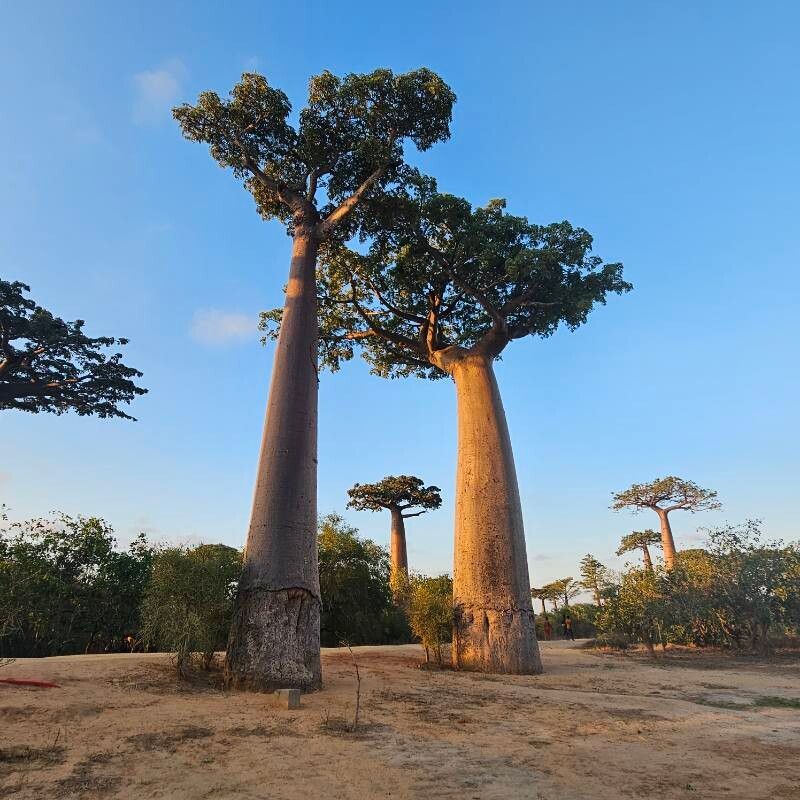
Oh, the baobab! Just the name conjures up images of ancient landscapes and sturdy, magnificent trees. If you’ve ever seen a Adansonia grandidieri, with its distinctive bottle-shaped trunk and sparse, almost whimsical crown, you understand its allure. Growing one from a tiny seedling or a cutting is a truly special experience, a tangible connection to these iconic giants. Now, before you dash off to the nursery, I should mention that propagating baobabs isn’t exactly a walk in the park. They can be a bit fussy, so it’s best approached with a good dose of patience and a sprinkle of understanding. Beginners might find it a little challenging, but with a bit of care, I promise it’s incredibly rewarding.
When the Magic Happens: The Best Time to Start
For baobabs, the sweet spot for propagation is definitely during their active growing season. This typically means late spring and throughout the summer when temperatures are warm and days are long. You’ll want to start when the parent plant is at its most vigorous, brimming with energy. Avoid trying to propagate when the plant is dormant or stressed.
Your Baobab Toolkit: What You’ll Need
Gathering the right supplies makes all the difference. Here’s what I always have on hand:
- Rooting hormone powder: This isn’t strictly essential for every baobab cutting, but it can significantly boost your success rate. Look for one with a decent percentage of IBA.
- Sharp, clean pruning shears or a knife: A clean cut is crucial to prevent introducing diseases.
- Well-draining potting mix: This is absolutely non-negotiable! A blend of equal parts coarse sand, perlite, and a good quality potting soil works wonders. You can also buy a specialized cactus or succulent mix.
- Small pots or containers: Terracotta pots are my preference as they breathe and help prevent waterlogged soil. Ensure they have drainage holes.
- Plastic bags or a propagation dome: To create a humid environment for cuttings.
- Labels and a permanent marker: To keep track of your projects!
Bringing Your Baobab to Life: Propagation Methods
While seeds are the natural way, propagating from cuttings is often more accessible for us home gardeners, and it allows you to replicate a specific parent plant.
Method 1: Stem Cuttings – The Classic Approach
This is my go-to method for baobabs. It’s straightforward and effective if you get the conditions right.
- Select your cutting: Look for a healthy, semi-hardwood stem that’s about 6-12 inches long. It should have at least two sets of leaves. Avoid very woody or very soft, new growth.
- Make the cut: Using your sterilized pruning shears, make a clean cut just below a leaf node. This is where roots are most likely to form.
- Prepare the cutting: Gently remove the lower leaves, leaving just a couple at the top. This reduces water loss.
- Apply rooting hormone: Dip the cut end into your rooting hormone powder, tapping off any excess.
- Planting the cutting: Fill your prepared pots with your well-draining mix. Make a hole in the center with your finger or a pencil.
- Insert the cutting: Place the cut end of the stem into the hole, ensuring it’s firm but not packed too tightly. Gently firm the soil around the base.
- Water lightly: Water the soil thoroughly but carefully, allowing excess water to drain away.
- Create humidity: This is key! Cover the pot with a clear plastic bag or place it inside a propagation dome. Make sure the leaves do not touch the plastic. You can use stakes to prop up the bag if needed.
- Placement: Position your pot in a bright spot but out of direct, scorching sunlight.
Method 2: Water Propagation (With Caution!)
While I lean towards soil for baobabs, water propagation can sometimes work for younger, softer cuttings, though it’s riskier due to rot.
- Take your cutting: As described above, take a healthy semi-hardwood cutting.
- Prepare the container: Use a clean glass jar or vase.
- Submerge the stem: Place the cutting in the jar, ensuring only the cut end and no leaves are submerged in water. This is crucial to prevent rot.
- Change water regularly: Change the water every 2-3 days to keep it fresh and oxygenated.
- Placement: Like soil cuttings, place in bright, indirect light.
The “Secret Sauce” – My Insider Tips
These are the little things I’ve learned over the years that can make a big difference:
- Bottom Heat is Your Friend: Baobabs love warmth. If you’re struggling to get consistent heat, consider using a seedling heat mat under your pots. This encourages root development from below, which is like giving them a warm hug!
- Don’t Rush the Plant Out of Humidity: Once you see signs of roots (new leaf growth is a good indicator), don’t immediately rip off the plastic bag. Gradually acclimate your cutting to lower humidity over a week or two. Open the bag for a few hours each day, then increase the time. This prevents shock.
- The “Wiggle Test” is Not Your Friend (Yet!): Resist the urge to constantly tug at your cuttings to check for roots. This can break delicate new root hairs. Patience is everything here.
Aftercare and What to Watch For
Once you start seeing some new growth – tiny leaves unfurling, a generally perkier appearance – it’s a good sign that roots are forming.
- Transplanting: Once you have a decent root system, it’s time to move your cutting into its own pot with fresh, well-draining potting mix. Be gentle during the transplanting process.
- Watering: Water thoroughly after transplanting, and then allow the soil to dry out slightly between waterings. Overwatering is the quickest way to kill a baby baobab. They prefer to be on the drier side.
- Light: Continue to provide bright, indirect light. As the plant becomes more established, you can gradually introduce it to more direct sun, but avoid intense afternoon sun when it’s young.
Troubleshooting: The most common issue you’ll face is rot. If your cutting turns black and mushy, or the stem starts to soften and collapse, it’s likely rot. This is usually due to too much moisture and not enough air circulation. If a cutting rots, it’s best to discard it and start again, focusing on better drainage and a drier environment. Yellowing leaves can sometimes indicate overwatering or insufficient light.
Go Forth and Grow!
Propagating a baobab is a journey, not a race. There will be moments of doubt, and possibly a failed attempt or two (we’ve all been there!). But with each new plant you grow, you learn a little more. So, take a deep breath, put on your gardening gloves, and enjoy the process of nurturing these magnificent trees. You’ve got this!
Resource:
https://identify.plantnet.org/k-world-flora/species/Adansonia%20grandidieri%20Baill./data