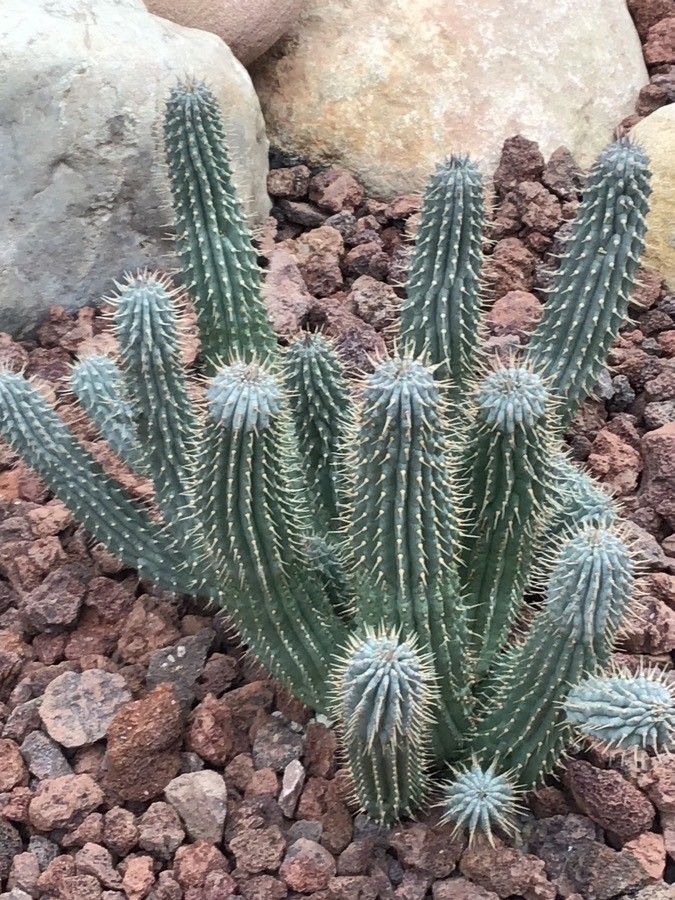
Oh, Hoodia gordonii! What a fascinating plant. Its unique, sculptural form and intriguing history make it a real conversation starter in any garden. For those of us who love unusual succulents, coaxing a new Hoodia to life from a cutting or seed is a truly special kind of magic. Now, let me be upfront: propagating Hoodia isn’t quite a “plant it and forget it” kind of beginner project. It requires a bit of attention and patience, but honestly, the satisfaction of watching it thrive is absolutely worth the effort.
The Best Time to Start
Timing is everything, as they say, and it’s especially true for our spiky friends. For Hoodia gordonii, I’ve found the late spring or early summer is your sweet spot. This is when the plant is actively growing and has stored up plenty of energy. Starting during its active growth phase gives your cuttings the best chance to root and establish themselves before the cooler months arrive.
Supplies You’ll Need
Gathering your tools beforehand makes the whole process much smoother. Here’s what I usually have on hand:
- Sharp, clean pruning shears or a knife: For making those crucial cuts. Sterilize them with rubbing alcohol to prevent disease.
- Well-draining potting mix: This is non-negotiable! A good recipe is a 50/50 mix of cactus and succulent soil and perlite or pumice.
- Rooting hormone (optional but recommended): A powder or gel that encourages root development.
- Small pots or trays: With drainage holes, of course!
- Labels: For keeping track of what’s what and when you started them.
- Spray bottle: For gentle misting.
- A warm spot: Crucial for encouraging roots to form.
Propagation Methods
Hoodia gordonii can be propagated from cuttings. It’s the most straightforward way to get new plants.
Stem Cuttings
This is my go-to method for Hoodia.
- Take the cutting: Select a healthy, mature stem. Using your sterilized shears, make a clean cut about 4-6 inches long. Try to get a section that has a few leaves (or the rudiments of them) and a bit of stem.
- Let it callus: This is a vital step! Lay the cutting on its side in a dry, well-ventilated spot for several days to a week. You want the cut end to dry out and form a protective surface. This prevents rot when you plant it.
- Apply rooting hormone (optional): Once callused, dip the cut end into rooting hormone, tapping off any excess.
- Plant the cutting: Fill your small pots with your prepared well-draining mix. Make a small hole in the center with your finger or a pencil. Gently insert the callused end of the cutting into the mix. Don’t bury it too deep – just enough to keep it upright.
- Water sparingly: Wait a day or two after planting before watering. Then, give it a light watering, just enough to moisten the soil.
The “Secret Sauce” (Pro Tips)
Here are a few tricks I’ve learned over the years that can really boost your success rate:
- Bottom Heat is Your Friend: If you can, place your potted cuttings on a heating mat. This gentle warmth from below mimics the conditions the plant loves for root formation and encourages faster rooting. Aim for around 70-75°F (21-24°C).
- Avoid Overwatering Like the Plague: This is the number one killer of succulent cuttings. The soil should be barely moist, not wet. It’s always better to err on the side of too dry than too wet. I often wait until I see the surface of the soil just starting to dry before watering again.
- Consider a Bag (With Caution): You can create a mini-greenhouse effect by placing a clear plastic bag loosely over the pot. This helps retain humidity, which some cuttings appreciate. However, make sure to vent it daily to prevent fungal growth and condensation buildup. I usually just prop it open with a stick.
Aftercare & Troubleshooting
Once your cuttings are planted and callused, the patience game begins!
- When to Water: Wait until the soil feels dry to the touch. When you do water, do so thoroughly but infrequently.
- Checking for Roots: You can gently tug on the cutting after a few weeks. If you feel resistance, you’ve got roots! You can also look for new growth at the tip of the cutting.
- Common Problems:
- Rot: This is the biggest worry. If your cutting looks mushy, dark, or smells foul, it’s likely rotted. This is almost always due to too much moisture. If you catch it early, you might be able to cut away the rotted parts and try again, ensuring better drainage and less watering.
- Shriveling: If the cutting shrivels and dries out completely, it may not have gotten enough moisture, or it didn’t root.
- No Growth: Don’t despair! Some plants just take their sweet time. Ensure it’s in a warm spot with good light.
A Warm Closing
Propagating Hoodia gordonii is a journey. There might be a few hiccups along the way, and that’s perfectly okay. It’s all part of the learning process. Be patient, observe your cuttings closely, and trust your instincts. Soon enough, you’ll be admiring your own beautiful, homegrown Hoodia plants. Happy propagating!
Resource: