Hello fellow garden enthusiasts!
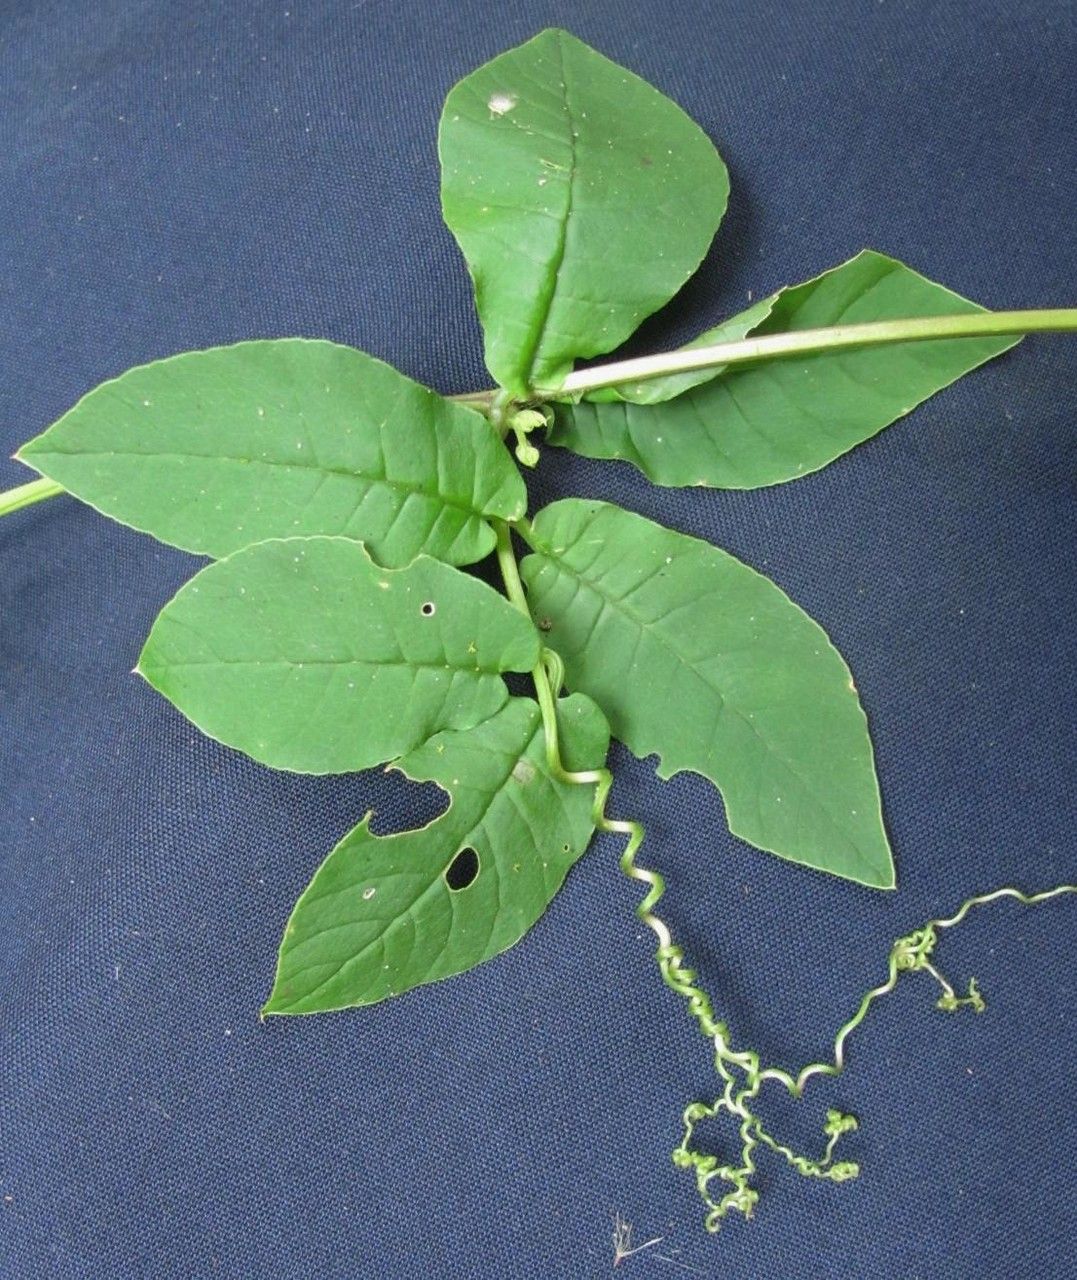
Today, we’re diving into the delightful world of Cobaea gracilis, also commonly known as the Cup and Saucer vine. If you’ve ever seen this beautiful climber gracing a garden arch or scrambling over a fence, you’ve likely been captivated by its unique, bell-shaped flowers that unfurl in shades of pale green to violet. It’s a truly rewarding plant to grow, and the satisfaction of creating more of these beauties from your own efforts is simply unparalleled. Now, for us beginners out there, I’ve found Cobaea gracilis to be moderately easy to propagate. A little patience and a few key steps will see you well on your way!
The Best Time to Start
The sweet spot for propagating Cobaea gracilis is late spring to early summer. This is when the plant is in active growth, and the cuttings have plenty of energy to establish themselves. You’re looking for vigorous, healthy stems that haven’t yet produced flowers. Think of it as catching the plant at its peak!
Supplies You’ll Need
Gathering your tools beforehand makes the process so much smoother. Here’s what I usually have on hand:
- Sharp pruning shears or a clean knife: For making clean cuts.
- Potting mix: A well-draining mix is crucial. I like to use a 50/50 blend of standard potting soil and perlite.
- Small pots or seedling trays: With drainage holes, of course!
- Rooting hormone (optional but recommended): This can give your cuttings a little extra boost.
- Plastic bags or a propagator: To create a humid environment.
- Watering can with a fine rose or a spray bottle: For gentle watering.
- Labels and a marker: To keep track of your cuttings.
Propagation Methods
Cobaea gracilis is most reliably propagated from stem cuttings. It’s a straightforward method that yields great results.
Stem Cuttings:
- Take Your Cuttings: On a bright morning, select a healthy, non-flowering stem from your established plant. Using your sharp pruning shears or a clean knife, cut a piece about 4-6 inches long. Make the cut just below a leaf node (where a leaf attaches to the stem).
- Prepare the Cuttings: Gently remove the lower leaves from the cutting, leaving just a couple at the very top. This prevents them from rotting in the soil. If you’re using rooting hormone, dip the cut end into the powder, tapping off any excess.
- Plant the Cuttings: Fill your small pots or trays with your prepared potting mix. Make a small hole with your finger or a pencil in the center of the soil. Insert the cutting into the hole, making sure the leaf node where you removed the leaves is buried in the soil. Firm the soil gently around the base of the cutting.
- Provide Humidity: Water the soil gently until it’s moist but not waterlogged. Then, cover the pots with a clear plastic bag or place them in a propagator. This creates a mini-greenhouse effect, keeping the humidity high, which is key for successful rooting. You can secure the bag with a rubber band.
The “Secret Sauce” (Pro Tips)
Over the years, I’ve learned a few tricks that seem to make all the difference:
- Keep those leaves out of the water! If you choose to root in water (though soil is better for Cobaea), make absolutely sure that no leaves are submerged. They’ll rot quickly and can contaminate the water, dooming your efforts.
- Bottom Heat is Your Friend: While not strictly essential in a warm climate, placing your pots on a gentle heat mat can significantly speed up the rooting process. It mimics the warmth of spring soil and gives those roots a real encouragement to grow.
- Don’t Rush the Re-potting: Resist the urge to peek or pull on the cuttings too early. Wait until you see new growth appearing at the top, which is a strong indicator that roots have formed. It might take several weeks!
Aftercare & Troubleshooting
Once your cuttings have rooted and you’re seeing new leaves emerge, it’s time to transition them.
- Acclimatize Gradually: If you’ve used a plastic bag, gradually open it up over a few days to let the new plants get used to the drier air.
- Watering: Water when the top inch of soil feels dry. Avoid overwatering; soggy soil is the quickest way to invite rot.
- Light: Place your new plants in a bright location with indirect sunlight. Too much direct sun initially can scorch young leaves.
- Troubleshooting: The most common issue you’ll encounter is rot. If a cutting turns black and mushy, it’s usually a sign of too much moisture and not enough air circulation. Unfortunately, once rot sets in, it’s often too late. Damping off (where seedlings or cuttings collapse at the soil line) is another possibility, often due to overwatering or fungal issues. Using sterile potting mix and clean tools helps prevent this. If you see yellowing leaves, it could be a sign of underwatering or nutrient deficiency, but usually, it’s just the plant adjusting.
A Little Patience Goes a Long Way
Propagating Cobaea gracilis is a rewarding journey. Don’t be discouraged if your first few attempts aren’t perfect. Each seed is a lesson, and each cutting that thrives is a little victory. So, grab your tools, embrace the process, and soon you’ll be sharing your beautiful Cup and Saucer vines with friends and family. Happy gardening!
Resource:
https://identify.plantnet.org/k-world-flora/species/Cobaea%20gracilis%20(Oerst.)%20Hemsl./data