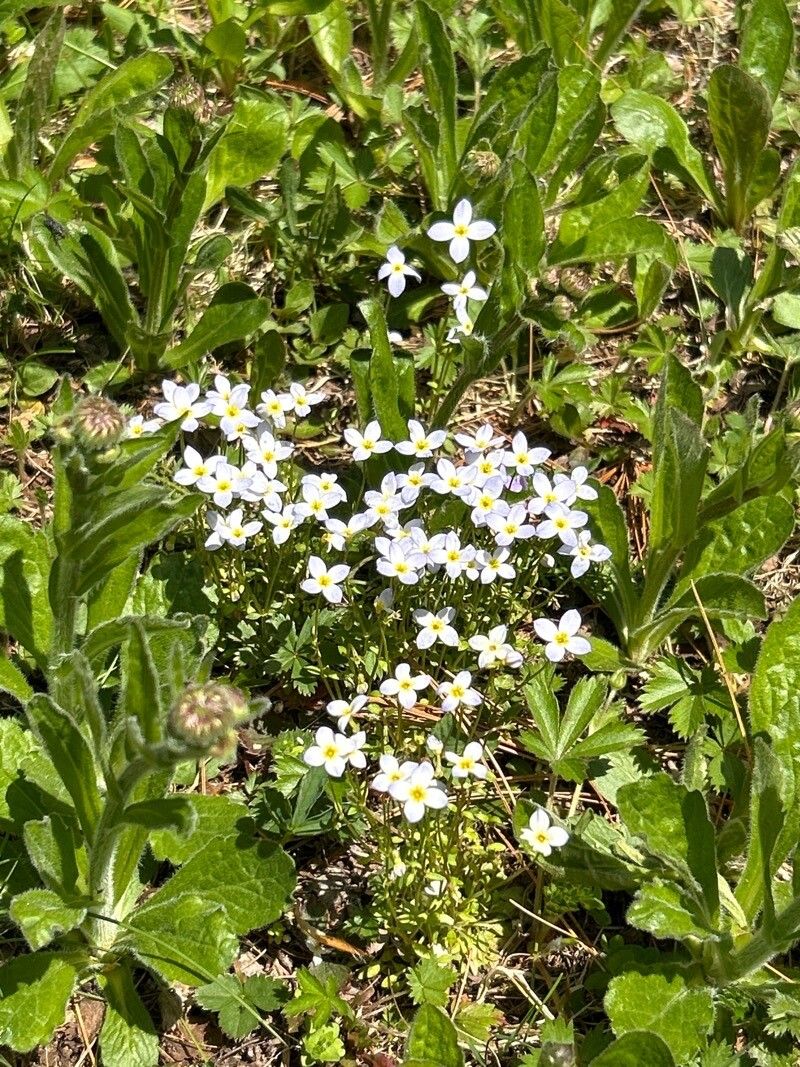
Oh, hello there, fellow plant lover! It’s so good you’re thinking about propagating Leptosiphon rosaceus. If you’ve ever seen these cheerful, star-shaped blooms carpeting a garden bed, you know how utterly charming they are. They bring a splash of vibrant color and a delightful meadow-like feel without much fuss. And the best part? They are surprisingly easy to propagate, making them a fantastic project for both seasoned gardeners and those just dipping their toes into the world of plant multiplication. Trust me, nurturing a new life from a tiny bit of an established plant is one of the most rewarding feelings in gardening.
The Best Time to Start
For Leptosiphon rosaceus, the golden window for propagation is really when the plant is actively growing. This usually means late spring or early summer. You’ll want to take cuttings from healthy, non-flowering stems. If you’re thinking about sowing seeds, that’s another story, and while possible, stem cuttings are my preferred method for this particular beauty.
Supplies You’ll Need
Here are the essentials to get you started. Don’t worry, it’s nothing too fancy:
- Sharp, clean pruning shears or scissors: A clean cut is crucial to prevent disease.
- A well-draining potting mix: I like a blend of coco coir, perlite, and a bit of peat moss. You can also find excellent seed-starting mixes.
- Small pots or trays: Make sure they have drainage holes!
- Rooting hormone (optional but recommended): This can give your cuttings a significant boost.
- A mister or spray bottle: For keeping things humid.
- A clear plastic bag or a propagator lid: To create a mini greenhouse effect.
- A warm spot: A sunny windowsill or a heat mat can work wonders.
Propagation Methods
I find stem cuttings to be the most reliable and straightforward way to propagate Leptosiphon rosaceus. Here’s how I do it:
- Select Your Cuttings: Look for healthy, semi-hardwood stems on your established plant. These are stems that are a bit firm but still have some flexibility. Avoid any woody old growth or very soft, new tips. You want them to be about 3-4 inches long.
- Make the Cut: Using your clean shears, make a clean cut just below a leaf node. A leaf node is where a leaf attaches to the stem. This is where the magic happens, where roots are most likely to form.
- Prepare the Cutting: Gently remove the lower leaves from the stem, leaving just a few at the top. This prevents them from rotting in the soil.
- Apply Rooting Hormone (If Using): Dip the cut end of the stem into your rooting hormone. Tap off any excess powder.
- Plant Your Cuttings: Moisten your potting mix. Then, make a small hole in the soil with a pencil or your finger and insert the prepared cutting, ensuring the leaf nodes are buried. Gently firm the soil around it.
- Water and Cover: Water the pot gently to settle the soil. Then, cover the pot with a clear plastic bag or a propagator lid. This will trap humidity, which is vital for cuttings to root.
The “Secret Sauce” (Pro Tips)
Here are a few little tricks I’ve picked up over the years that can really make a difference:
- Don’t Let Leaves Touch Water: If you opt for water propagation (though I find soil easier for this one), ensure that no leaves are submerged in the water. They’ll just rot and potentially harm the cutting.
- Bottom Heat is Your Friend: Providing gentle bottom heat can significantly speed up root development. A seed starting mat placed underneath your tray of cuttings is perfect for this. It encourages root growth without drying out the foliage.
- Patience in a Shady Spot: While we want to give new cuttings light, direct, scorching sun can be detrimental. Find a bright spot that receives indirect light. Too much sun can stress those delicate, newly forming roots.
Aftercare & Troubleshooting
Once you’ve planted your cuttings, the key is to keep them consistently moist but not waterlogged. The soil should feel like a wrung-out sponge. If you’re using the plastic bag method, check the moisture levels every couple of days. You can also mist the leaves occasionally.
You’ll know your cuttings have rooted when you see new leaf growth. It might take a few weeks, so don’t get discouraged! You can also gently tug on the cutting; if there’s resistance, it’s a good sign roots have formed.
The most common issue you’ll encounter is rot. This usually happens if the soil is too wet or the humidity is too high without enough air circulation. If you see a cutting turning black and mushy, it’s likely best to discard it and try again. It’s also possible for cuttings to simply fail to root, which is a normal part of the process. Don’t take it personally!
A Encouraging Closing
So there you have it! Propagating Leptosiphon rosaceus is a beautiful, accessible way to fill your garden with even more of its delightful charm. Be patient, observe your little ones, and celebrate every bit of new growth. Happy gardening, and I can’t wait to hear about your successes!
Resource: