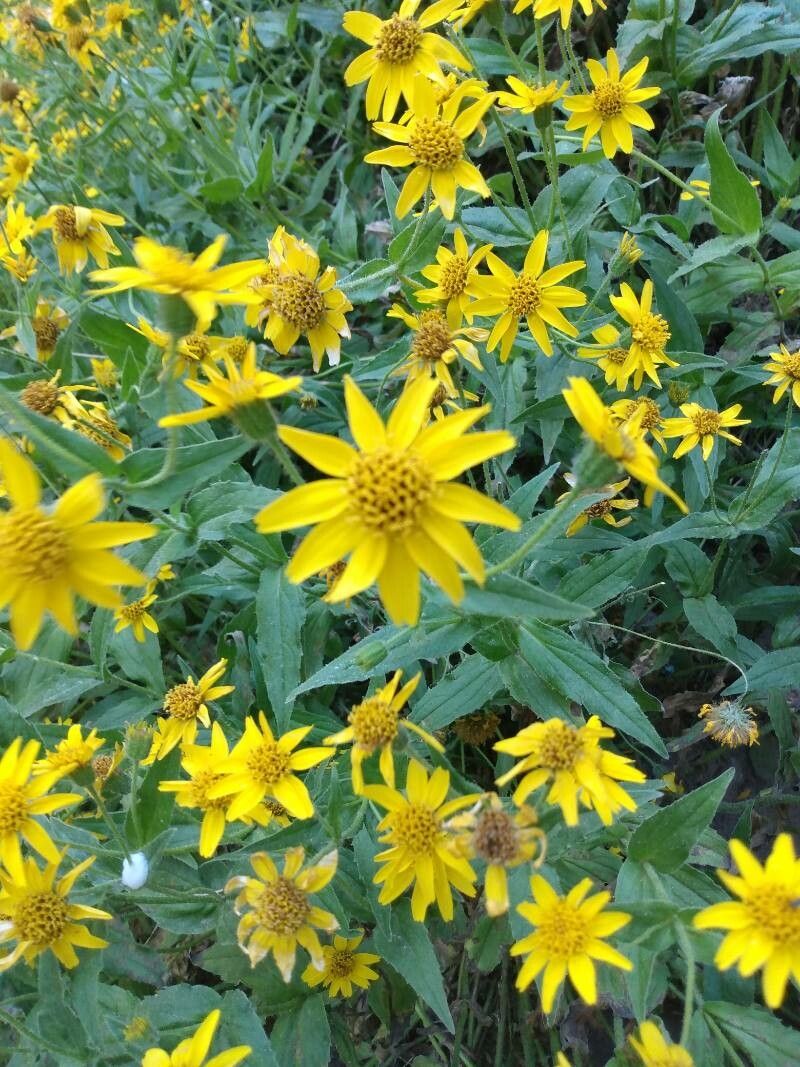
Ah, Arnica lanceolata! What a wonderful plant to get to know better. Its cheerful, daisy-like yellow flowers have been a balm for weary muscles for centuries, and there’s something truly special about nurturing a new life from a piece of an established plant. If you’re looking to expand your Arnica patch or share its goodness with a friend, propagation is the way to go. Now, is it a walk in the park for absolute newbies? I’d say it has a few nuances, so let’s embark on this journey together. It’s definitely achievable with a little patience and the right approach.
The Best Time to Start
When it comes to Arnica, the sweet spot for propagation is usually late spring to early summer. This is when the plant is actively growing and has plenty of youthful energy to dedicate to rooting. Waiting until after the main flowering period has passed, and the stems are developing nicely but haven’t become too woody, is key. You want that vibrant, pliable growth.
Supplies You’ll Need
Gathering your tools beforehand makes the whole process smoother. Here’s what I always have on hand:
- Sharp, clean pruning shears or a sharp knife: Essential for clean cuts.
- Rooting hormone (optional but recommended for stem cuttings): Look for a powder or gel.
- Well-draining potting mix: A good blend of peat moss, perlite, and a little compost works wonders. Avoid heavy garden soil.
- Small pots or trays with drainage holes: Clean them well!
- Plastic bags or a propagation dome: To create a humid environment.
- A watering can with a fine rose or a spray bottle: For gentle watering.
- A label and marker: Don’t forget to identify your precious new plants!
- For division: A trowel or spade.
Propagation Methods
While Arnica can be grown from seed, it can be a bit fiddly and slow to germinate. For a more direct and often successful route, I lean towards stem cuttings and division.
Stem Cuttings
This is my go-to for creating new plants quickly.
- Take your cuttings: In late spring or early summer, select healthy, non-flowering stems that are about 4-6 inches long. Make a clean cut just below a leaf node (where a leaf attaches to the stem).
- Prepare the cuttings: Gently remove the lower leaves from the stem, leaving just a few at the very top. This prevents them from rotting in the soil.
- Apply rooting hormone (optional): Dip the cut end of the stem into rooting hormone, tapping off any excess.
- Plant your cuttings: Fill your small pots with your well-draining potting mix. Make a small hole with your finger or a pencil and insert the cutting, ensuring the leaf nodes are covered by the soil.
- Water gently: Water the mix thoroughly but gently.
- Create humidity: Cover the pots with a plastic bag or place them under a propagation dome. Make sure the leaves don’t touch the inside of the bag if possible. Place them in a bright spot, but out of direct sunlight.
Division
This is a fantastic method, especially if your Arnica plant has naturally spread and become a bit crowded.
- Dig up the plant: In early spring, before its vigorous growth spurt, carefully dig up the entire Arnica plant.
- Inspect the root ball: Gently shake off excess soil. You’ll see where the plant has naturally divided into smaller clumps, each with its own roots and shoots.
- Separate the clumps: Using your hands or a trowel, gently pull or cut apart the clumps into sections. Ensure each section has a good amount of roots and at least one healthy shoot.
- Replant: Immediately replant your divisions into their new homes, whether that’s back in the ground or in pots. Water them well.
The “Secret Sauce” (Pro Tips)
After years of getting my hands dirty, here are a couple of tricks I’ve learned:
- Bottom Heat is Your Friend: For stem cuttings, placing your pots on a propagation mat can significantly speed up root formation. It mimics the warmth of spring soil and really encourages those roots to get going.
- Don’t Overwater! This is the golden rule for cuttings. They need moisture, but they hate sitting in soggy soil. It leads to rot faster than anything else. Aim for consistently damp, not soaking wet. I often check by gently touching the soil surface.
Aftercare & Troubleshooting
Once your stem cuttings show signs of rooting – you might see new leaf growth or feel a gentle tug when you lightly pull – it’s time to start easing them into less humid conditions. Gradually remove the plastic bag or ventilation holes over a week or so. Continue to water them carefully, ensuring the soil stays evenly moist but not waterlogged. For divisions, just keep them watered and allow them to establish.
The most common issue you’ll face is rot. If you see stems turning black and mushy, it’s usually a sign of too much moisture and/or poor drainage. If this happens, you might be able to salvage any healthy parts by taking fresh cuttings and starting again with drier soil. Yellowing leaves can sometimes indicate a need for a bit more light, but always avoid direct, scorching sun.
A Encouraging Closing
Propagating Arnica is a rewarding journey that deepens your connection with this beautiful plant. Don’t be discouraged if your first attempt isn’t perfect. Gardening is all about learning, observing, and trying again. Be patient with your new charges, give them good care, and I’m confident you’ll soon have a patch brimming with these sunny blooms. Happy propagating!
Resource:
https://identify.plantnet.org/k-world-flora/species/Arnica%20lanceolata%20Nutt./data