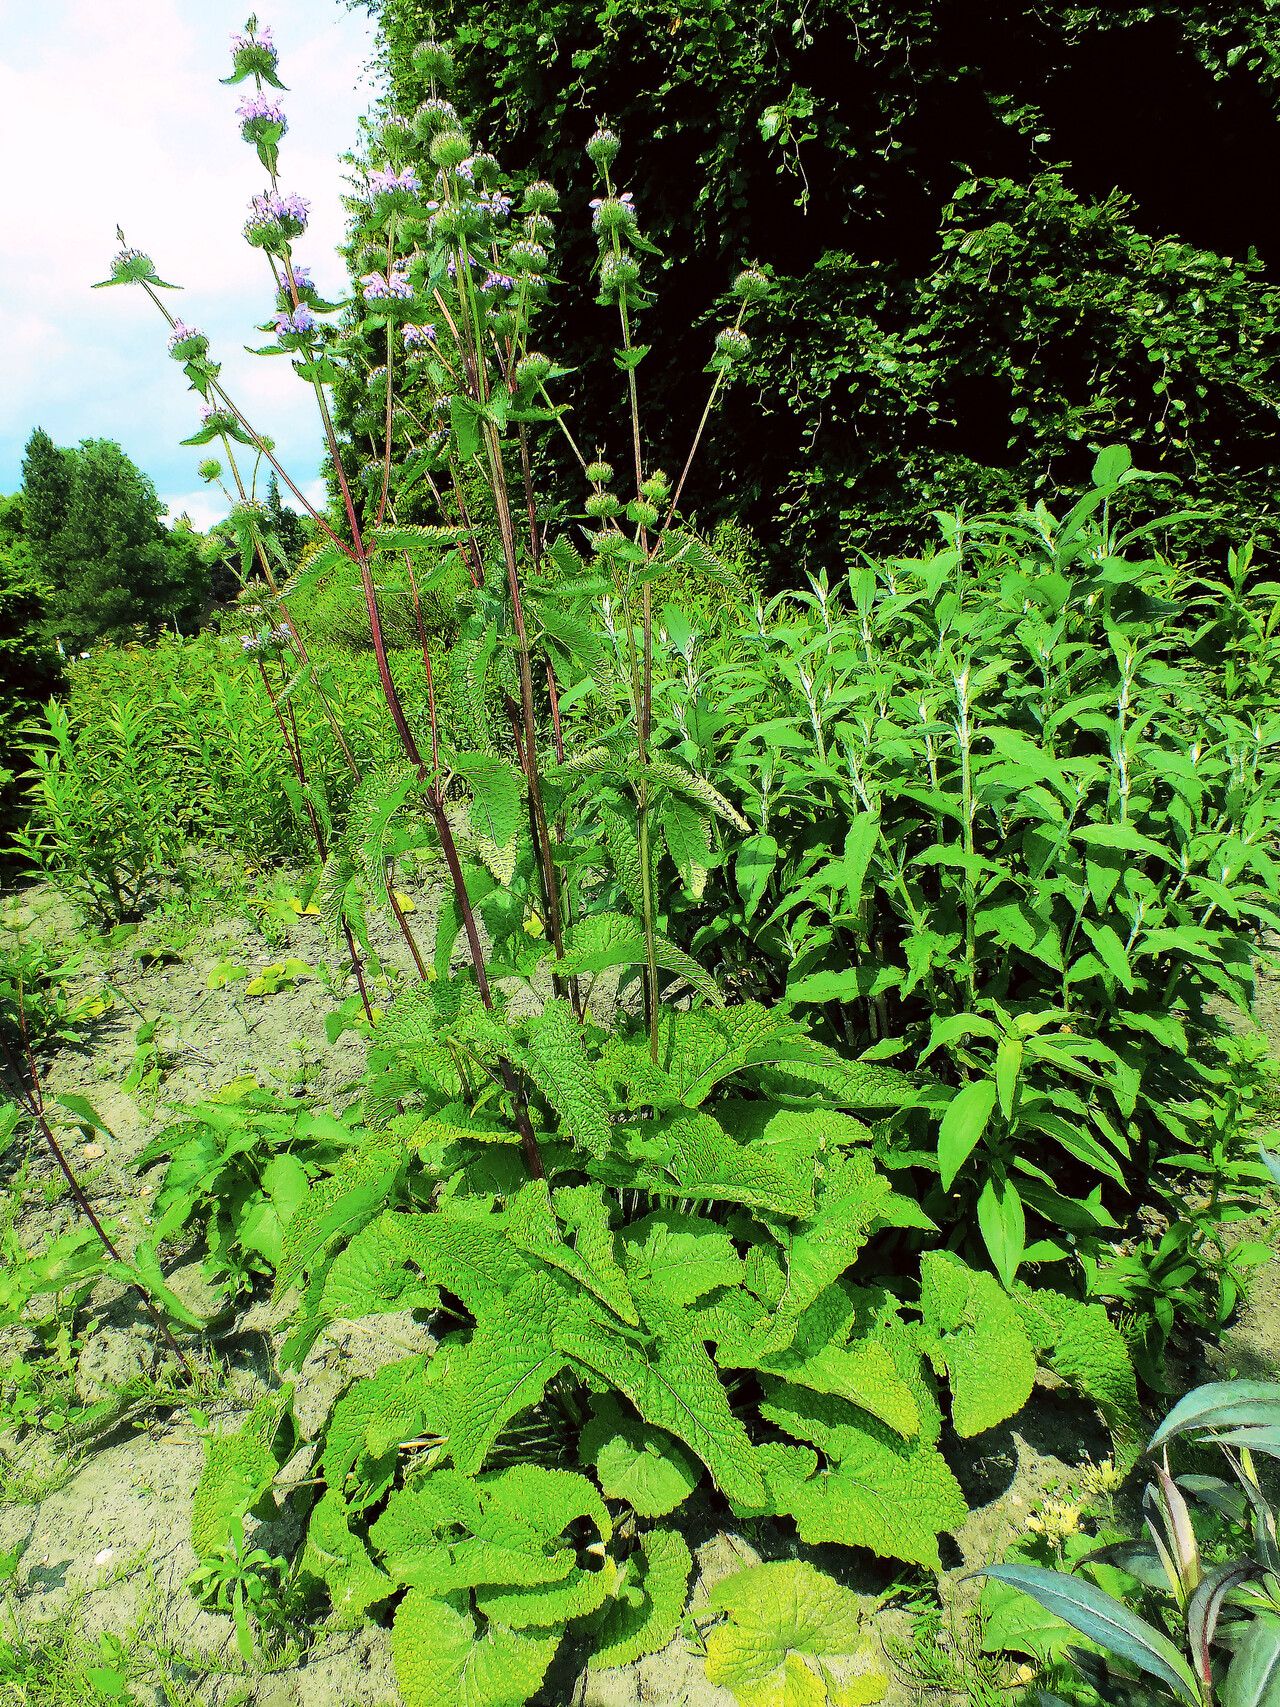
Hello, fellow garden lovers! Today, we’re diving into the wonderful world of Phlomoides tuberosa. If you’re drawn to plants with a bit of architectural flair and soft, velvety foliage, then this beauty is for you. Its tall spikes of lavender-pink flowers are a real showstopper in the summer garden. And the best part? Propagating it yourself is incredibly rewarding. It’s a plant that’s quite forgiving, so don’t be intimidated to give it a go, even if you’re new to the propagation game.
The Best Time to Start
Generally, late spring or early summer is your golden window for propagating Phlomoides tuberosa. This is when the plant is actively growing, and its stems have enough energy to push out new roots. You’re aiming for stems that are pliable but not too soft – think somewhere between brand-new, floppy growth and old, woody stems.
Supplies You’ll Need
Gathering your supplies beforehand makes the whole process smoother. Here’s what I always have on hand:
- Sharp pruning shears or a clean knife: For making precise cuts.
- Rooting hormone (optional but helpful): Stimulates root development. I prefer the powdered form.
- Well-draining potting mix: A blend of perlite, vermiculite, and peat moss (or coco coir) works wonders. You can also find specific propagation mixes.
- Small pots or propagation trays: Clean ones are a must to prevent disease.
- Plastic bags or a propagator lid: To create a humid environment.
- Watering can or spray bottle: For gentle watering.
Propagation Methods
Phlomoides tuberosa is wonderfully amenable to a couple of methods. My go-to is stem cuttings, which is generally very successful.
Stem Cuttings:
- Take your cuttings: Using your clean shears or knife, select healthy, non-flowering stems from your mature plant. Cut pieces that are about 4-6 inches long. Make the cut just below a leaf node (the point where a leaf attaches to the stem).
- Prepare the cuttings: Gently remove the lower leaves from the cutting, leaving just a few at the top. This prevents them from rotting in the soil.
- Apply rooting hormone (if using): Dip the cut end of the stem into your rooting hormone powder, tapping off any excess.
- Plant your cuttings: Fill your small pots or trays with your chosen potting mix. Make a hole with your finger or a pencil in the center, deep enough for the cutting. Insert the cutting into the hole and gently firm the soil around it.
- Water gently: Water the soil until it’s evenly moist but not waterlogged.
Division:
This is another fantastic method for Phlomoides tuberosa, especially if your plant is getting a bit large.
- Prepare to divide: Gently dig up the entire plant from its pot or garden bed. Try to disturb the root ball as little as possible.
- Examine the root ball: You’ll likely see multiple crown or stem bases emerging from the tuberous roots.
- Separate the divisions: Using your hands or a clean spade, carefully pull apart the plant into smaller sections. Each section should have at least one healthy stem and a good portion of the root system. If the roots are very tangled, you might need to use a sharp knife to make clean cuts.
- Replant: Immediately replant your divisions into pots filled with well-draining soil or back into your garden a bit further apart. Water them in well.
The “Secret Sauce” (Pro Tips)
Here are a few things I’ve learned over the years that really make a difference:
- Bottom heat is your friend: Especially for cuttings, placing your pots on a heat mat can significantly speed up root formation. It mimics that lovely warmth of spring.
- Don’t be afraid of a trim: If you start a cutting and find it’s struggling to stay upright or looks a bit sad, don’t hesitate to trim off half of the remaining leaves. This reduces water loss and helps the cutting focus its energy on root production.
- Consistency is key with humidity: Once your cuttings are in their humid environment (under a plastic bag or propagator lid), try not to lift the lid too often. Every time you do, you’re letting that precious moisture escape. Aim for condensation on the inside of the plastic – that’s a good sign!
Aftercare & Troubleshooting
Once your cuttings have developed a healthy root system (you might see them emerging from the drainage holes, or gently tugging on the cutting will reveal resistance), it’s time to give them a little more space. Gradually acclimate them to drier air by opening the plastic bag or lid for longer periods each day. Water them whenever the top inch of soil feels dry.
The most common issue you might encounter is rot. This usually happens if the cuttings are kept too wet or don’t have enough air circulation. If you see any blackening or mushy stems, unfortunately, that cutting is probably lost, and it’s best to remove it to prevent it from spreading.
Keep Growing!
Propagating plants is a journey, and with Phlomoides tuberosa, it’s a particularly satisfying one. Be patient, observe your plants, and enjoy the process of nurturing new life. You’ll soon have a whole cohort of these lovely plants to share or to fill your garden with! Happy gardening!
Resource:
https://identify.plantnet.org/k-world-flora/species/Phlomoides%20tuberosa%20(L.)%20Moench/data