Hey there, fellow plant lovers! I’m so excited to chat with you today about a truly special hydrangea – Hydrangea arguta. If you’ve ever been captivated by its delicate, airy blooms and lovely green foliage, you’re not alone. I’ve been growing these beauties for two decades now, and there’s a special kind of joy that comes from making more of them yourself. It’s a wonderfully rewarding experience, and honestly, it’s not as daunting as you might think. For beginners, it’s a fantastic plant to get your feet wet with propagation.
The Best Time to Start
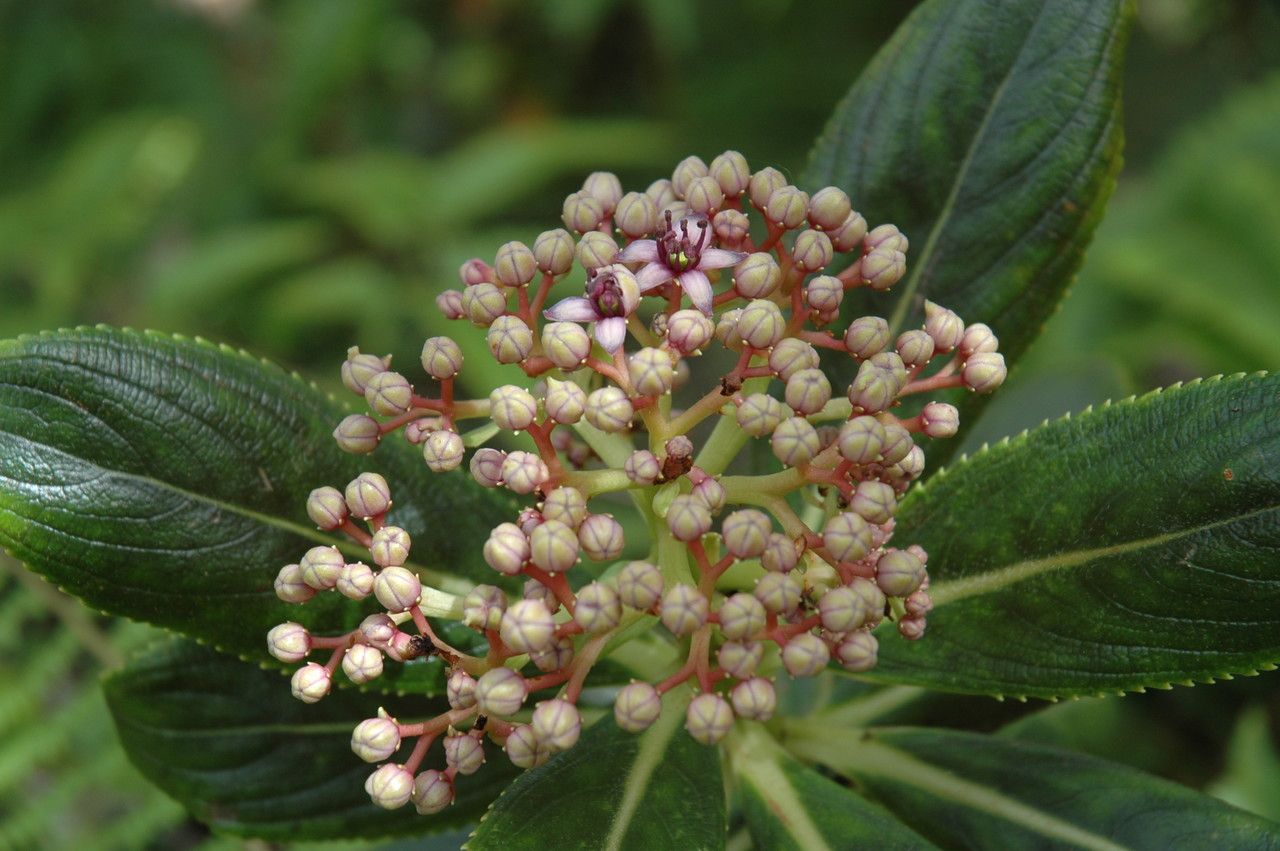
For Hydrangea arguta, the sweet spot for taking cuttings is late spring to early summer, just as the plant is actively growing but before it’s putting all its energy into flowering. Think of it like this: you want to catch your hydrangea at its most vigorous. You’re looking for new growth that’s firm but still a little flexible, not hard and woody like an old stem. This is called semi-hardwood, and it’s the magic window for success.
Supplies You’ll Need
To get started, you’ll want to gather a few things:
- Sharp pruning shears or a clean, sharp knife: Essential for making clean cuts.
- Rooting hormone: This is optional but highly recommended, especially for beginners. It really gives your cuttings a boost. Look for a powder or gel form.
- Small pots or seed trays: Clean pots are key to prevent disease.
- Well-draining potting mix: A good blend is usually 50% peat moss or coco coir and 50% perlite or coarse sand. This ensures good aeration and prevents waterlogging.
- Plastic bags or a propagator: To create a humid environment for your cuttings.
- Water: For misting and watering.
- Labels and a pen: To keep track of what you’ve propagated and when!
Propagation Methods
Let’s get our hands dirty! We’ll focus on stem cuttings, which is my go-to for Hydrangea arguta.
- Taking the Cuttings: Find a healthy stem with that lovely semi-hardwood growth. Using your clean shears or knife, take a cutting that’s about 4-6 inches long. Make your cut just below a leaf node (where a leaf attaches to the stem). Remove the lower leaves, leaving just two or three at the top. If any of those top leaves are very large, I often cut them in half horizontally to reduce water loss.
- Applying Rooting Hormone: Dip the cut end of the stem into your rooting hormone, tapping off any excess. This step is like giving your cutting a little superpower to encourage root formation.
- Planting the Cuttings: Moisten your potting mix. Gently insert the treated end of each cutting into the soil, about an inch deep. Make sure the leaf nodes that are now below the soil have been removed – this is where roots will form.
- Creating a Humid Environment: Water the soil lightly. Then, place the pots into a clear plastic bag or into a propagator. Zip it up or close the lid, ensuring the leaves don’t touch the plastic if possible. This creates a mini-greenhouse effect, keeping the humidity high and preventing the cuttings from drying out.
The “Secret Sauce” (Pro Tips)
Over the years, I’ve learned a few tricks that really make a difference:
- Bottom Heat is Your Friend: If you have it, placing your pots on a gentle heating mat can significantly speed up root development. Hydrangeas love a warm base to get those roots going.
- Don’t Drench, Mist: After you’ve planted your cuttings, resist the urge to flood the pot. Instead, mist the cuttings and the inside of the plastic regularly to maintain humidity. Overwatering can lead to rot, and that’s how you lose those precious new plants.
- Cleanliness is Paramount: I can’t stress this enough. Sterilize your tools and pots before you start. Any lingering bacteria or fungus can be a death sentence for delicate cuttings. A diluted bleach solution or rubbing alcohol works wonders.
Aftercare & Troubleshooting
Once your cuttings are planted, find them a spot with bright, indirect light. Avoid full sun, which can scorch those tender leaves. Keep the soil consistently moist but not soggy. You can gently tug on a cutting after a few weeks (don’t be too rough!). If you feel resistance, it means roots are forming.
The most common sign of trouble is wilting and yellowing leaves that don’t perk up. This usually indicates the cutting has dried out. On the flip side, if the stem turns mushy and black, especially at the soil line, that’s rot, usually from too much moisture and not enough air circulation. If you see rot, it’s best to discard that cutting and reassess your watering and humidity levels.
A Little Patience Goes a Long Way
Propagating Hydrangea arguta is a journey, not a race. Some cuttings will take off immediately, while others might take their sweet time. Don’t get discouraged if not every single one succeeds. Each attempt is a learning opportunity. Just keep at it, enjoy the process of nurturing these little bits of potential, and soon you’ll have more of these stunning hydrangeas to enjoy – or to share with fellow garden enthusiasts! Happy propagating!
Resource: