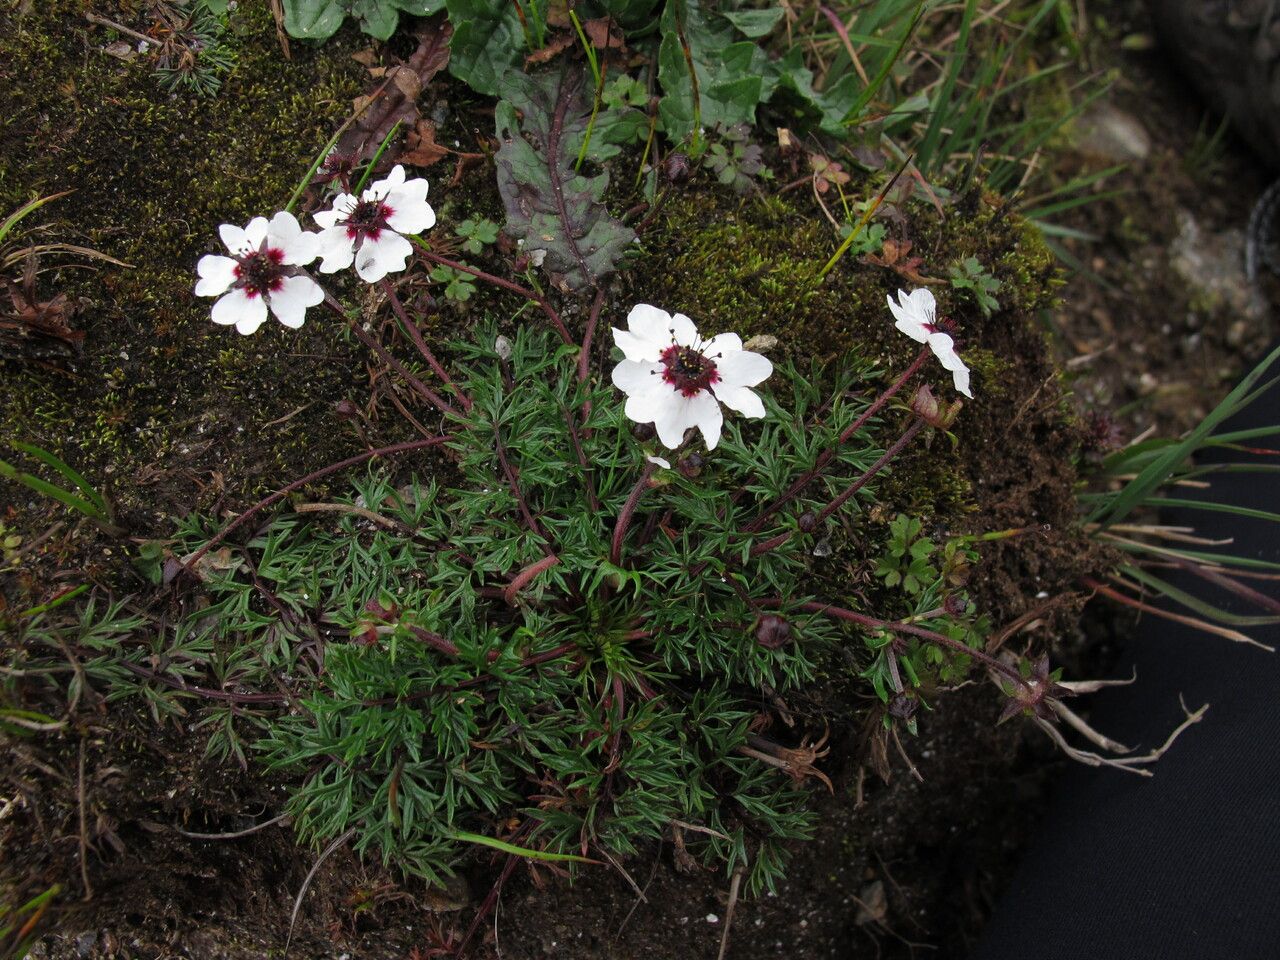
Oh, Potentilla coriandrifolia! If you haven’t met this little charmer, you’re in for a treat. Its delicate, clover-like leaves have a lovely texture, and come summer, it erupts in a cheerful display of small, often white or pale pink, daisy-like flowers. It’s a groundcover that just makes you smile, bringing a touch of gentle beauty to borders and rock gardens. And you know, the best way to fill your garden with these happy little plants is to propagate them yourself. It’s incredibly satisfying, and honestly, not as daunting as you might think. For those just dipping their toes into the gardening world, I’d say Potentilla coriandrifolia is a pretty welcoming plant to start with; it’s quite forgiving!
The Best Time to Start
For me, the absolute sweet spot for propagating Potentilla coriandrifolia is late spring to early summer. This is when the plant is actively growing, pushing out fresh shoots that are full of life and energy. Graviing cuttings at this time gives them the best chance to root quickly and establish themselves before the heat of summer or the chill of autumn.
Supplies You’ll Need
Gathering your supplies beforehand makes the whole process much smoother. Here’s what I usually have on hand:
- Sharp Pruning Shears or a Clean Knife: For making clean cuts.
- Potting Mix: A light, well-draining mix is key. I like to use a blend of roughly equal parts peat moss (or coco coir), perlite, and a bit of sand.
- Small Pots or Trays: Clean containers with drainage holes.
- Rooting Hormone (Optional but Recommended): This can significantly speed up the rooting process and improve success rates.
- Watering Can or Spray Bottle: For gentle watering.
- Plastic Bags or a Clear Dome: To create a humid environment for cuttings.
- Labeling Stakes: So you don’t forget what you’ve planted!
Propagation Methods
Potentilla coriandrifolia is a trooper, and I’ve had great success with a couple of methods.
Stem Cuttings: My Go-To Method
This is my favorite way to increase my Potentilla numbers.
- Take Cuttings: On a mild morning, find a healthy, non-flowering stem that’s about 4-6 inches long. Using your sharp shears, make a clean cut just below a leaf node (the point where leaves attach to the stem).
- Prepare the Cuttings: Gently remove the lower leaves, leaving just a few at the top. This prevents them from rotting in the soil. If your cuttings are very long, you can even cut them in half, ensuring each piece has at least one leaf node.
- Apply Rooting Hormone (Optional): Dip the cut end of each stem into rooting hormone powder if you’re using it. Tap off any excess.
- Plant the Cuttings: Make small holes in your prepared potting mix with a pencil or dowel. Insert the cut end of each cutting into the hole, ensuring the node where you removed the leaves is below the soil line. Gently firm the soil around the base of the cutting.
- Water and Cover: Water the pots thoroughly but gently. You want the soil to be moist, not waterlogged. To create a humid microclimate, cover the pots with a clear plastic bag (ensure leaves don’t touch the plastic!) or place them under a clear plastic dome.
Division: When Plants Get Crowded
If your Potentilla has been happily growing for a few years and is starting to look a bit dense, it’s a perfect candidate for division.
- Dug Up the Plant: In spring or fall, when the weather is cooler, carefully dig up the entire plant.
- Gently Separate: Shake off some of the excess soil. You’ll see that the plant has likely formed several new sections. Gently pull the root ball apart into smaller clumps. Try to ensure each new clump has a good amount of roots and some healthy foliage. If it’s a bit stubborn, you can use a clean trowel or spade, or even a sharp knife, to help separate tough root masses.
- Replant: Replant the divisions immediately into prepared garden beds or new pots, giving them space to grow. Water them well.
The “Secret Sauce” (Pro Tips)
Here are a few little tricks I’ve learned over the years that can really boost your success:
- Bottom Heat is Your Friend: For stem cuttings, placing the pots on a heated propagator mat can make a world of difference. This gentle warmth encourages root development from below, speeding things up considerably.
- Don’t Over-Water: This is probably the most common mistake beginners make. Stick your finger into the soil – if it feels moist an inch down, you’re probably good. Over-watering leads to rot, and nobody wants that!
- Shadow Play: Keep your cuttings out of direct, harsh sunlight, especially when they are still trying to root. Bright, indirect light is perfect. A north-facing windowsill or a spot under a shade tree works wonders.
Aftercare & Troubleshooting
Once your cuttings have rooted – you’ll know because you’ll see new leaf growth and they’ll offer a gentle tug when you try to pull them slightly – you can start easing them into regular care.
Watering: Water them consistently, keeping the soil evenly moist but not soggy. As they grow, you can gradually acclimatize them to less frequent watering.
Growing On: Once they have a good root system, you can transplant them into slightly larger pots.
Troubleshooting: The main culprit for failure is usually rot, which is a sign of over-watering and poor drainage. If you see stems turning black and mushy, or a fuzzy mold on the soil surface, it’s often too late to save them. Prevention is key: use the right soil mix, ensure good drainage, and don’t over-water! Sometimes, cuttings just don’t take, and that’s okay too. Don’t get discouraged; just try again!
So there you have it! Propagating Potentilla coriandrifolia is a wonderful way to expand your garden and share the joy of these charming plants. Be patient, enjoy the process, and soon you’ll have a whole carpet of these delightful blooms to admire. Happy gardening!
Resource:
https://identify.plantnet.org/k-world-flora/species/Potentilla%20coriandrifolia%20G.Don/data