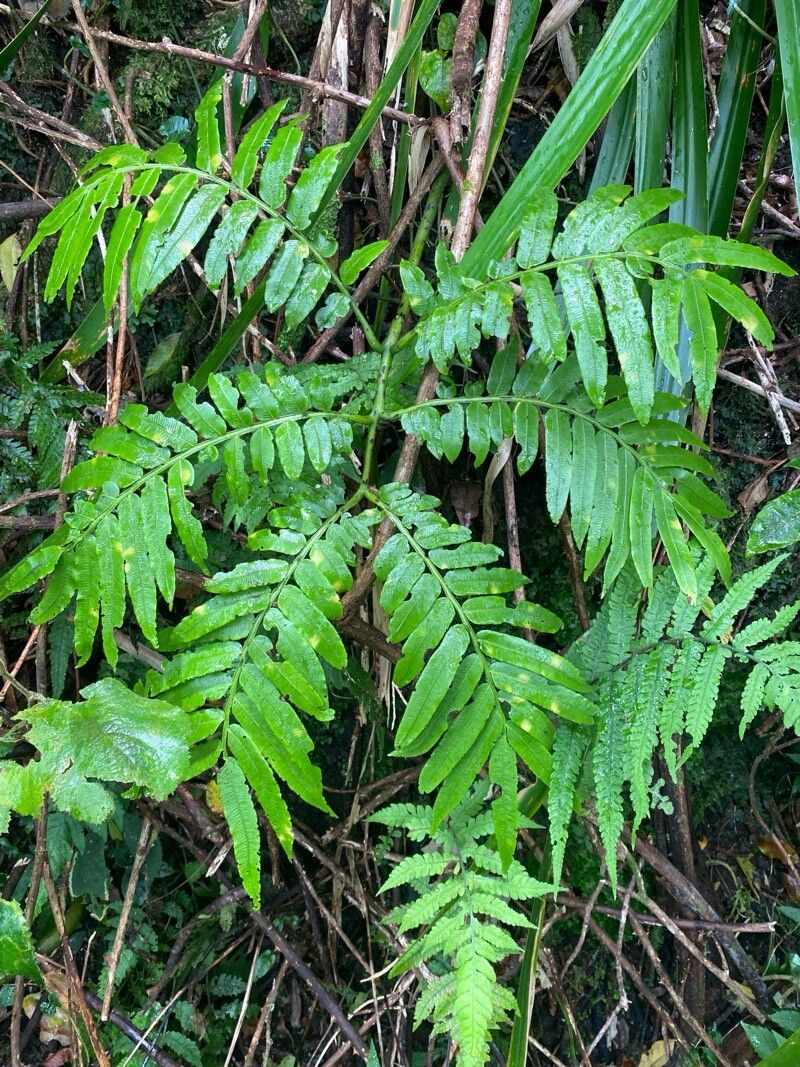
Oh, hello there! Let’s chat about one of my favorite ferns, Ptisana fraxinea. If you’ve ever seen this beauty with its elegant, shuttle-cock-like fronds, you know it’s a real showstopper. It adds such a lush, architectural feel to any shady corner. And the best part? Bringing more of these stunners into your life through propagation is incredibly rewarding. Now, I won’t lie, Ptisana fraxinea can be a little fussy, so it might not be the very first plant you tackle as a brand new gardener. But with a little patience and these tips, you’ll be well on your way!
The Best Time to Start
For the highest chance of success, I find that late spring to early summer is absolutely the sweet spot. This is when the plant is actively growing, putting out fresh, vibrant fronds. Starting around this time means your cuttings or divisions will have plenty of energy to get established before the cooler, drier months arrive.
Supplies You’ll Need
To give your new Ptisana fraxinea the best start, here’s what I always keep handy:
- Sharp, clean pruning shears or a knife: For making clean cuts.
- Potting mix for ferns: I love a mix that’s rich in organic matter, airy, and well-draining. A good blend is often peat moss, perlite, and a bit of compost.
- Small pots or propagation trays: With drainage holes, of course!
- Rooting hormone (optional but helpful): Especially for stem cuttings. Look for one formulated for herbaceous plants.
- Plastic bags or a propagation dome: To maintain humidity.
- Watering can or spray bottle: For gentle watering.
- Labels: To keep track of your efforts!
Propagation Methods
Ptisana fraxinea is best propagated by division or stem cuttings. Let’s break down how to do each.
Division
This is usually my go-to for older, established plants. It’s like giving your plant a helpful haircut and getting free babies in return!
- Gently unpot your mature Ptisana fraxinea. Try not to disturb the root ball too much.
- Inspect the rhizomes. You’re looking for distinct sections of the plant that have their own roots and at least one healthy frond or bud.
- Carefully separate the divisions. You can often do this by hand, gently teasing the roots apart. If it’s a bit tough, use your clean knife or shears to make a cut through the rhizome, ensuring each section has roots.
- Pot up your divisions. Plant each division in its own pot filled with your fern mix. Make sure the top of the rhizome is just at the soil surface.
- Water gently. Don’t drown it! Just moisten the soil thoroughly.
Stem Cuttings
This method is great if you don’t have a large plant to divide, or if you want to experiment.
- Select a healthy stem. Look for a young, vigorous stem that has at least two or three leaves. It shouldn’t be woody or brittle.
- Make a clean cut. Using your sharp shears, cut the stem just below a leaf node (where a leaf attaches to the stem). Aim for a cutting that’s about 4-6 inches long.
- Prepare the cutting. Remove the lower leaves, leaving just one or two at the top. This prevents them from rotting in the soil.
- Dip in rooting hormone (optional). If you’re using it, lightly moisten the cut end and dip it into the rooting hormone powder. Tap off any excess.
- Plant the cutting. Make a hole in your fern mix with a pencil or your finger. Insert the cutting so the leaf node is under the soil surface. Gently firm the soil around it.
- Water lightly.
The “Secret Sauce” (Pro Tips)
Here are a few things I’ve learned over the years that make a real difference:
- When taking stem cuttings, choose stems that are soft and supple, not hard or woody. These young, actively growing stems have stored energy and will root much more readily.
- For both division and cuttings, create a mini greenhouse effect. After potting, cover the pot with a clear plastic bag (supported by stakes so it doesn’t touch the leaves!) or place it inside a propagation dome. This high humidity is crucial for encouraging new root growth.
- Bottom heat can be a game-changer! If you have a heated propagator mat, placing your pots on it provides gentle warmth that significantly speeds up root formation, especially for cuttings.
Aftercare & Troubleshooting
Once your divisions or cuttings are potted up, keep them in a bright spot that receives indirect light. Avoid direct sun, as it can scorch those delicate new leaves. Maintain consistent moisture – the soil should feel damp, never waterlogged or bone dry. Mist them regularly if you don’t have a plastic cover.
You’ll know your plant is happy when you start to see new growth. This can take anywhere from a few weeks to a couple of months. The biggest thing to watch out for is rot. If your cuttings or divisions start to look mushy, black, or slimy, it’s usually a sign of too much moisture and not enough airflow. In this case, you might need to remove the affected parts and ensure better drainage and ventilation, or even start again if it’s widespread.
A Encouraging Closing
So there you have it! Propagating Ptisana fraxinea is a truly rewarding endeavor. Don’t get discouraged if your first attempt isn’t perfect. Gardening is all about learning and observing. Be patient, enjoy the process of nurturing these new life forms, and soon you’ll have a delightful fern family flourishing in your home. Happy growing!
Resource:
https://identify.plantnet.org/k-world-flora/species/Ptisana%20fraxinea%20(Sm.)%20Murdock/data