Hey there, fellow plant lovers!
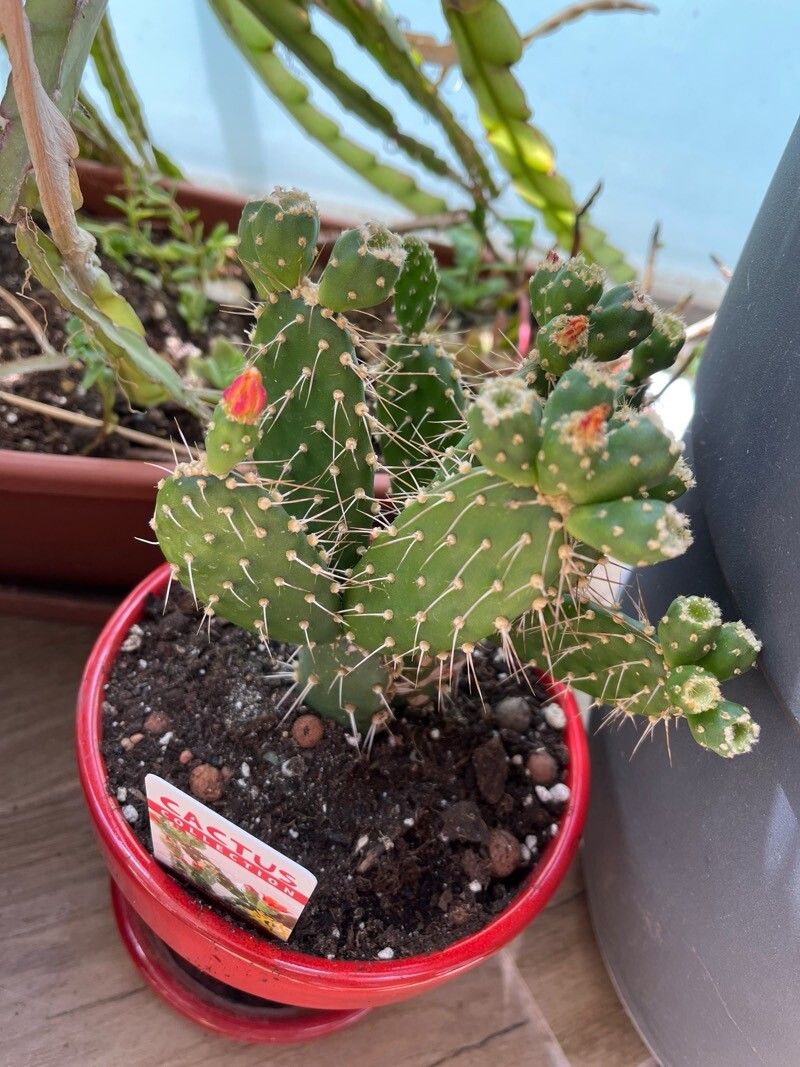
Let’s talk about a cactus that really shines: Opuntia quitensis. If you’ve ever seen this beauty, you know its charm. It’s those vibrant, paddle-like segments covered in cheerful spines that just make you smile. And the best part? You can easily grow more of them yourself! Propagating Opuntia quitensis is incredibly rewarding, and I’m excited to share how you can do it. For beginners, I’d say this one leans towards the easier side, which is always a win when you’re starting out.
The Best Time to Start
Timing is everything in gardening, and for Opuntia quitensis, your sweet spot is late spring or early summer. This is when the plant is in its active growing phase. You’ll notice new pads forming, and this energy surge means your cuttings will have the best chance of getting established and rooting quickly. Avoid propagating when the plant is dormant in cooler months; you’ll just be fighting against its natural rhythm.
Supplies You’ll Need
Here’s what you’ll want to have on hand:
- Sharp pruning shears or a clean knife: For making clean cuts. Sterilize them with rubbing alcohol to prevent disease.
- Well-draining soil mix: A good cactus or succulent mix is perfect. You can also make your own by combining potting soil with perlite or pumice (about a 2:1 ratio).
- Rooting hormone (optional but recommended): This can give your cuttings a helpful boost.
- Shallow pots or trays: For succulent cuttings. Terra cotta pots are great because they allow the soil to dry out a bit more.
- Gloves: Cacti aren’t always prickly, but it’s good practice to protect your hands.
- Newspaper or cardboard: To hold the cuttings while they callus over.
Propagation Methods
The easiest way to multiply your Opuntia quitensis is through stem cuttings. It’s wonderfully straightforward!
- The Cut: Find a healthy, mature pad on your Opuntia quitensis. Using your sterilized pruning shears or knife, make a clean cut at the joint where a pad connects to the main stem or another pad. You can propagate individual pads or segments of pads.
- The Callusing (Crucial Step!): This is super important for cacti. You must let the cut end dry and callus over before planting. Place the cut pads in a dry, well-ventilated spot out of direct sunlight for several days to a week, or even longer if it’s humid. You’ll see a dry, scaly layer form over the cut. This prevents rot from setting in when it hits the soil.
- The Planting: Once callused, you have a couple of options.
- Direct Planting: You can stick the callused end directly into your prepared, dry gritty soil mix. Don’t water it yet! Just let it sit and think about rooting for a while.
- Using Rooting Hormone: If you’re using rooting hormone, lightly dip the callused end into the powder, tap off any excess, and then plant as described above.
- Water Propagation (Use with Caution): While less common for Opuntia and always risky due to rot, you can try placing the callused cutting so the cut end is just barely touching or hovering slightly above water. Ensure absolutely no pad is submerged. Change the water regularly. This method requires careful monitoring.
The “Secret Sauce” (Pro Tips)
- Embrace the Dry Spell: Resist the urge to water right away after planting. For the first week or two, keep the soil completely dry. This encourages the cutting to search for moisture, which in turn promotes root development.
- Gentle Bottom Heat: If you have a seed-starting mat or can place your pots on a warm surface (like near a sunny window but not in direct heat), a little gentle bottom heat can significantly speed up rooting. It mimics the warmth of spring and summer.
- Don’t Overcrowd: Give each cutting enough space in its pot. If they’re crammed together, it increases the risk of disease spread and can hinder root growth.
Aftercare & Troubleshooting
Once you’ve planted your callused cuttings, patience is your best friend. You’ll know your Opuntia quitensis has rooted when you try to gently tug on the pad and feel resistance, or when you see new growth starting to emerge from the pad.
Once it feels secure, you can begin watering very sparingly. Water deeply but allow the soil to dry out completely between waterings. Think of how often you water your established cacti.
What if things go wrong? The most common issue is rot. If your cutting turns mushy, black, or starts to disintegrate, it’s likely succumbed to rot. This usually happens from planting too soon, watering too early, or using soil that doesn’t drain well. If you catch it early, you might be able to cut away the rotten part and re-callus the healthy bit, but often, it’s a sign the cutting isn’t salvageable. Don’t get discouraged if a few don’t make it; it’s part of the learning process!
A Little Bit of Patience Goes a Long Way
Growing new plants from cuttings is one of the most satisfying aspects of this hobby. It’s amazing to watch a seemingly simple piece of a plant transform into its own thriving individual. So dive in, give it a try, and trust the process. Before you know it, you’ll have a whole little clan of Opuntia quitensis to admire and share! Happy propagating!
Resource:
https://identify.plantnet.org/k-world-flora/species/Opuntia%20quitensis%20F.A.C.Weber/data