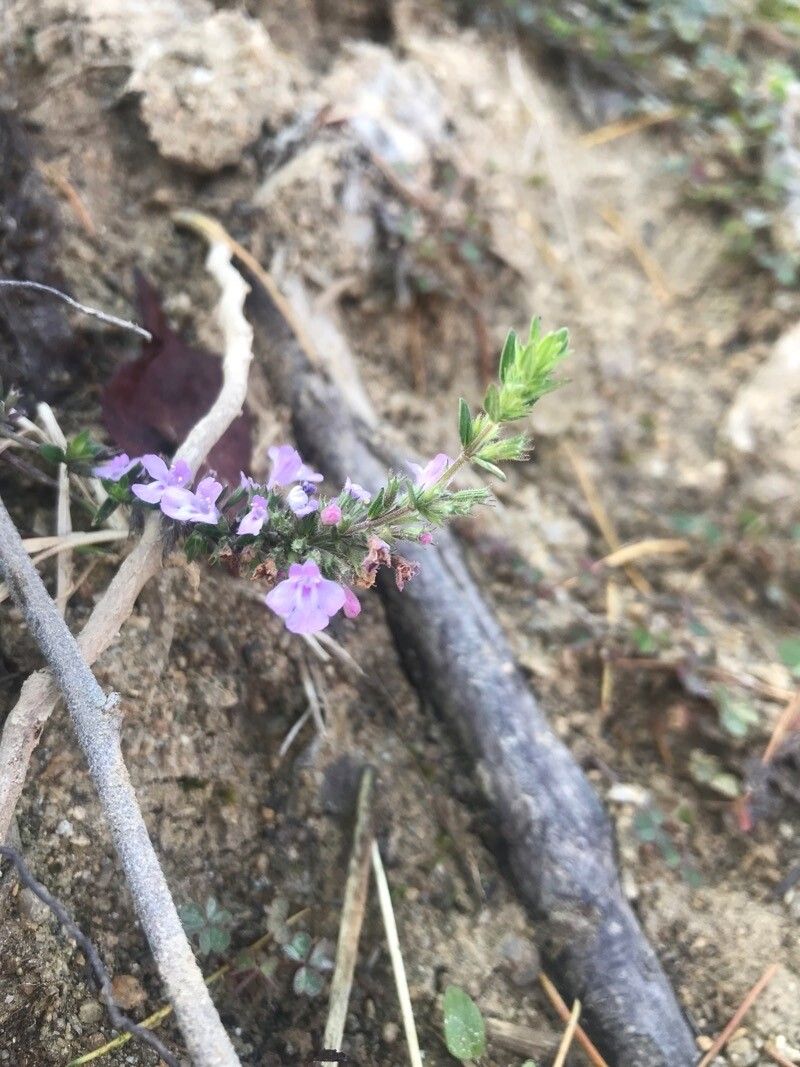
Hello fellow plant lovers! If you’ve ever admired the delicate, aromatic foliage of Micromeria biflora, you’re not alone. This little gem, often praised for its minty fragrance and dainty white flowers, is a joy to have in any garden or on a windowsill. And the best part? It’s wonderfully rewarding to propagate! If you’re new to the plant parent game, don’t shy away. Micromeria biflora is quite forgiving, making it a great candidate for your first propagation adventure.
The Best Time to Start
My absolute favorite time to take cuttings from Micromeria biflora is in late spring to early summer. The plant is actively growing, full of vigor, and usually flush with new, pliable shoots. This is when they’re most eager to root. You can certainly try in other seasons, but you’ll likely find your success rate is highest during this peak growth period.
Supplies You’ll Need
Before we dive in, let’s gather our tools. Think of it as prepping for a delightful plant-themed craft project!
- Sharp Pruning Shears or a Craft Knife: Clean cuts are key to healthy healing and rooting.
- Small Pots or Seed Trays: Anything that holds soil and has drainage holes will do.
- Well-Draining Potting Mix: I like a blend of equal parts seed starting mix and perlite or horticultural grit. This ensures good aeration and prevents soggy roots.
- Rooting Hormone (Optional but Recommended): A little boost can significantly increase your success rate. Gel or powder forms work well.
- Clear Plastic Bag or Propagation Dome: This creates a mini-greenhouse effect, keeping humidity high.
- Small Watering Can or Spray Bottle: For gentle watering.
- Labels: So you don’t forget what you’ve propagated!
Propagation Methods
Let’s get our hands dirty! I find stem cuttings to be the most reliable method for Micromeria biflora.
-
Select Your Cuttings: Look for healthy, non-flowering stems from your established plant. Aim for pieces that are about 3-4 inches long. They should feel flexible, not woody or brittle.
-
Make the Cut: Using your clean shears or knife, take a cutting just below a leaf node (where a leaf attaches to the stem). This is where the magic of rooting usually happens!
-
Prepare the Cutting: Gently remove the leaves from the bottom half of the stem. You want to expose the nodes, as this is where roots will emerge. You can leave the top few leaves on, but pinch off any flower buds.
-
Apply Rooting Hormone (If Using): Dip the cut end of the stem into your rooting hormone, tapping off any excess. This provides a little encouragement for root development.
-
Plant Your Cuttings: Fill your small pots with your prepared potting mix. Make a small hole in the center with your finger or a pencil, and insert the cut end of the stem. Gently firm the soil around it.
-
Water Gently: Water your newly planted cuttings thoroughly but gently. You want the soil to be moist, not waterlogged.
-
Create a Humid Environment: This is crucial! Cover your pots with a clear plastic bag, secured with a rubber band, or place them under a propagation dome. This traps humidity, which is vital for the cuttings while they develop roots.
The “Secret Sauce” (Pro Tips)
Here are a few things I’ve learned over the years that really make a difference:
- First, don’t let the leaves touch the water if you’re doing a water propagation attempt (though I strongly prefer soil for Micromeria biflora). If leaves sit in water, they tend to rot before roots can form. Keep them up and out of the way!
- Second, consider bottom heat. If you have a propagation mat or can place your pots on top of a gently warm appliance (like a router that’s not too hot!), the warmth from the bottom encourages root growth much faster.
- And a small but important detail: If you’re using a plastic bag, open it up for a few minutes each day to allow for air circulation and prevent fungal issues. Think of it as giving your baby plants a little breath of fresh air!
Aftercare & Troubleshooting
Once your cuttings have rooted – you’ll see new growth appearing or feel a gentle tug when you lightly pull on them – it’s time to transition them!
Continue to keep them moist and humid, but you can gradually start to acclimate them to lower humidity by opening the bag for longer periods. Once they look robust and have a few sets of new leaves, you can remove the plastic entirely.
Troubleshooting: The most common issue you’ll encounter is rot. If a cutting turns mushy, black, or slimy, sadly, it’s likely too far gone. This is usually a sign of too much moisture and not enough air circulation. If you see this, remove the affected cutting immediately to prevent it from spreading. Don’t be discouraged; just try again! Sometimes, a little trial and error is part of the fun.
A Little Patience Goes a Long Way
Propagating Micromeria biflora is such a rewarding journey. Seeing those tiny stems transform into independent, fragrant plants is incredibly satisfying. Remember to be patient. Rooting takes time, sometimes several weeks. Celebrate the small victories, learn from any setbacks, and most importantly, enjoy the process. Happy propagating!
Resource: