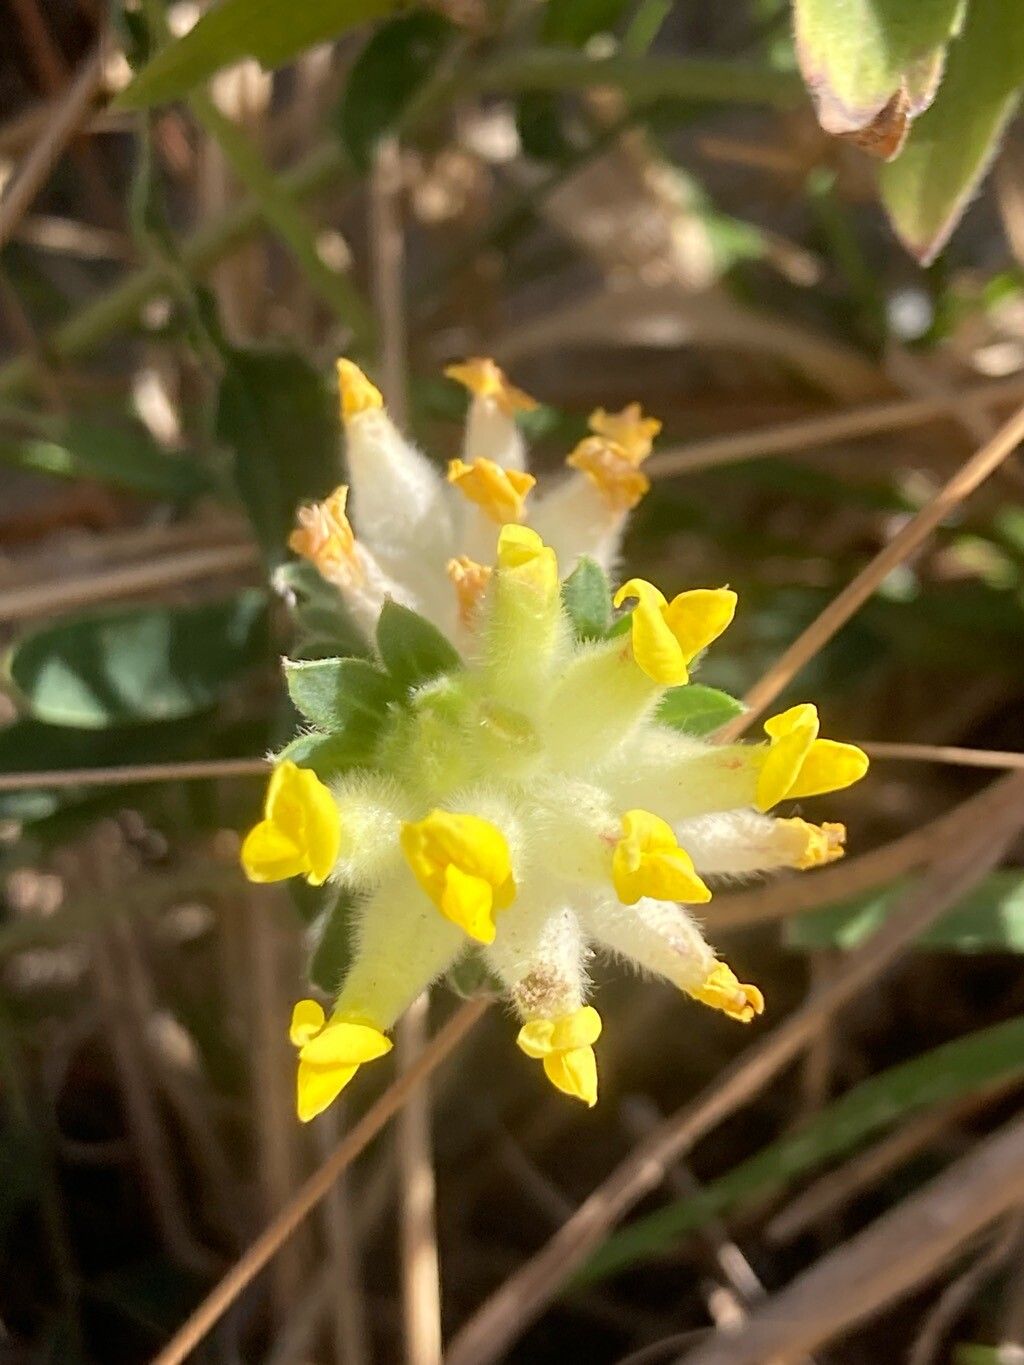
Hey there, fellow plant lovers! Today, I want to chat about a really special little plant: Anthyllis vulneraria, often called Kidney Vetch. If you’re looking for a resilient, native treasure for your garden that also provides a fantastic food source for pollinators, then this is definitely one to consider. Its cheerful yellow-to-pink blooms are a lovely sight, and the bonus? Propagating it yourself is quite achievable, even for those just starting out on their plant-parenting journey. Watching a tiny cutting unfurl its first true leaves is pure gardening joy, and it’s immensely satisfying to fill your garden with more of these beauties without buying new plants.
The Best Time to Start
For Anthyllis vulneraria, the sweet spot for propagation is usually in late spring to early summer. This is when the plant is actively growing and has plenty of energy reserves. We’re looking for nice, healthy, semi-ripe shoots. These are stems that are no longer floppy and soft, but not yet woody and stiff either. Think of them as being in that perfect stage of development, ready to take root.
Supplies You’ll Need
Before we get our hands dirty, let’s gather our tools. Having everything ready makes the whole process so much smoother:
- Sharp, clean pruning shears or a sharp knife: For making precise cuts.
- Rooting hormone (optional but recommended): A little boost can encourage faster rooting. Look for one suitable for herbaceous cuttings.
- A well-draining potting mix: A 50/50 blend of peat or coir and perlite or sharp sand works wonders. Avoid heavy, moisture-retentive mixes.
- Small pots or seed trays: Make sure they have drainage holes!
- Watering can with a fine rose attachment: For gentle watering.
- A plastic bag or propagation dome: To create a humid environment.
- Labels or plant markers: To keep track of what you’ve planted and when.
Propagation Methods
Anthyllis vulneraria is quite amenable to propagation from stem cuttings, which is my go-to method for this plant.
Stem Cuttings:
- Take Your Cuttings: On a mild, overcast day (less stress on the cutting), select healthy, non-flowering shoots from a mature plant. Using your clean shears, take cuttings about 4-6 inches long. Make the cut just below a leaf node (where a leaf attaches to the stem).
- Prepare the Cuttings: Gently remove the lower leaves from the cutting, leaving just a couple at the very top. This prevents them from rotting in the soil and encourages the plant to focus its energy on root development. You can then dip the cut end into your rooting hormone, tapping off any excess.
- Plant the Cuttings: Fill your small pots with your prepared, moistened potting mix. Make a small hole in the center of the soil with a pencil or your finger. Insert the cut end of the stem cutting into the hole, ensuring the leaves don’t touch the soil surface. Gently firm the soil around the base of the cutting.
- Create Humidity: Water the cuttings gently. Then, cover the pots with a clear plastic bag or a propagation dome. This traps moisture and creates the humid microclimate they need to thrive. Place them in a bright spot out of direct sunlight.
The “Secret Sauce” (Pro Tips)
Now, for a couple of little tricks I’ve learned over the years that can really make a difference:
- Bottom Heat is Your Friend: If you have it, placing your pots on a heated propagator mat can significantly speed up root formation. The gentle warmth encourages the plant to send out roots faster. Just keep an eye on moisture levels if you’re using bottom heat.
- The “Tap Water” Trick (for a different plant, but a good general idea): While not strictly for Anthyllis cuttings in soil, for some water propagation, I’ll often use filtered or rainwater. Tap water can sometimes contain chemicals that might inhibit rooting. The key takeaway is: use good quality water! For our Anthyllis cuttings in soil, just ensure the mix is consistently moist but not waterlogged.
Aftercare & Troubleshooting
Once your cuttings are planted, the waiting game begins! Keep the potting mix consistently moist but not soggy. You can gently mist the leaves occasionally if the humidity starts to drop, but avoid getting water trapped in the leaf axils, as this can lead to rot.
You’ll know your cuttings are taking root when you see new leaf growth emerge at the top of the stem, or if you give the cutting a very gentle tug and feel resistance. This typically takes 3-6 weeks, depending on conditions.
The most common sign of failure is rotting at the base of the cutting. This usually happens when the soil is too wet and there isn’t enough air circulation. If you see a black, mushy stem, sadly, that cutting is likely lost. Just remove it from the pot to prevent it from affecting other cuttings. Another sign can be the cutting turning yellow and wilting completely with no signs of root development – this might mean it’s not developing roots and the cutting has used up its stored energy.
Once you have good roots, you can carefully pot up your new Anthyllis vulneraria into slightly larger individual pots. Gradually acclimate them to outdoor conditions by placing them in a sheltered spot for a week or two before planting them in their final garden location.
A Warm Encouragement
Propagating plants is a journey, and every gardener, no matter how experienced, has had the odd cutting that didn’t make it. Don’t get discouraged! Celebrate the successes, learn from any failures, and most importantly, enjoy the process of nurturing new life. Happy gardening!
Resource:
https://identify.plantnet.org/k-world-flora/species/Anthyllis%20vulneraria%20L./data