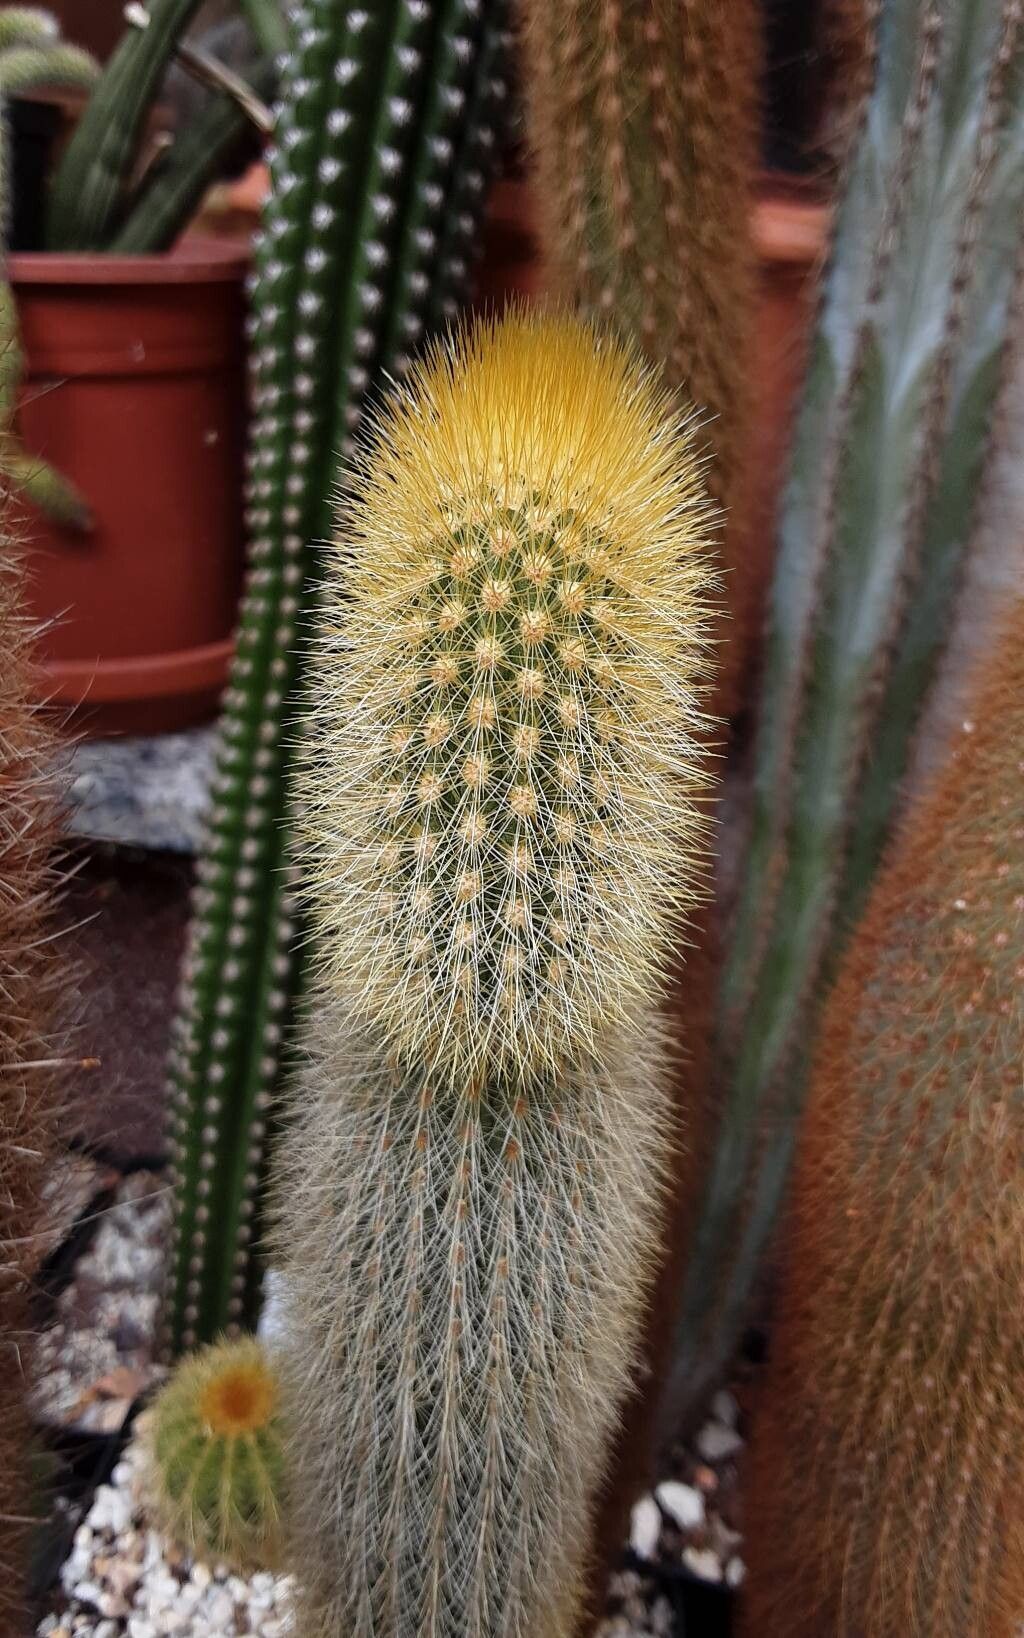
Hello fellow plant lovers! Today, we’re diving into the wonderful world of propagating Weberbauerocereus winterianus. This striking cactus, with its fuzzy white hairs and architectural form, is a real showstopper. And the best part? You can create more of these beauties yourself! It’s incredibly rewarding to nurture a tiny cutting into a mature plant. Now, I won’t lie, this cactus can be a bit more of a challenge than a simple succulent, but don’t let that discourage you. With a little patience and the right approach, you can definitely succeed.
The Best Time to Start
For the highest success rate, I always recommend propagating Weberbauerocereus winterianus during its active growing season. This typically falls in the late spring and early summer. The plant is full of energy and ready to channel it into producing new roots. Trying to propagate during its dormancy in winter is much less likely to yield positive results.
Supplies You’ll Need
Here’s what you’ll want to have on hand:
- Sharp, clean pruning shears or a very sharp knife. Sterilize them with rubbing alcohol between cuts.
- Rooting hormone (optional, but recommended). This can give your cuttings a helpful boost.
- Well-draining potting mix. I swear by a cactus and succulent blend, often with extra perlite or pumice added for aeration.
- A small pot or container with drainage holes. Terracotta pots are great because they allow the soil to breathe.
- A spray bottle. For gentle misting.
- Gloves. Cacti are spiky!
- A small trowel or dibbler. To make planting the cuttings easier.
Propagation Methods
The most successful way to propagate Weberbauerocereus winterianus is through stem cuttings. It’s straightforward, and you’ll likely get great results.
- Take the Cutting: Select a healthy, mature stem. Using your sterilized shears or knife, make a clean cut at the base of a stem segment you want to propagate. Aim for a piece that’s at least 3-6 inches long. Avoid taking cuttings from very young or weak growth.
- Callus Over: This is a crucial step for cacti. After you’ve made your cut, place the severed end of the cutting in a cool, dry, and well-ventilated spot. Let it callus over for several days to a week. You’ll see a dry, hardened scab form over the cut. This prevents rot when you plant it. Don’t rush this!
- Planting: Once callused, dip the cut end into your rooting hormone – if you’re using it. Then, gently insert the callused end about an inch or two deep into your prepared, dry well-draining soil mix. You can use a dibbler or your finger to make a hole first, to avoid knocking off the callus.
- First Watering: Resist the urge to water immediately. Wait a few days after planting your cutting. Then, give it a very light watering, just enough to settle the soil around the base. You want the soil to be barely moist, not wet.
The “Secret Sauce” (Pro Tips)
Here are a few things I’ve learned over the years that can really make a difference:
- Bottom Heat is Your Friend: If you can, place your potted cuttings on a seedling heat mat. The gentle warmth from below encourages root development much faster than ambient room temperature alone.
- Air Circulation is Key: Ensure good airflow around your cuttings. Stagnant, humid air is a recipe for rot. If you’re keeping them in a humid case (which I generally advise against for cacti unless it’s very well-ventilated), make sure to open it up daily.
- Don’t Overwater, Ever! This is the golden rule for cacti, especially when they’re trying to root. It’s far better to underwater than to overwater. Wait until the soil is completely dry before watering again, and then water sparingly.
Aftercare & Troubleshooting
Once you start seeing signs of rooting – usually by gentle tugging or observing new growth – you can begin treating your new plant like a mature specimen, but with a bit more caution.
- Watering: Continue to water sparingly, allowing the soil to dry out completely between waterings.
- Light: Place your propagating plant in bright, indirect light. Direct sun can scorch a young, unrooted cutting.
- Troubleshooting: The most common problem you’ll encounter is rot. If your cutting turns mushy, black, or smells foul, it’s usually a sign of too much moisture. Unfortunately, if rot sets in, it’s often difficult to save. Discard the rotten cutting immediately to prevent it from spreading to others. Another sign of failure is if the cutting simply shrivels up and shows no signs of rooting after several weeks. This can happen if the cutting was too old, wasn’t callused properly, or the conditions weren’t right.
A final thought
Propagating Weberbauerocereus winterianus is a journey, and like all gardening endeavors, it requires a good dose of patience. Don’t get discouraged if your first attempt isn’t a runaway success. Learn from it, adjust your approach, and enjoy the process of nurturing new life. Happy growing!
Resource:
https://identify.plantnet.org/k-world-flora/species/Weberbauerocereus%20winterianus%20F.Ritter/data