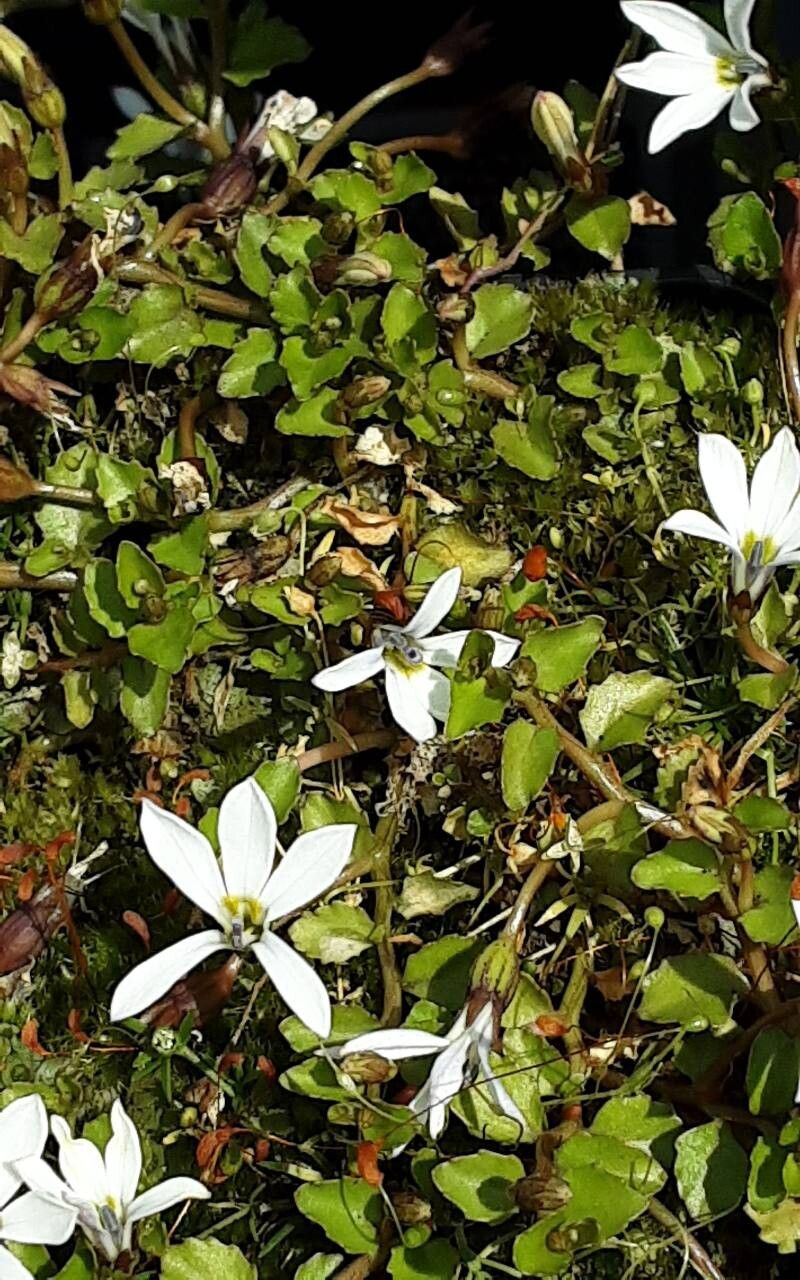
Oh, Lobelia angulata! Isn’t it just the most delightful thing to have tumbling over a rock wall or spilling from a hanging basket? That lovely cascade of delicate blue flowers really does brighten up any garden corner. And the best part? You can so easily multiply it yourself! I’ve been propagating Lobelia angulata for years, and honestly, it’s one of those plants that makes you feel like a bit of a gardening wizard. Good news for you too – it’s wonderfully beginner-friendly!
The Best Time to Start
For the absolute best results, I like to start my Lobelia angulata cuttings in late spring or early summer. This is when the plant is actively growing, and those young stems are full of get-up-and-go. You want to catch it when it’s producing plenty of new, healthy shoots that haven’t started to get woody.
Supplies You’ll Need
Here’s what I always have on hand:
- Good quality potting mix: I usually use a mix that’s light and well-draining. Something like a 50/50 blend of perlite and standard potting soil works a treat.
- Potting trays or small pots: Clean ones, of course!
- Sharp pruning shears or a clean knife: Precision is key for a clean cut.
- Rooting hormone powder (optional but helpful): This can give your cuttings a little boost.
- Watering can with a fine rose: To avoid disturbing your precious cuttings.
- Plastic bags or a propagator: To create a humid environment.
Propagation Methods
There are a couple of ways to go about this, and both are pretty straightforward. My go-to is usually stem cuttings, as it’s very reliable.
Stem Cuttings
- Take your cuttings: Gently select a healthy stem from your established Lobelia angulata plant. You’re looking for a piece that’s about 3-4 inches long and has plenty of leaves, but is still soft and green, not woody.
- Make the cut: Using your sharp shears or knife, make a clean cut just below a leaf node (where a leaf attaches to the stem). This is where new roots will likely form.
- Prepare the cutting: Gently remove the lower leaves from the cutting. You want to expose the leaf nodes. Leave just a few leaves at the top.
- Apply rooting hormone (if using): Dip the cut end of the stem into the rooting hormone powder. Tap off any excess.
- Plant your cuttings: Fill your small pots or tray with your potting mix. Make a little hole with your finger or a pencil and gently insert the cut end of the Lobelia cutting. Firm the soil around it gently.
- Water gently: Give them a good, soft watering. You want the soil to be moist but not waterlogged.
- Create a humid environment: Loosely cover the pots or tray with a clear plastic bag or place them in a propagator. This traps moisture around the leaves and helps prevent them from drying out.
Water Propagation
This method is even simpler!
- Take your cuttings: Same as above – healthy, non-woody stems, 3-4 inches long.
- Prepare the cutting: Remove the lower leaves, just like for stem cuttings.
- Place in water: Pop the cuttings into a clean jar or glass with fresh water. Make sure the leaf nodes you removed the leaves from are submerged, but that no leaves are actually sitting in the water.
- Find a bright spot: Place the jar in a bright location, out of direct, harsh sunlight.
- Change the water regularly: Every few days, refresh the water to keep it clean and oxygenated. You’ll start to see little roots appearing in about 2-3 weeks. Once they’re a good inch or so long, you can pot them up into soil.
The “Secret Sauce” (Pro Tips)
Here are a few things I’ve learned that make a real difference:
- Bottom heat is your friend: If you can, place your pots on a heat mat. For Lobelia angulata, around 70-75°F (21-24°C) is ideal for encouraging quick root development. It really speeds things up!
- Don’t be afraid to experiment with different parts of the stem: While young, soft growth is best, sometimes a slightly more mature stem that’s just starting to get a hint of woodiness can also root surprisingly well. Just make sure to still take cuttings from the tip.
- “Wounding” can help: For stems that are a little more stubborn, you can gently scrape a tiny sliver of bark off the bottom inch of the stem. This exposes more of the cambium layer, which can encourage rooting. But be gentle!
Aftercare & Troubleshooting
Once you see those little roots starting to emerge (you might see them peeking out of the drainage holes or gently tugging on the cutting), it’s time to give them a little more attention.
- Gradual acclimatization: If you used a plastic bag, start gradually removing it over a few days to let the new plant get used to the lower humidity of the room.
- Potting up: Once the root system is well-established, you can pot up your new Lobelia into larger pots with standard potting soil. Continue to keep them moist and in bright, indirect light.
- Watch for rot: The most common problem is rot, usually caused by overwatering or poor drainage. If your cuttings look mushy or black at the base, it’s a sign of rot. Sadly, these are usually lost. Prevention is key – ensure good airflow and don’t let them sit in soggy soil.
A Encouraging Closing
Taking cuttings can feel a bit nerve-wracking at first, but with Lobelia angulata, you’re in for a real treat. Be patient, enjoy the process of nurturing these tiny new plants, and don’t be discouraged if every single cutting doesn’t make it. You’re learning, and that’s the most rewarding part of all! Happy gardening!
Resource:
https://identify.plantnet.org/k-world-flora/species/Lobelia%20angulata%20G.Forst./data