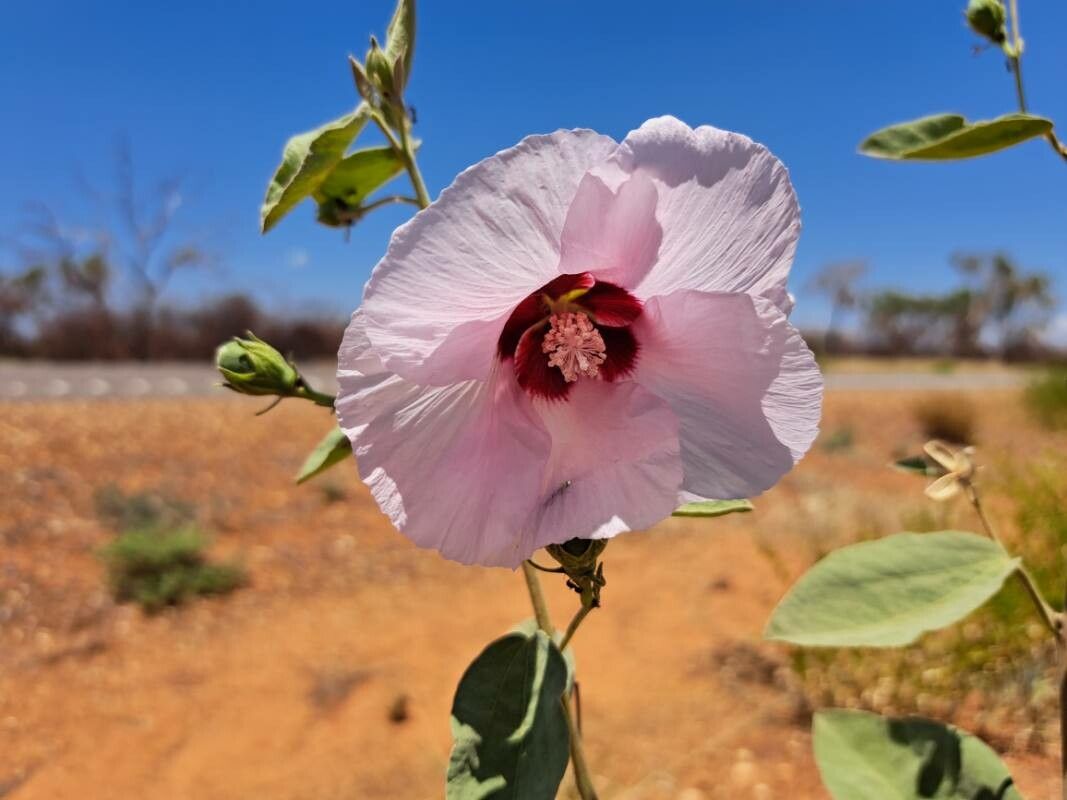
Hello fellow garden lovers! Today, we’re diving into the wonderful world of Gossypium australe, also known as the Australian Cotton. If you’ve ever seen its delicate, yet vibrant, often pink or red, ruffled petals, you know it’s a real showstopper. I’ve spent years nursing these beauties in my own garden, and honestly, propagating them is just as rewarding as watching them bloom. It’s a fantastic way to fill your space with these charming flowers, without having to buy new plants every year. For beginners, I’d say it’s moderately easy. It requires a little bit of attention, but nothing a determined gardener can’t handle!
The Best Time to Start
The sweet spot for propagating Gossypium australe is undoubtedly late spring to early summer. This is when the plant is in its active growth phase, meaning those cuttings have the best chance to establish themselves and take root. Aim for when you see new, healthy shoots appearing. Avoid trying this too early in the spring when things are still waking up, or late in the season when growth slows down.
Supplies You’ll Need
Here’s a little kit to get you started:
- Sharp pruning shears or a clean knife: For making precise cuts.
- Well-draining potting mix: A good blend of peat moss, perlite, and vermiculite works wonders. You can also find specific seed starting mixes.
- Rooting hormone (optional but recommended): This really gives your cuttings a boost. Look for one with indole-3-butyric acid (IBA).
- Small pots or seed trays: Clean ones are crucial to prevent disease.
- Plastic bags or a propagation dome: To create a humid environment.
- Spray bottle: For misting your cuttings.
- Labels and a marker: Don’t forget to label your precious new plants!
Propagation Methods
My go-to method for Gossypium australe is stem cuttings. It’s reliable and gives you a good success rate.
-
Take Your Cuttings: On a bright morning, using your sharp shears, select healthy, semi-hardwood stems from a mature plant. Look for stems that are green but starting to develop a bit of toughness, not too soft and floppy. Cut just below a leaf node (where a leaf attaches to the stem). You want cuttings about 4-6 inches long. Remove any flowers or flower buds from the cutting – they drain precious energy! Also, pinch off the lower leaves, leaving just a couple at the very top.
-
Prepare the Cutting: If you’re using rooting hormone, dip the cut end into it. Gently tap off any excess. You want a light coating.
-
Potting Up: Fill your clean pots with the well-draining potting mix. Make a small hole in the center with your finger or a pencil. Gently insert the prepared cutting into the hole, making sure that at least one leaf node is buried below the surface. Firm the soil around the cutting.
-
Create Humidity: Water the soil gently, then cover the pot with a plastic bag or a propagation dome. Make sure the bag doesn’t touch the leaves too much. This creates a mini greenhouse effect, keeping the humidity high, which is vital for cuttings to root.
-
Find the Right Spot: Place your pots in a bright spot that receives indirect sunlight. Avoid direct sun, as it can scorch the delicate cuttings.
The “Secret Sauce”
Here are a couple of things I’ve learned over the years that really help:
- Bottom Heat is Your Friend: If you can, place your pots on a gentle heat mat. This warmth encourages root development from below, significantly speeding up the process. Don’t make it too hot though, just consistently warm.
- Gentle Misting is Key: Instead of soaking the soil, I prefer to mist the leaves and the inside of the bag with my spray bottle every day or two. This keeps the humidity up without waterlogging the soil. Overwatering at this stage is the fastest way to lose a cutting.
Aftercare & Troubleshooting
After about 4-6 weeks, you should start to see signs of new growth, and if you gently tug on the cutting, you’ll feel resistance – that means roots! Once new leaves appear and the cutting feels firmly rooted, you can gradually acclimate it to slightly lower humidity by opening the plastic bag a little more each day. Once it’s producing healthy new shoots, it’s ready to be moved into its own small pot and treated like a young plant.
The biggest enemy of cuttings is rot. If you see your cuttings turning black and mushy, or if you notice mold on the soil, it’s usually a sign of too much moisture and bad air circulation. You might have to discard those and start again with fresh cuttings, making sure to sterilize your pots and adjust your watering and misting routine.
So there you have it! Propagating Gossypium australe is a deeply satisfying journey. Be patient with yourself and your little plant babies. Sometimes they take their time, and that’s perfectly okay. Enjoy the process, and soon you’ll have a whole garden bursting with those lovely ruffled blooms. Happy gardening!
Resource:
https://identify.plantnet.org/k-world-flora/species/Gossypium%20australe%20F.Muell./data