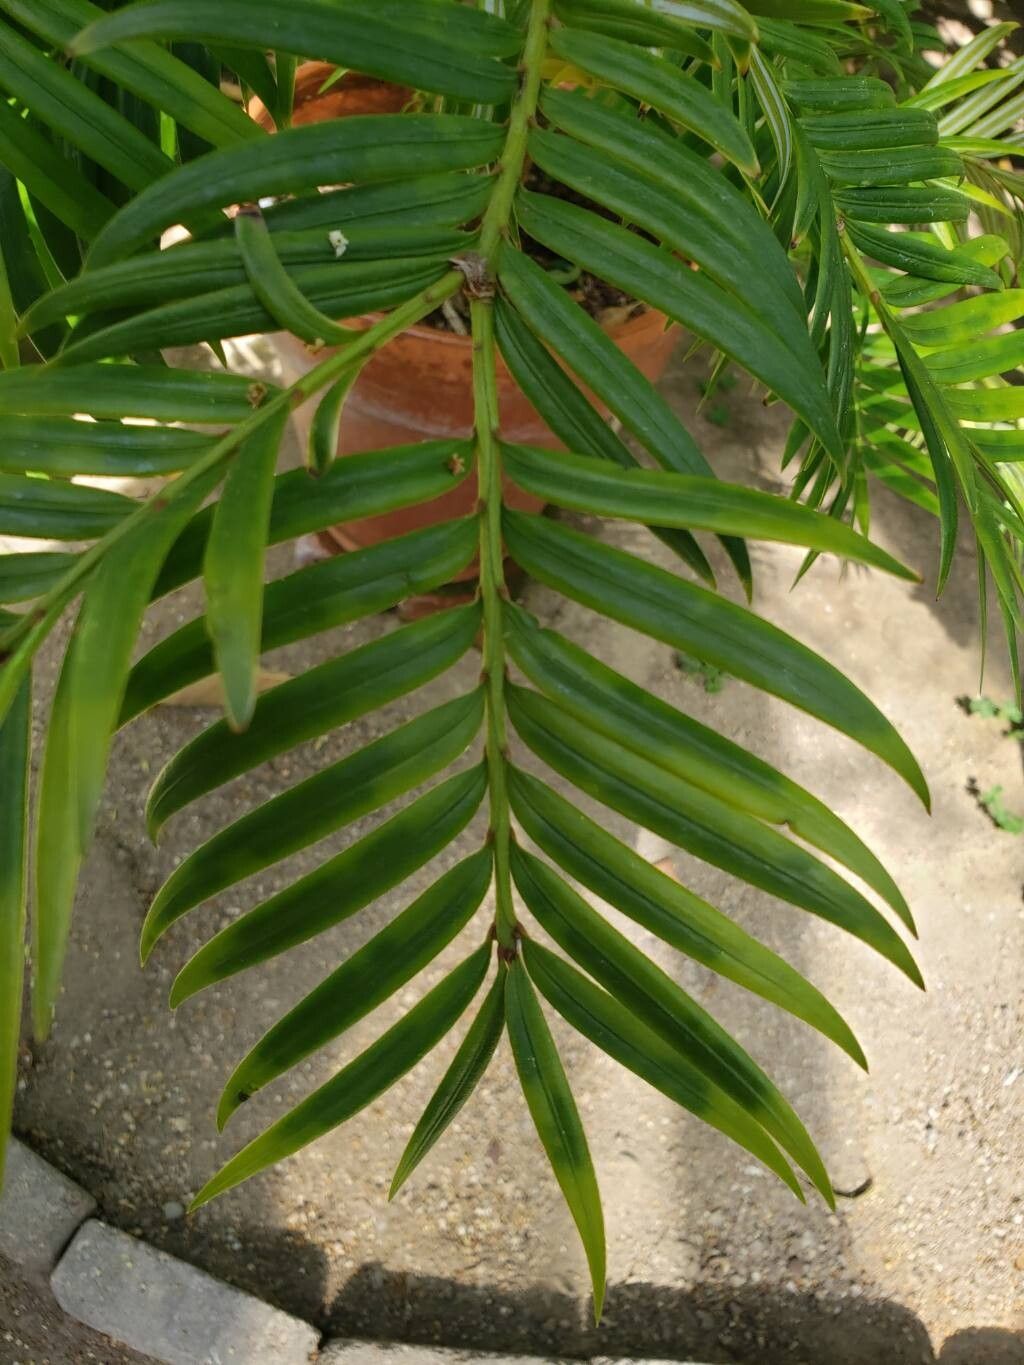
Hello fellow plant lovers! It’s so wonderful to connect with you today. I’m excited to talk about Amentotaxus formosana, also known as the Taiwan Plum Yew. This evergreen beauty, with its elegant, architectural form and glossy, dark green foliage, brings a sophisticated touch to any garden or indoor space. And let me tell you, successfully propagating one of these gems is an incredibly rewarding feeling! Now, I won’t sugarcoat it – Amentotaxus formosana can be a bit of a trickier plant to propagate for absolute beginners. But don’t let that deter you! With a little patience and these tips, you’ll be well on your way.
The Best Time to Start
For the best shot at success with our lovely Amentotaxus formosana, I always recommend working with semi-hardwood cuttings. Think late summer to early autumn, typically August through September. At this time, the new growth from spring has started to mature and firm up a bit, but it’s not too woody. This stage offers a good balance of flexibility for rooting while still having enough energy stored for growth.
Supplies You’ll Need
Gathering your supplies beforehand makes the whole process much smoother. Here’s what I always have on hand:
- Sharp, clean pruning shears or a sharp knife: Essential for making clean cuts.
- Rooting hormone powder or gel: This is a big help for encouraging those roots to form. Look for one formulated for woody plants.
- Peat moss and perlite: A great mix for drainage and aeration. I often use a 50/50 ratio.
- Small pots or trays with drainage holes: For housing your cuttings.
- Clear plastic bags or a propagation box/dome: To maintain humidity.
- A spray bottle with water: For misting.
- Labels and a marker: To keep track of your cuttings!
- Optional: Bottom heat mat: This can significantly speed up root development.
Propagation Methods: Stem Cuttings
The most reliable way I’ve found to propagate Amentotaxus formosana is through stem cuttings. Here’s how I do it:
- Take Your Cuttings: Using your clean shears or knife, select healthy, semi-hardwood stems from your parent plant. Look for stems that are firm but still slightly pliable. Aim for cuttings that are 4-6 inches long.
- Prepare the Cuttings: Gently remove the lower leaves from the bottom half of the cutting. If the cutting is long, you can reduce the size of the remaining leaves by cutting them in half horizontally. This helps prevent the leaves from wilting too quickly and reduces water loss.
- Apply Rooting Hormone: Dip the cut end of each cutting into your rooting hormone. Tap off any excess.
- Plant the Cuttings: Fill your small pots or trays with your prepared peat moss and perlite mix. Make a hole in the center of the mix with your finger or a pencil.
- Insert and Firm: Gently insert the prepared cutting into the hole, making sure the base is well-covered. Firm the mix gently around the cutting to ensure good contact. You can plant several cuttings in one pot, as long as they aren’t touching each other.
- Water Thoroughly: Water the pots gently to settle the mix.
- Create a Humid Environment: Cover the pots with a clear plastic bag, a propagation dome, or place them in a propagator. Make sure the plastic doesn’t touch the leaves of the cuttings. If using a bag, you might need to prop it up with stakes.
The “Secret Sauce” (Pro Tips)
Here are a few little tricks I’ve learned over the years that can really make a difference:
- Dip in Cinnamon (Optional): After dipping in rooting hormone, some people find it helps to then dip the cut end into a bit of powdered cinnamon. It has some natural antifungal properties and seems to give the roots an extra boost.
- Bottom Heat is Your Friend: If you can swing it, placing your propagation tray on a bottom heat mat set to around 70-75°F (21-24°C) will dramatically speed up root formation. It really mimics a warm, spring soil and encourages those roots to get going.
- Don’t Rush the Water Test: When you think roots might be forming, give a gentle tug on a cutting. If you feel resistance, that’s a good sign! Don’t be tempted to pull them all out too early to check – you risk damaging any tiny roots that have started.
Aftercare & Troubleshooting
Once you start to see new growth on your cuttings – a sure sign of roots! – it’s time to transition them.
- Gradual Acclimation: Slowly acclimate your rooted cuttings to lower humidity. This means gradually opening the plastic bag or propagator over a week or two.
- Watering: Keep the soil consistently moist but not waterlogged. Overwatering is the quickest way to invite root rot, your biggest enemy. You’ll notice soft, mushy stems and potentially a foul smell if rot sets in. If you see this, unfortunately, it’s usually too late for that cutting.
- Light: Once established, they’ll need bright, indirect light. Avoid direct, harsh sun.
- Patience is Key: It can take several months, sometimes up to six or more, for Amentotaxus formosana cuttings to develop a strong enough root system to be safely transplanted into their own individual pots. Don’t get discouraged if it feels slow!
Propagating Amentotaxus formosana is a journey, not a race. Embrace the process, celebrate the small victories, and don’t be afraid to experiment. Every cutting you take is an opportunity to learn and connect more deeply with the incredible world of plants. Happy gardening!
Resource:
https://identify.plantnet.org/k-world-flora/species/Amentotaxus%20formosana%20H.L.Li/data