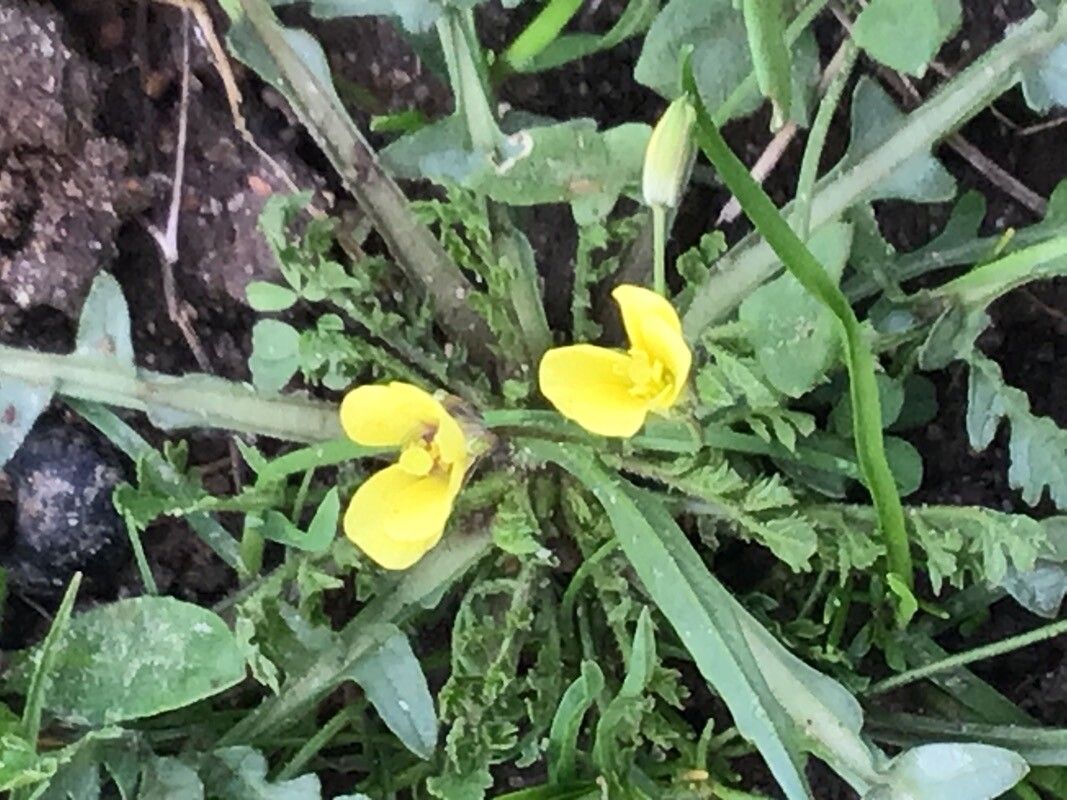
Oh, Sisymbrella aspera, isn’t it just a stunner? I’ve always been so drawn to its delicate, yet captivating blooms. For years, I’ve been coaxing new life from my established plants, and I can tell you, sharing that little bit of magic with others is incredibly rewarding. It’s not the trickiest plant to propagate, which makes it a lovely challenge for those of you just dipping your toes into the world of plant multiplication. I’m so excited for you to try!
The Best Time to Start
The sweet spot for propagating Sisymbrella aspera is definitely in the late spring to early summer, right after its main flowering push. This is when the plant has plenty of energy reserves to put into creating new roots. You want to be looking for young, vigorous growth—not the woody old stems. Think of it like this: you’re grabbing a healthy youngster ready to take on the world.
Supplies You’ll Need
Before we get our hands dirty, let’s make sure we have everything we need. It’s always better to be prepared!
- Sharp, clean pruning shears or a sharp knife: Sterilization is key to preventing disease. A quick wipe with rubbing alcohol does wonders.
- A well-draining potting mix: I like to use a seedling starter mix or a blend of equal parts peat moss and perlite. Some gardeners swear by adding a bit of coarse sand, too.
- Small pots or trays: These can be anything from tiny terracotta pots to recycled yogurt containers with drainage holes poked in the bottom.
- Rooting hormone (optional but recommended): This isn’t strictly necessary, but it gives your cuttings a little boost and makes them much more likely to succeed. Look for one specifically for stem cuttings.
- A plastic bag or propagator lid: This will help maintain humidity around your cuttings.
- Watering can or mister: For gentle watering.
Propagation Methods
I’ve had the most success with stem cuttings for Sisymbrella aspera. It’s straightforward and yields great results.
Stem Cuttings:
- Select your cutting: Find a healthy stem that’s about 4-6 inches long. Look for one that has at least two sets of leaves.
- Make the cut: Using your clean shears, make a clean cut just below a leaf node. This is where the roots will emerge.
- Prepare the cutting: Gently remove the lower leaves from the stem, leaving just two or three sets at the top. If the leaves are large, you can even cut them in half to reduce water loss through transpiration.
- Apply rooting hormone (if using): Dip the cut end of the stem into the rooting hormone, tapping off any excess.
- Plant your cutting: Make a small hole in your prepared potting mix and gently insert the cut end of the stem. Firm the soil around it.
- Water gently: Water the soil thoroughly but avoid soggy conditions.
- Create humidity: Cover the pot with a plastic bag or prop open a propagator lid. This creates a mini-greenhouse effect. Place it in a bright spot, out of direct sunlight.
The “Secret Sauce” (Pro Tips)
Here are a few little tricks I’ve learned over the years that can make a big difference:
- Patience with the leaves: When you’re doing water propagation (which you can do with Sisymbrella aspera sometimes, but I find cuttings in soil more reliable), it’s crucial not to let the leaves touch the water. They’ll rot quickly, taking your cutting with them. Aim for just the stem to be submerged.
- Bottom heat is your friend: If you have a propagator or can get one, gentle bottom heat from a heat mat can really speed up root development. It mimics that lovely warmth of spring soil. Don’t overheat it, though – just a gentle warmth is perfect.
- Don’t be afraid to experiment with timing: While late spring is ideal, I’ve sometimes had success with a few cuttings taken in early autumn. Just be prepared for slower growth.
Aftercare & Troubleshooting
Once you see new growth emerging from the top or a tiny tug when you gently pull the cutting, you know you’re on your way!
- Gradually acclimatize: If you’ve used a plastic bag, slowly start to open it up over a few days to let the new plant get used to drier air.
- Watering: Water when the top inch of soil feels dry to the touch. Avoid overwatering, as this is the quickest way to invite root rot.
- Signs of failure: The most common issue you’ll see is wilting and yellowing leaves, followed by the cutting turning mushy and black. This is usually a sign of too much water and not enough air circulation, or sometimes fungal issues. Don’t be discouraged if you lose a few – it happens to the best of us! Just try again.
A Encouraging Closing
So there you have it! Propagating Sisymbrella aspera is a journey, and like all good gardening endeavors, it requires a little patience and observation. Don’t get discouraged if your first few attempts aren’t perfect. Every cutting you take, every pot you fill, is a learning experience. Take a deep breath, get your hands in the soil, and enjoy the wonderful process of bringing new life into your garden. Happy propagating!
Resource:
https://identify.plantnet.org/k-world-flora/species/Sisymbrella%20aspera%20(L.)%20Spach/data