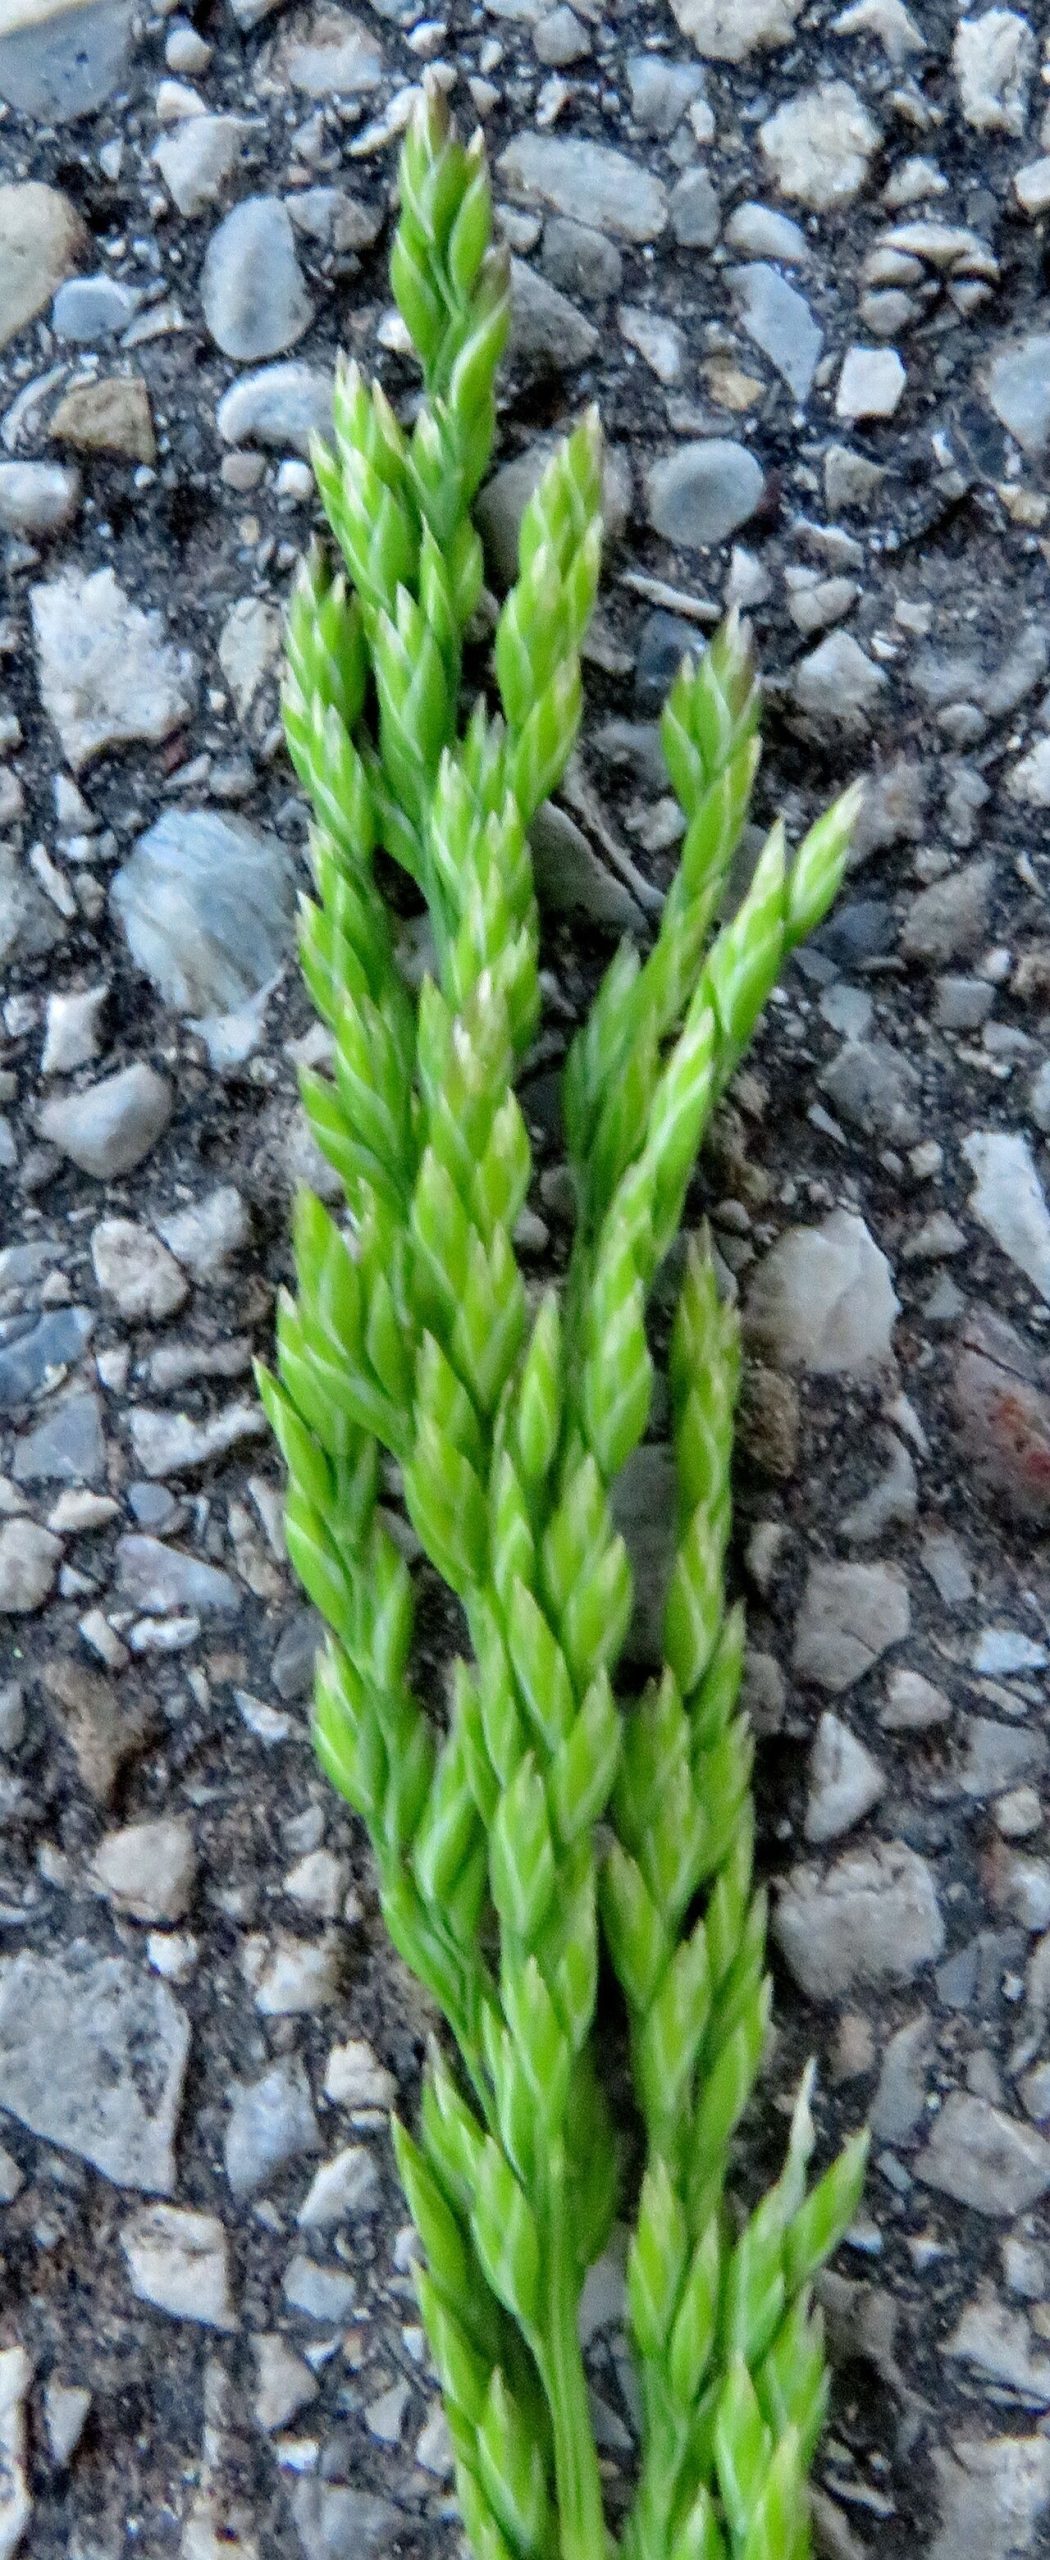
Hello, plant pals! Today, we’re diving into something a little special: Poa nemoralis, also known as Wood Meadow Grass. Now, I know what you might be thinking – grass? But trust me, this isn’t your average lawn weed. Wood Meadow Grass has this lovely, fine texture and a graceful arch that can add a touch of airy elegance to any garden. It’s particularly wonderful for shady spots where other grasses might struggle.
Propagating it yourself is incredibly satisfying. Watching a tiny division or cutting unfurl new growth feels like pure magic. Don’t worry if you’re new to this; Poa nemoralis can be a friendly companion for beginners, especially with a few gentle nudges in the right direction.
The Best Time to Start
For the highest chance of success with your Poa nemoralis cuttings or divisions, spring is your best bet. Think late March through May. The plant is waking up from its winter slumber, full of vigor and ready to put on a growth spurt. This natural drive makes it much more receptive to making new roots. You can also try in early autumn, but spring is generally more forgiving.
Supplies You’ll Need
Gathering your tools beforehand makes the whole process smooth sailing. Here’s what I recommend:
- Sharp pruning shears or a clean knife: For taking cuttings or dividing clumps. Sterilize them with rubbing alcohol to prevent disease.
- Small, clean pots or trays: With drainage holes, of course! Small 3-4 inch pots are usually ideal.
- Well-draining potting mix: A good blend for grasses is often a mix of peat moss, perlite, and a little bit of compost. You want it to hold some moisture but not get waterlogged.
- Rooting hormone (optional but helpful): A powder or gel can give cuttings an extra boost.
- Watering can or spray bottle: For gentle watering.
- Plastic bags or a clear dome lid: To create a humid environment for cuttings.
Propagation Methods
Let’s get our hands dirty! Poa nemoralis is wonderfully amenable to division, which is honestly the easiest and most reliable method.
Method 1: Division (My Favorite for Grasses!)
This is like giving your established plant a haircut and gifting some of its best bits to new homes!
- Digging Up: Gently dig up your established clump of Poa nemoralis. You can do this while it’s still in the ground or if it’s in a pot. Be careful not to damage the roots too much.
- Separating: Once you have the clump, you can gently tease the roots apart with your fingers. If it’s a thick clump, you might need to use your pruning shears or a knife to cut through the root ball. Aim for sections that have both roots and some leafy growth.
- Replanting: Fill your clean pots with your well-draining potting mix. Plant each division, ensuring the crown of the plant (where the leaves meet the roots) is at soil level.
- Watering: Water thoroughly but gently.
Method 2: Stem Cuttings (A Bit More Fiddly, But Possible)
While division is primary, you can sometimes get cuttings to root, especially from younger, actively growing shoots.
- Taking Cuttings: Look for young, non-flowering shoots that are about 3-4 inches long. Make a clean cut just below a leaf node (where a leaf attaches to the stem). Remove the lower leaves, leaving just a couple at the top.
- Rooting Hormone (Optional): Dip the cut end of the stem into rooting hormone, tapping off any excess.
- Planting: Fill small pots with your potting mix. Make a hole with a pencil or your finger and insert the cutting, making sure the leaf nodes are nestled in the soil. Gently firm the soil around it.
- Creating Humidity: Water gently and then cover the pot with a clear plastic bag or a dome lid. This traps moisture and creates a mini-greenhouse effect.
The “Secret Sauce” (Pro Tips)
Here are a couple of tricks I’ve learned over the years that can really make a difference:
- Don’t Drown Your Cuttings: If you’re trying water propagation with cuttings (though less recommended for grasses than division), ensure no leaves are touching the water. They will rot almost instantly and take your cutting down with them.
- A Little Warmth Helps: For cuttings specifically, placing your pots on a heat mat or in a warm spot can significantly speed up root development. Grasses are often happier with a bit of gentle bottom heat.
- Patience is Key (Especially with Grasses): Don’t be discouraged if you don’t see immediate results. Grasses can be slower to show root development than some other plants. Give them time!
Aftercare & Troubleshooting
Once your divisions are planted or your cuttings show signs of new growth (a tiny leaf unfurling from the base is a good sign!), it’s time for gentle care.
- Watering: Keep the soil consistently moist but not soggy. Water when the top inch of soil feels dry to the touch.
- Light: Place your new plants in a spot with bright, indirect light. Avoid harsh, direct sun, especially for newly propagated plants, as it can scorch them.
- Hardening Off: If your plants were indoors, you’ll need to gradually acclimate them to outdoor conditions before planting them in their permanent spot. Start by putting them outside for a couple of hours a day in a sheltered location and gradually increase the time.
Now, what if things go wrong? The most common culprit is rot, usually caused by overwatering or poor drainage. Signs of rot include a mushy stem base or yellowing, wilting leaves that don’t perk up after watering. If you see this, act quickly! Remove the affected plant, check your soil and watering habits, and try to salvage any healthy parts of the plant.
A Little Encouragement
Growing new plants is such a joy, and Poa nemoralis is a beautiful reward for your efforts. Be patient with yourself and your little grass babies. Take pleasure in the process, learn from each attempt, and soon you’ll have beautiful clumps of this lovely grass to share or to fill those delightful shady corners of your garden. Happy propagating, everyone!
Resource:
https://identify.plantnet.org/k-world-flora/species/Poa%20nemoralis%20L./data