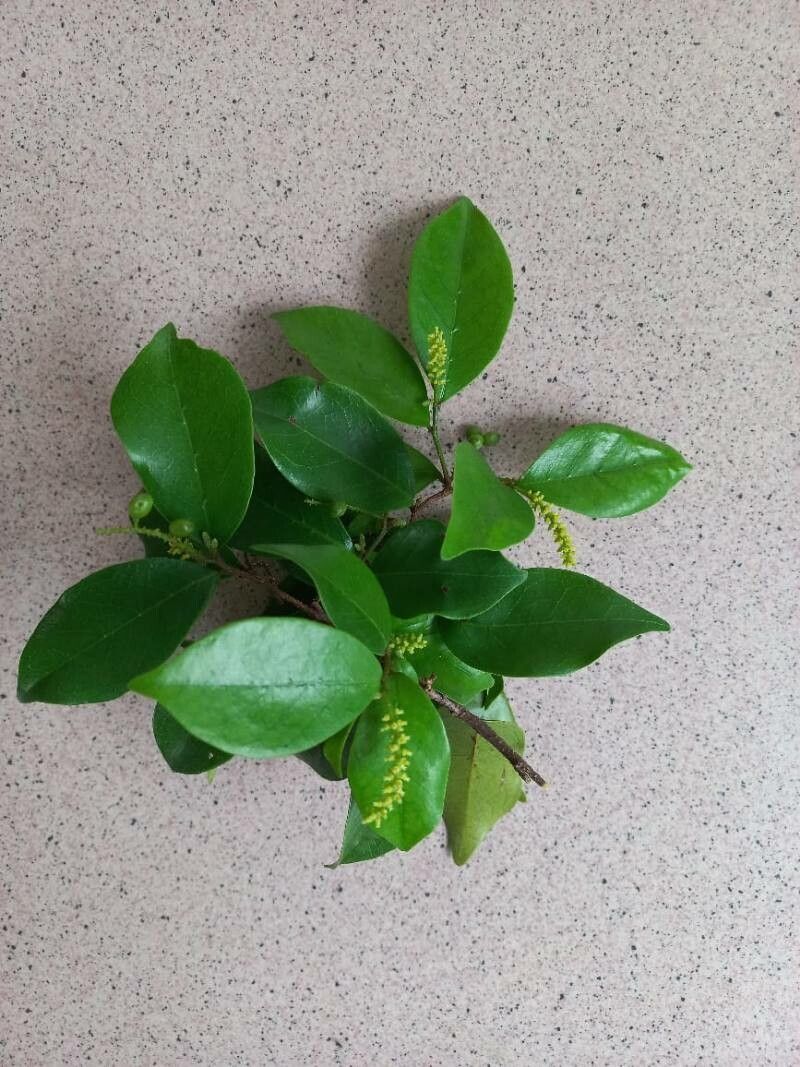
Hello there, fellow garden enthusiasts! Today, I want to chat about a plant that’s really captured my heart over the years: Antidesma montanum. You might know it as ‘Montane Antidesma’ or sometimes just ‘Bridal Veil Bush’ because of its beautiful, cascading white flowers that look so delicate, almost like a veil. It’s a stunner, adding a touch of grace and often a lovely fragrance to any garden space.
And the best part? Propagating it is incredibly rewarding. Watching a tiny sprig transform into a thriving new plant is pure magic, isn’t it? While it can be a little fussy for absolute beginners, with a bit of care and attention, you’ll find it quite manageable. Think of it as a fun challenge that really teaches you to listen to your plants.
The Best Time to Start
When it comes to getting your Antidesma montanum cuttings to take, spring and early summer are your golden months. This is when the plant is in active growth, meaning it’s full of the energy and hormones needed to push out roots. You’re looking for new, but not entirely soft, growth. Think of stems that are firm but still have a little flexibility when you bend them gently. Avoid any woody or very old stems, as they tend to be slower to root.
Supplies You’ll Need
Gathering your tools beforehand makes the whole process much smoother. Here’s what I usually have on hand:
- Sharp Pruning Shears or a Clean Knife: Anything that gives a clean cut is essential. A dull tool can crush the stem, making it harder for roots to form and inviting disease. I always sterilize mine with rubbing alcohol before I start, just in case.
- Rooting Hormone: While not strictly mandatory for every plant, for Antidesma montanum, I find it gives a super boost. You can get powdered or gel forms. This just encourages quick and strong root development.
- Well-Draining Potting Mix: This is key! I like a mix of peat moss, perlite, and a bit of coarse sand. Think airy—we don’t want those precious cuttings sitting in soggy soil. You can also buy specific propagation mixes.
- Small Pots or Trays: Clean pots are a must. I usually use 3-4 inch pots, depending on how many cuttings I’m taking.
- Plastic Bags or a Propagator Lid: This helps create a high-humidity environment, which is crucial for cuttings that haven’t developed roots yet.
- Watering Can or Spray Bottle: For gentle watering.
Propagation Methods
My go-to method for Antidesma montanum is stem cuttings. It’s reliable and you can get several new plants from a single parent.
- Take Your Cuttings: Select healthy stems from your parent plant that are about 4-6 inches long. Using your clean shears or knife, make a cut just below a leaf node (where a leaf attaches to the stem). This is where the magic happens, where new roots are most likely to emerge.
- Prepare the Cuttings: Gently remove the leaves from the bottom half of each cutting. You want to expose a few nodes where roots will form. You can leave 1-2 sets of leaves at the top. If the remaining leaves are very large, I often tip them by cutting them in half horizontally. This reduces water loss through transpiration.
- Apply Rooting Hormone: Dip the cut end of each prepared cutting into your rooting hormone, tapping off any excess. Make sure the node areas are coated.
- Plant the Cuttings: Fill your pots with your moistened potting mix. Make a small hole with your finger or a pencil, then insert the cutting, making sure the nodes containing the hormone are buried in the soil. Gently firm the soil around the stem to ensure good contact.
- Water Gently: Water the soil thoroughly but gently, until you see water draining from the bottom of the pot.
- Create a Humid Environment: Cover the pot with a clear plastic bag, securing it around the rim with a rubber band or tape. You can also use a propagator lid. This creates a mini-greenhouse effect that keeps the humidity high, preventing the cuttings from drying out before they can develop roots.
The “Secret Sauce” (Pro Tips)
Now, for those little extra touches that make a big difference:
- Bottom Heat is Your Friend: If you have a greenhouse or can set up a warm spot, using a heating mat under your pots can dramatically speed up root formation. Antidesma montanum loves a bit of warmth to get those roots going.
- Don’t Let Leaves Touch the Water (If Water Propagating): While I prefer soil propagation for this plant, if you do try water, ensure no leaves are submerged. Submerged leaves tend to rot, which can then affect the entire cutting. Only the stem nodes should be in the water.
- Air Circulation is Important: Even though we want high humidity, providing a little bit of airflow every day for an hour or two is beneficial. It helps prevent fungal diseases from setting in. Just lift the bag or lid, give them a brief airing, and then re-cover.
Aftercare & Troubleshooting
Once you start seeing signs of new growth—tiny leaves unfurling or the cutting resisting a gentle tug—that’s usually a good sign of roots! At this point, you can gradually reduce the humidity by slowly opening the plastic bag or propagator lid over a week or so. Continue to keep the soil consistently moist but not waterlogged.
The most common issue you might encounter is rot. If your cuttings turn black and mushy, or if the leaves wilt dramatically and don’t recover, it’s often a sign of too much moisture and not enough air circulation, or the use of non-sterile tools. Discard any rotted cuttings immediately to prevent it from spreading. If you see a bit of wilting, check the moisture levels and perhaps give them a bit more air.
A Encouraging Closing
Propagating plants is a journey, and sometimes it takes a little practice to get it just right. Don’t get discouraged if your first attempts aren’t perfect. Enjoy the process of learning, observing, and nurturing those tiny beginnings. Soon enough, you’ll have a whole collection of your own beautiful Antidesma montanum to share and enjoy! Happy gardening!
Resource:
https://identify.plantnet.org/k-world-flora/species/Antidesma%20montanum%20Blume/data