Oh, hello there! Come on in, pull up a chair. I’ve got a fresh pot of coffee brewing, and I thought we could chat about one of my absolute favorite orchids: Cymbidium ensifolium.
The Charm of the Sword Orchid
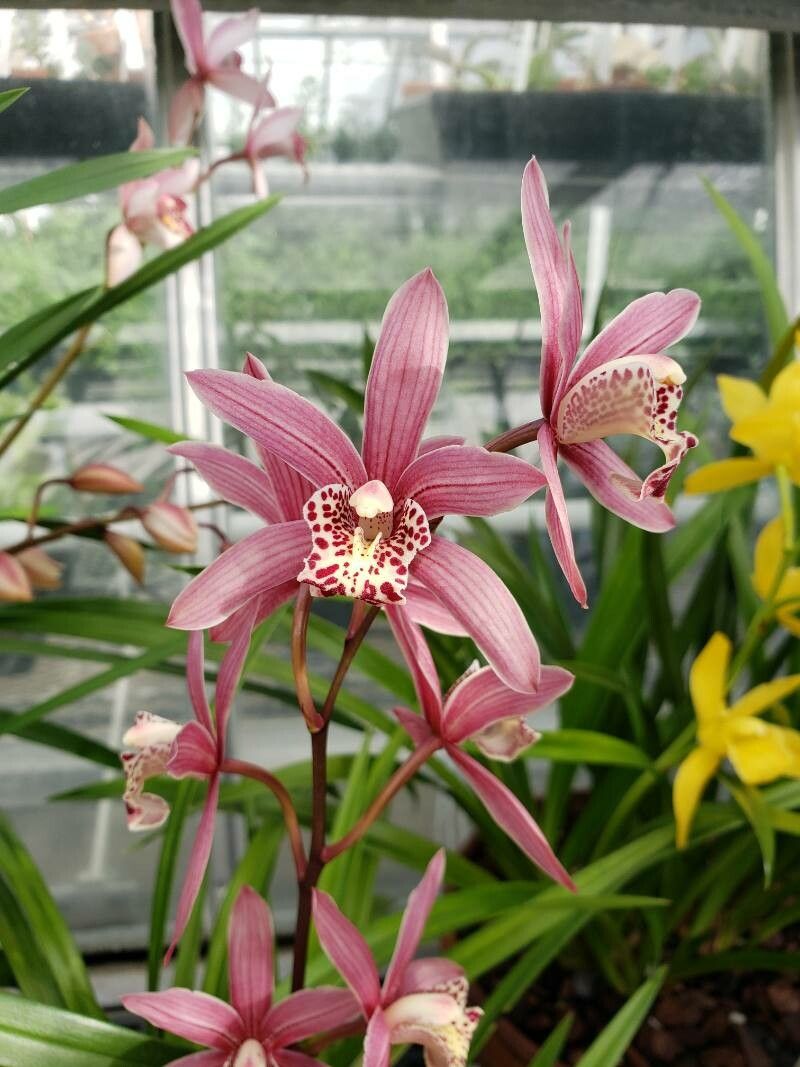
Cymbidium ensifolium, often called the sword-leafed Cymbidium, is just a delight. Its graceful, strappy leaves have a beautiful upright habit, and when it blooms, it offers these wonderfully fragrant, delicate flowers. They tend to be smaller than their showier Cymbidium cousins, but their elegance is truly captivating. Propagating them is such a rewarding endeavor. It’s not necessarily a walk in the park for absolute beginners, but with a little care and attention, it’s certainly achievable. It just takes understanding a few key things.
When to Get Your Hands Dirty
For Cymbidium ensifolium, I find the late spring to early summer is your sweet spot. This is when the plant is actively growing after its winter rest and before the intense heat of mid-summer kicks in. You’ll likely see new pseudobulbs forming or developing, which is a great indicator that the plant has the energy reserves to spare for propagation.
Gathering Your Gardening Gear
Before we dive in, let’s make sure you have what you need. A little preparation goes a long way:
- Sharp, sterile pruning shears or a clean knife: For making precise cuts.
- Rooting hormone (optional but helpful): A powder or gel that encourages root development.
- Well-draining orchid mix: I like a blend of bark, perlite, and a bit of charcoal. For Cymbidium ensifolium, a slightly finer mix can be beneficial, but good drainage is paramount.
- Small pots or community trays: Clean pots are a must to prevent disease.
- Misting bottle: For maintaining humidity.
- A small trowel or dibber: For gently positioning your cuttings.
- Patience! This is your most important tool.
Bringing New Life: Propagation Methods
Cymbidium ensifolium is most commonly propagated through division. It’s quite straightforward and generally gives you the best results.
Division: The Reliable Route
This is the tried-and-true method for most sympodial orchids, and it works beautifully here.
- Gently remove the orchid from its pot. You might need to gently squeeze the pot or run a knife around the edge if it’s really stuck.
- Carefully remove as much of the old potting mix as you can. You want to clearly see the pseudobulbs and the rhizome connecting them. This is where your fingers or a blunt tool come in handy.
- Identify the natural divisions. Look for sections of the plant that have at least two or three healthy pseudobulbs and some healthy-looking roots. The rhizome is the thick, fleshy stem that connects the pseudobulbs.
- Make the cut. Using your sterile pruning shears or knife, carefully cut through the rhizome between the divisions. Be sure each division has enough pseudobulbs and roots to sustain itself.
- Inspect for health. Remove any dead or decaying pseudobulbs or roots.
- Potting up your new babies. Place each division in its own clean pot with fresh, well-draining orchid mix. Ensure the base of the pseudobulbs is just at the surface of the mix.
- Water lightly. Don’t drench them. A gentle watering is best to settle the mix.
The “Secret Sauce”: My Insider Tips
Here are a few little tricks I’ve learned over the years that can really boost your success:
- Don’t over-pot new divisions. They can be overwhelmed by too much media. Start them in smaller pots where they’ll feel a bit snug. This encourages them to put energy into root growth rather than just filling up space.
- New growers need a little warmth. Placing your freshly divided plants on a heating mat set to a gentle 70-75°F (21-24°C) can significantly speed up root development and encourage new growth. It mimics the warmth they’d experience in their natural habitat during active growth periods.
- Allow them to “settle” before a good watering. After dividing and potting, let your new plants sit for a day or two before their first thorough watering. This allows any small wounds to callous over, reducing the risk of rot.
Aftercare and What to Watch For
Once your divisions are potted, place them in a bright location out of direct sunlight. Keep the humidity up with your misting bottle, but be careful not to let water sit in the crown of the pseudobulbs.
You’ll know you’re on the right track when you start to see roots pushing out the bottom of the pot or new leaf growth emerging. This can take several weeks, so don’t get discouraged if you don’t see immediate action.
The most common issue you’ll face is rot. This usually happens if the plant is kept too wet or if there’s poor air circulation. If you see a pseudobulb shriveling and turning black or mushy, it’s likely rot. Remove the affected part immediately with your sterile tool and dust the wound with cinnamon or a fungicide if you have it. Sometimes, you can save a badly affected pseudobulb by cutting away all the rot and letting it callous in a dry, airy spot for a few days before repotting into completely dry media.
Keep Growing!
Propagating Cymbidium ensifolium is a journey of patience and observation. It’s about learning to read your plant and giving it what it needs to thrive. Don’t be disheartened if your first attempt isn’t perfect – I certainly had my share of misses! Just keep at it, enjoy the process of nurturing new life, and soon enough, you’ll have a whole happy family of these lovely sword orchids. Happy growing!
Resource:
https://identify.plantnet.org/k-world-flora/species/Cymbidium%20ensifolium%20(L.)%20Sw./data