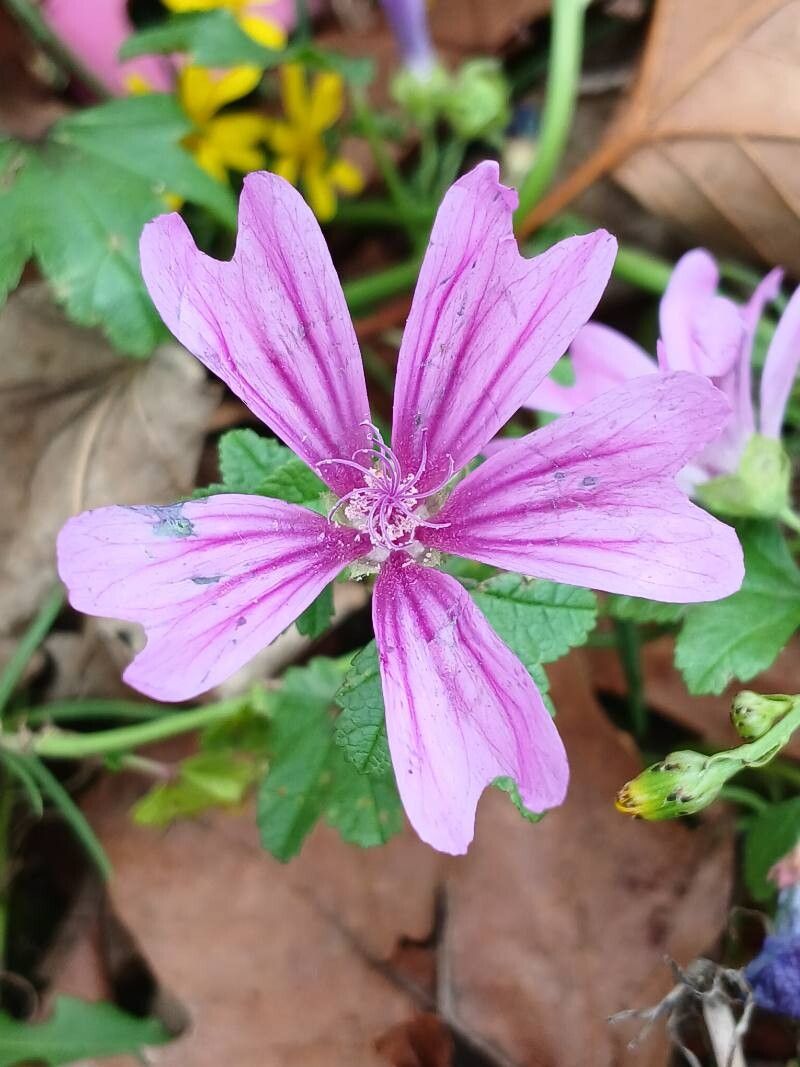
Oh, hello there! Come on in, grab a mug of something warm. Today, we’re diving into the delightful world of propagating Malva sylvestris, or as many of us affectionately call it, the tall mallow. If you’ve ever admired those beautiful spires of purple-pink blossoms gracing a garden, you know how truly special this plant is. It’s like a little piece of wild meadow brought right to your doorstep, attracting bees and bringing a lovely splash of color. The best part? Propagating it is wonderfully rewarding, and I’m happy to say, it’s quite forgiving, making it a fantastic plant for beginners to try their hand at.
The Best Time to Start
For the highest success rates with Malva sylvestris, I’ve found that late spring to early summer is your sweet spot. This is when the plant is actively growing and has plenty of energy to dedicate to rooting. You’ll want to be looking for new, healthy growth, so avoid taking cuttings from old, woody stems.
Supplies You’ll Need
Here’s a quick rundown of what you’ll want to have on hand:
- Clean, sharp pruning shears or a sharp knife: Crucial for making clean cuts that heal well.
- A good potting mix: I prefer a mix that drains well. A blend of seed starting mix and perlite works a treat.
- Small pots or seed trays: Whatever you have that can hold your cuttings and some soil. Make sure they have drainage holes.
- Rooting hormone (optional but recommended): This gives your cuttings a little boost.
- A plastic bag or a propagator lid: To create a humid environment.
- Watering can or spray bottle: For gentle watering.
Propagation Methods
Malva sylvestris can be propagated in a couple of easy ways. My favorite is by stem cuttings.
Propagating via Stem Cuttings:
- Take your cuttings: Head out to your healthy Malva plant. Look for non-flowering stems that are about 4-6 inches long. You want stems that are flexible but not floppy – think somewhat firm green growth.
- Make the cut: Using your clean shears, make a cut just below a leaf node. A leaf node is where a leaf meets the stem; this is where roots are most likely to form.
- Prepare the cutting: Gently remove the lower leaves, leaving just a few at the top. This prevents them from rotting in the soil. If your cutting is very long, you can pinch off the tip to encourage bushier growth later on.
- Apply rooting hormone (if using): Dip the cut end of the stem into your rooting hormone powder, tapping off any excess.
- Pot them up: Fill your small pots with your well-draining potting mix. Make a small hole in the center with your finger or a pencil.
- Insert the cuttings: Gently place the cut end of each cutting into the hole, making sure the leaf nodes are buried in the soil. Firm the soil gently around the base of the cutting.
- Water and cover: Water the soil lightly to settle it around the cuttings. Then, cover the pots with a clear plastic bag or a propagator lid. This will keep the humidity high, which is vital for cuttings to root.
The “Secret Sauce” (Pro Tips)
Here are a couple of tricks I’ve picked up over the years that really make a difference with Malva cuttings:
- Don’t let the leaves touch the water: If you’re opting for water propagation (which also works though I find cuttings in soil a bit more robust), make sure the leaves never dip into the water. They will rot, and that’s a sure path to failure. Only the stem should be in the water.
- Bottom heat is your friend: While not strictly necessary for Malva, if you have a heated propagator or can place your pots on a gentle heat mat, it can significantly speed up root development. The warmth encourages root growth from below.
Aftercare & Troubleshooting
Once your cuttings are potted up, place them in a bright, indirect light location. Avoid direct sun, as it can scorch the delicate cuttings. Keep the soil consistently moist but not soggy. You want it to feel like a wrung-out sponge.
You’ll know your cuttings have rooted when you see new leaf growth appearing, or when you gently tug on a cutting and feel resistance. This usually takes about 3-6 weeks.
What if things go wrong? The most common issue is rot. If your cuttings turn mushy, black, or fuzzy, it’s usually a sign of too much moisture and not enough air circulation. Make sure your soil is free-draining and ease up on the watering. If you see signs of rot, it’s often best to discard the affected cuttings and start again, ensuring your conditions are drier next time around.
A Little Encouragement
Propagating Malva sylvestris is such a joy. It’s a chance to multiply the beauty in your garden and share it with friends. Don’t be discouraged if your first few attempts aren’t perfect. Gardening is all about learning and observing. Be patient, enjoy the process of nurturing these new little lives, and before you know it, you’ll have a whole new patch of these gorgeous blooms! Happy propagating!
Resource:
https://identify.plantnet.org/k-world-flora/species/Malva%20sylvestris%20L./data