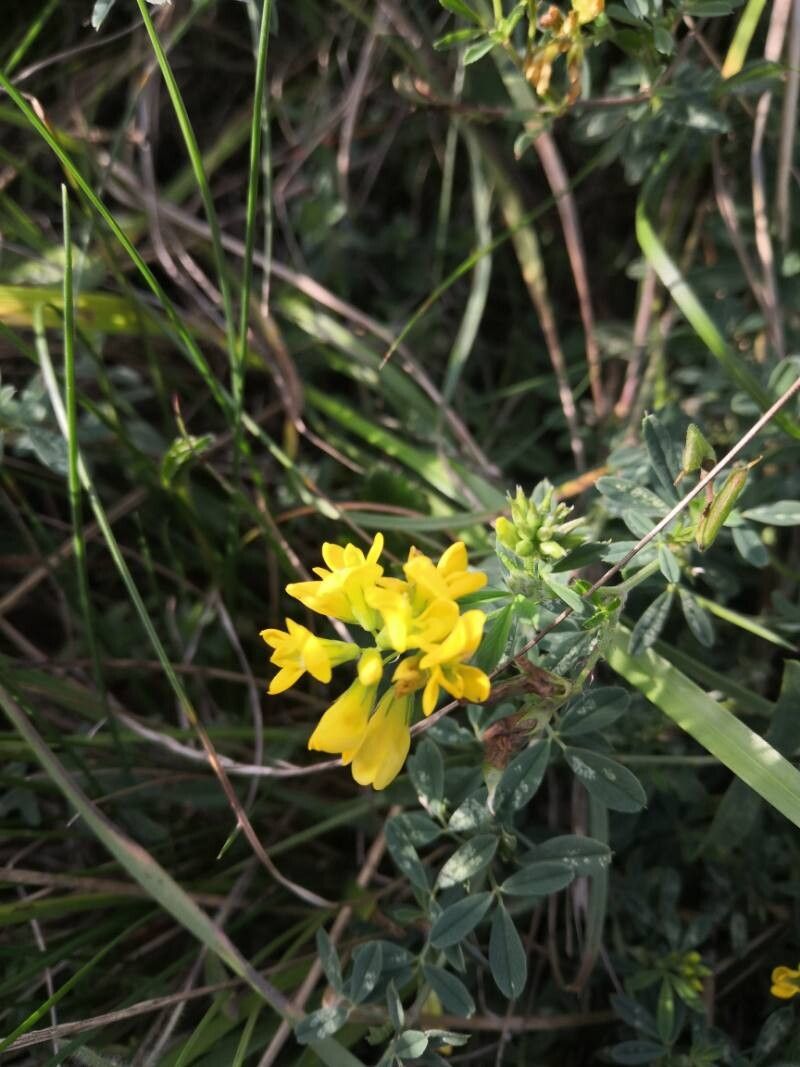
Ah, Medicago falcata! You’ve stumbled upon a delightful plant. I’ve always loved its graceful, arching stems and cheerful, pea-like yellow flowers. It’s a fantastic addition to any garden, attracting pollinators with its sweet nectar. And let me tell you, propagating it yourself is incredibly rewarding. It’s not the hardest plant to get going, which makes it a wonderful project for even novice gardeners. You’ll be sharing your successes with friends in no time.
The Best Time to Start
For the most success with Medicago falcata, I always recommend starting in late spring or early summer. This is when the plant is actively growing and has plenty of energy to put into developing new roots. You’ll want to take cuttings from stems that are firm and have a bit of new growth, but aren’t yet woody. Think of it as catching the plant at its peak performance.
Supplies You’ll Need
Gathering your tools beforehand makes the whole process much smoother. Here’s what I like to have on hand:
- Sharp pruning shears or a clean knife: For making nice, clean cuts.
- Small pots or trays: With good drainage holes.
- A well-draining potting mix: I usually use a blend of equal parts peat moss or coco coir, perlite, and a bit of compost. This gives the roots plenty of air and prevents waterlogging.
- Rooting hormone (optional but helpful): A powder or gel can give your cuttings a real boost.
- A watering can with a fine rose: For gentle watering.
- Plastic bags or a propagation dome: To create a humid environment.
Propagation Methods
Medicago falcata is quite amenable to a couple of different methods. I find stem cuttings to be the most reliable.
- Take Your Cuttings: In late spring or early summer, select a healthy, non-flowering stem. Using your sharp shears, make a cut just below a leaf node (where a leaf joins the stem). You’re looking for cuttings that are about 4-6 inches long.
- Prepare the Cuttings: Gently remove the lower leaves from the cutting, leaving just a few at the top. This prevents them from rotting in the soil. If you’re using rooting hormone, dip the cut end into it, tapping off any excess.
- Plant Your Cuttings: Fill your pots or trays with your prepared potting mix. Make a small hole in the center of the soil with your finger or a pencil. Insert the cut end of the stem into the hole, ensuring it’s deep enough to be stable. Gently firm the soil around the base of the cutting.
- Water Gently: Water the soil thoroughly but gently until water drains from the bottom of the pot.
- Create Humidity: Cover the pots loosely with a plastic bag or place them under a propagation dome. This creates a mini-greenhouse effect, keeping the humidity high, which is crucial for cuttings to root. Place them in a bright spot with indirect light. Avoid direct sun, as it can scorch the delicate cuttings.
The “Secret Sauce” (Pro Tips)
Over the years, I’ve picked up a few things that really make a difference.
- Don’t let the leaves touch the water: If you decide to try water propagation (which is possible, but I find soil more successful), make sure none of the leaves are submerged. They’ll just rot and hinder root development. Submerged leaves are a one-way ticket to disappointment!
- Bottom heat is your friend: If you have a heat mat, placing your pots on it can dramatically speed up the rooting process. Warm soil encourages root growth. Just make sure it’s not too hot – we want warmth, not a bake sale.
Aftercare & Troubleshooting
Once you’ve got your cuttings planted, the waiting game begins! Keep the soil consistently moist but not soggy. You can check by gently poking your finger into the soil. If it feels dry, give it a water. You should see signs of new leaf growth within a few weeks. This is a good indication that roots are forming.
The biggest challenge you might face is rot. If your cuttings turn mushy or develop black spots, it’s often due to overwatering or poor air circulation. If you see signs of rot, remove the affected cutting immediately to prevent it from spreading. Sometimes, it’s just a matter of trial and error, and that’s okay!
A Encouraging Closing
Don’t get discouraged if your first attempt isn’t perfect. Gardening is all about learning and adapting. Be patient with your Medicago falcata cuttings, give them a little TLC, and enjoy the process of bringing new life into your garden. Before you know it, you’ll have a whole collection of happy, thriving plants!
Resource:
https://identify.plantnet.org/k-world-flora/species/Medicago%20falcata%20L./data