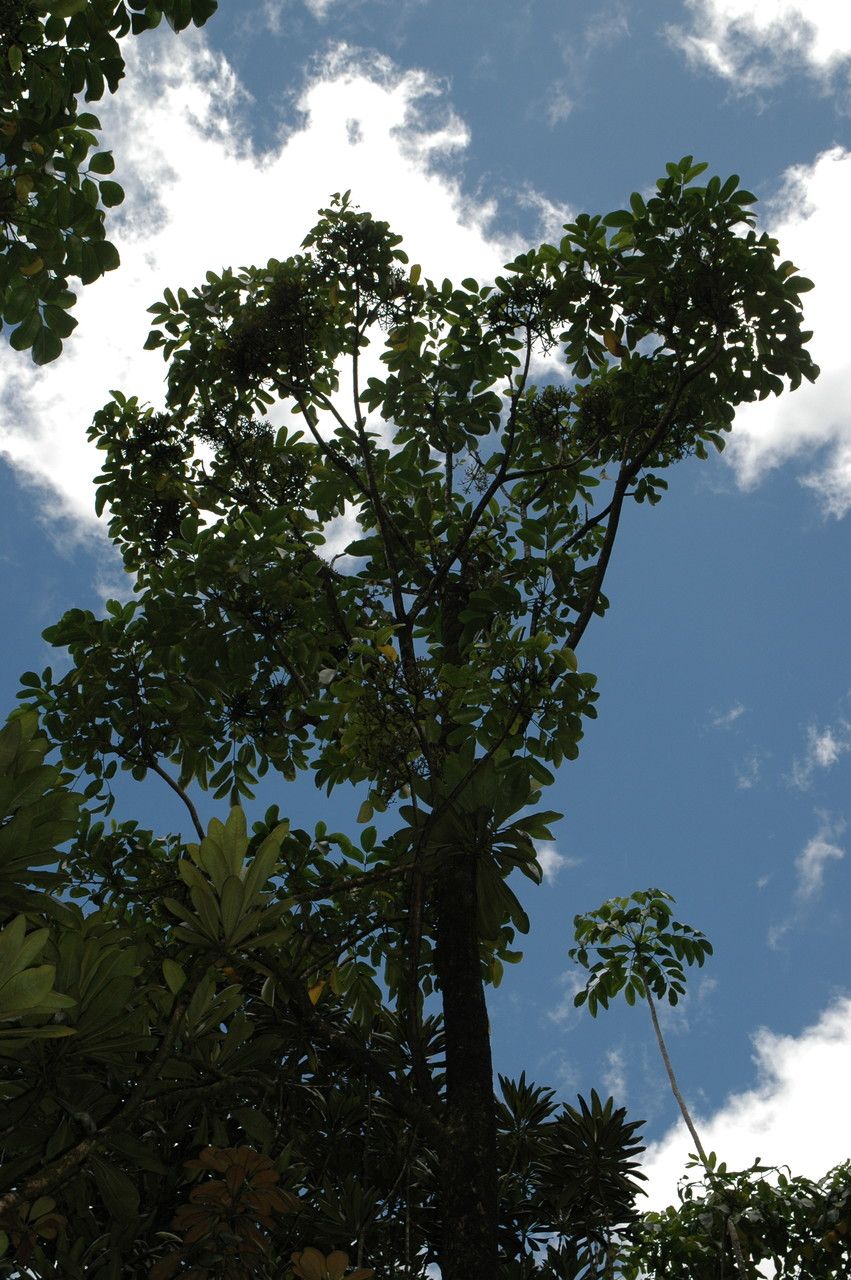
Oh, Polyscias oahuensis! What a beauty. If you’ve ever admired its elegant, often deeply lobed leaves and wanted to see more of that charm gracing your home, then you’ve come to the right place. Propagating these lovely plants can be a really satisfying endeavor, like watching a tiny miracle unfold. Now, from my experience, Polyscias oahuensis isn’t always the easiest plant for absolute beginners trying their hand at propagation for the very first time. It can be a little finicky. But with a bit of know-how and a good dose of patience, you’ll find it’s an achievable and incredibly rewarding project!
The Best Time to Start
For the highest success rate, I always aim to propagate Polyscias oahuensis during its active growing season. This typically falls in the late spring through summer months. The plant is drawing a lot of energy from the sun at this time, which translates into faster rooting and a better chance of success. You’re essentially working with a plant that’s eager to grow and bounce back from the process.
Supplies You’ll Need
Here’s what you’ll want to have on hand before you get started:
- Sharp Pruning Shears or a Clean Knife: For making clean cuts that heal well.
- Rooting Hormone (Optional but Recommended): Especially for stem cuttings, this gives your plant a little extra encouragement.
- Well-Draining Potting Mix: A mix designed for houseplants or succulents works beautifully. You can also create your own by combining equal parts potting soil, perlite, and orchid bark.
- Small Pots or Propagation Trays: Clean and with drainage holes.
- Clear Plastic Bags or a Propagator: To create a humid environment.
- Watering Can or Spray Bottle: For gentle watering.
Propagation Methods
The most reliable way I’ve found to propagate Polyscias oahuensis is through stem cuttings.
- Select Your Cuttings: Look for healthy, mature stems on your parent plant. You want a stem that’s not too young and soft, but also not old and woody. Aim for cuttings that are about 4 to 6 inches long.
- Make the Cut: Using your sharp, clean pruning shears or knife, make a clean cut just below a leaf node. A leaf node is where a leaf attaches to the stem. This is where the magic happens, where roots are most likely to form.
- Prepare the Cutting: Gently remove the lower leaves from the cutting, leaving just a few at the very top. This prevents them from rotting when placed in the soil or water.
- Apply Rooting Hormone (Optional): If you’re using rooting hormone, lightly dip the cut end of the stem into the powder or gel. Tap off any excess.
- Plant Your Cuttings:
- In Soil: Fill your small pots or propagation trays with your well-draining potting mix. Make a small hole in the center with your finger or a pencil. Insert the cut end of the stem into the hole, ensuring at least one leaf node is buried beneath the soil surface. Gently firm the soil around the cutting.
- In Water (Use with Caution): You can also try water propagation. Place the prepared cuttings in a clean jar or vase filled with room-temperature water. Make sure no leaves are submerged in the water. Change the water every few days to keep it fresh.
The “Secret Sauce” (Pro Tips)
Here are a couple of my go-to tricks that really make a difference:
- Mimic Humidity: Polyscias oahuensis loves a humid environment, especially when rooting. Once your cuttings are in soil, cover the pot with a clear plastic bag or place them in a propagator. Make sure the leaves aren’t directly touching the plastic. This creates a mini-greenhouse effect, keeping the cuttings moist and encouraging root development. If propagating in water, the humidity is naturally present, but still be mindful of submerging leaves.
- Warmth is Key: A little gentle warmth from below can significantly speed up the rooting process. If you have a heat mat (often sold for seed starting), placing your pots on it will provide ideal conditions. If you don’t have one, a warm spot in your home, away from direct drafts, is still beneficial.
Aftercare & Troubleshooting
Once your cuttings are planted, water them gently – the soil should be consistently moist but not waterlogged. Mist the leaves occasionally if they are not covered by a bag.
The biggest challenge you might encounter is rot. If you see your cuttings turning mushy or black, it’s usually a sign of too much moisture or poor air circulation. Remove any affected cuttings immediately and check your watering habits. If propagating in water, signs of rot are usually obvious. If using soil, feel the soil – if it’s soggy, let it dry out a bit more.
Be patient with the rooting process. It can take anywhere from 4 to 8 weeks, sometimes longer, for you to see new growth, which is the sign of successful roots. You can gently tug on a cutting after a few weeks to feel for resistance; if it wiggles freely, it hasn’t rooted yet.
A Encouraging Closing
Propagating Polyscias oahuensis is a journey, and like any good gardening project, it asks for a little patience and observation. Don’t be discouraged if your first attempt isn’t a complete success. Learn from it, adjust your approach, and try again! The reward of nurturing a new plant from a simple cutting is truly special. Happy propagating!
Resource: