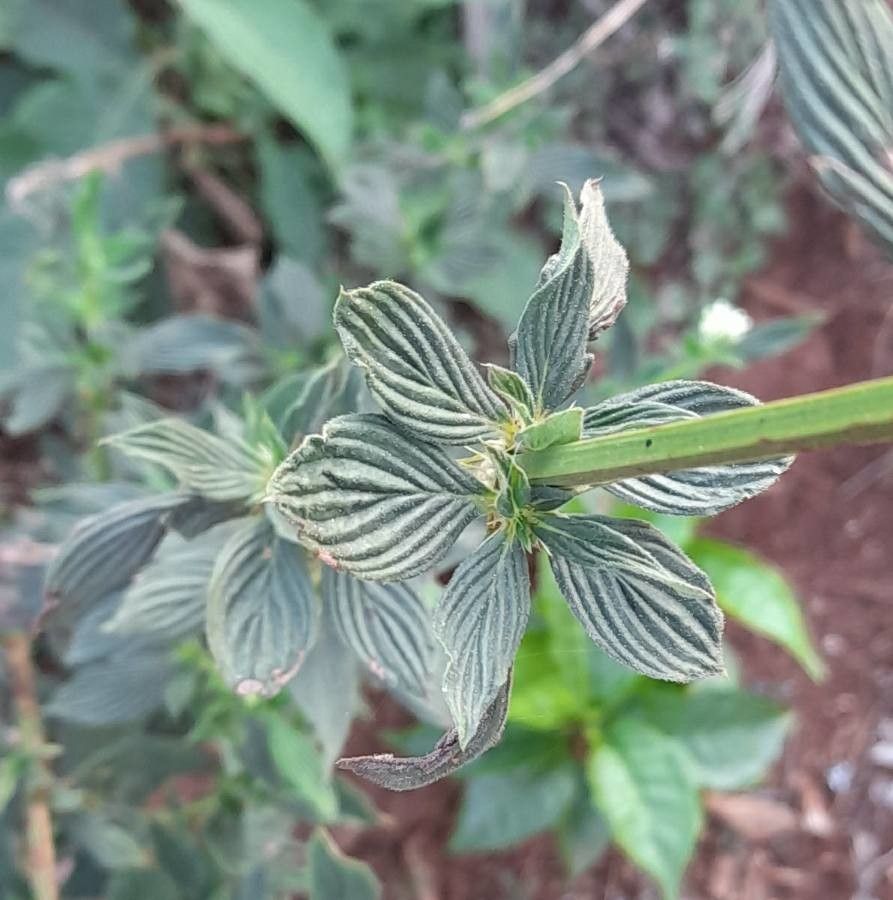
Hey there, fellow plant lovers! I’m so excited to talk about a little gem that’s really captured my heart: Galianthe eupatorioides. If you haven’t met it yet, imagine delicate, almost ethereal blooms dancing on slender stems, often a soft pink or white, with a lovely, subtle fragrance. It’s the kind of plant that adds a touch of refined elegance to any garden corner. Propagating it, in my experience, is a truly satisfying journey, and happily, it’s quite approachable for those just dipping their toes into the world of plant reproduction.
The Best Time to Start
For the highest success rate with Galianthe eupatorioides, think spring or early summer. This is when the plant is actively growing and has plenty of energy to put into developing new roots. You want to take cuttings from actively growing, but not flowering, stems.
Supplies You’ll Need
Gathering your tools beforehand makes the whole process smoother. Here’s what I typically have on hand:
- Sharp pruning shears or a clean knife: For making precise cuts.
- Rooting hormone (optional but recommended): Helps to encourage root development. I usually go with a powder form.
- Well-draining potting mix: A blend of perlite, peat moss, and a bit of compost works wonders. You can buy specific succulent or cactus mixes or create your own.
- Small pots or propagation trays: Clean ones are key to prevent disease.
- Plastic bags or a small propagator: To create a humid environment.
- Watering can with a fine rose: For gentle watering.
Propagation Methods
Galianthe eupatorioides is really amenable to a couple of methods, but my favorite for its simplicity is stem cuttings.
-
Take Your Cuttings: On a bright spring morning, select a healthy, non-flowering stem. Using your sharp pruning shears, make a clean cut about 4-6 inches below a leaf node. A leaf node is where leaves emerge from the stem. You want to take cuttings that have at least a couple of these nodes.
-
Prepare the Cuttings: Gently remove the lower leaves from the cutting, leaving just a few at the top. This prevents them from rotting when buried in the soil.
-
Apply Rooting Hormone (Optional): If you’re using rooting hormone, dip the cut end of the stem into the powder, tapping off any excess.
-
Plant the Cuttings: Fill your small pots with your well-draining potting mix. Make a small hole in the center with your finger or a pencil. Insert the cut end of the Galianthe eupatorioides stem into the hole, ensuring at least one leaf node is below the soil surface. Gently firm the soil around the cutting.
-
Create Humidity: Water the soil gently until it’s moist but not waterlogged. Then, cover the pot with a clear plastic bag, creating a mini-greenhouse. You can secure the bag with a rubber band around the pot edge. If you have a propagator, use that!
-
Provide Light and Warmth: Place the pots in a location with bright, indirect light. Avoid direct sun, which can scorch the tender cuttings. A little bottom heat can really speed things up, so if you have a heated propagator mat, now’s the time to use it!
The “Secret Sauce” (Pro Tips)
Over the years, I’ve learned a few tricks that make a big difference:
- Don’t crowd your cuttings. Give them a little space in the pot. Overcrowding can lead to poor air circulation and increase the risk of fungal issues. Just a few cuttings per small pot is plenty.
- Mist regularly, but wisely. While humidity is crucial, you don’t want water sitting on the leaves for extended periods. A light misting once or twice a day is usually sufficient, especially if they are covered. Always ensure good air flow.
- Be patient with the process. Galianthe eupatorioides can be a bit slow to root, so try not to fuss too much. Resist the urge to constantly dig them up to check for roots.
Aftercare & Troubleshooting
Once your Galianthe eupatorioides cuttings have started to show signs of growth – little white nubs peeking out from the bottom of the pot or new shoots appearing at the top – it’s a good sign they are rooting. You can gradually acclimate them to less humidity by opening the plastic bag for longer periods each day. Once they’re firmly established, you can transplant them into larger pots.
The most common issue you might encounter is rot. This usually happens if the soil is too wet and there isn’t enough drainage or air circulation. If you see your cuttings looking mushy or turning black at the base, sadly, they’re likely beyond saving. For future attempts, focus on that excellent drainage and careful watering.
A Little Encouragement to Finish
Propagating plants is a journey of observation and patience. Don’t be discouraged if your first few attempts aren’t perfect. Each time you try, you learn a little more. Enjoy the process, savor the small victories, and soon you’ll have a whole collection of these charming Galianthe eupatorioides to share and enjoy. Happy gardening!
Resource: