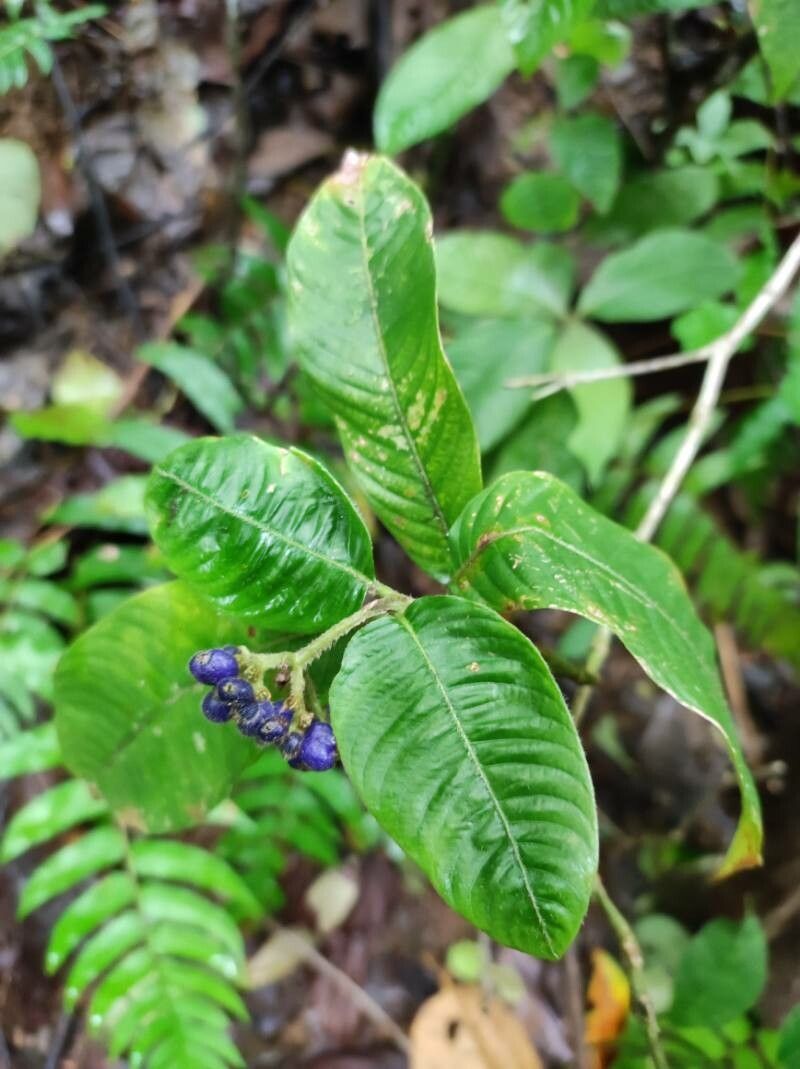
Oh, Palicourea acicularis! If you’ve ever seen this tropical beauty gracing a garden with its vibrant blooms and lush foliage, you know exactly why it’s so enchanting. And trust me, bringing more of that magic into your own space by propagating it is a journey filled with satisfaction. For those of you just dipping your toes into the world of plant propagation, I’ll be honest, Palicourea acicularis can be a little bit of a challenge. But don’t let that deter you! With a bit of patience and the right approach, you absolutely can succeed. Think of it as a rewarding puzzle to solve.
The Best Time to Start
My favorite time to get busy with Palicourea acicularis propagation is during its active growing season. For most of us, this means late spring through summer. You’re looking for healthy, non-flowering stems. These are the ones with the most energy and best chance of developing roots. Avoid taking cuttings from stressed or weak-looking plants; they’re just not in the right headspace to start a new life!
Supplies You’ll Need
To set yourself up for success, gather these bits and bobs:
- Sharp, clean pruning shears or a hobby knife: A clean cut is essential to prevent disease.
- Rooting hormone (optional, but recommended): This gives your cuttings a little boost. I like the powdered kind for ease of use.
- Well-draining potting mix: A good blend for tropicals or a mix of peat moss, perlite, and vermiculite works wonders.
- Small pots or seedling trays: Clean ones, of course!
- Plastic bags or a clear plastic dome: To create a humid environment.
- A spray bottle: For misting.
- A small trowel or dibber: For making holes in the soil.
Propagation Methods: Stem Cuttings
This is my go-to method for Palicourea acicularis. It’s efficient and gives you a good number of potential new plants from a single parent.
- Select Your Cuttings: Choose healthy, semi-hardwood stems. These are stems that are no longer soft and green, but not yet fully mature and woody. They should be about 4-6 inches long. Look for stems that have new growth at the tip but are still firm.
- Make the Cut: Using your clean pruning shears, make a clean cut just below a leaf node. A leaf node is where a leaf grows from the stem, and it’s packed with rooting potential.
- Prepare the Cutting: Gently remove the lower leaves. You want to expose the nodes where roots will form. Leave just a few leaves at the very top of the cutting to help it photosynthesize. If the remaining leaves are very large, you can trim them in half.
- Apply Rooting Hormone (Optional): Dip the cut end of the stem into your rooting hormone powder, tapping off any excess. This helps stimulate root development.
- Plant the Cuttings: Make a hole in your well-draining potting mix with your dibber or trowel. Place the cutting in the hole, ensuring the nodes where you removed the leaves are buried in the soil. Gently firm the soil around the base of the cutting.
- Water and Cover: Water the soil gently but thoroughly. Then, cover the pot or tray with a plastic bag or a clear dome to create a humid environment. This is crucial for preventing the cuttings from drying out before they can root.
The “Secret Sauce” (Pro Tips)
Here’s a little something extra from my years in the garden:
- Bottom Heat is Your Friend: If you can, place your pots on a heated propagation mat. This little bit of extra warmth from below, around 70-75°F, can significantly speed up root formation. It mimics the warmth of summer soil, encouraging those roots to emerge.
- Don’t Let the Leaves Touch the Water (when misting): If you’ve opted to propagate in water initially, or while the cuttings are under cover, make sure the remaining leaves don’t sit in standing water. This is a quick invitation for rot. It’s better to allow for airflow around the leaves.
- Humidity, Humidity, Humidity: Palicourea acicularis is a tropical, remember? It loves a steamy environment, especially when it’s trying to root. Mist your cuttings regularly if they’re not fully enclosed, and keep that plastic cover on tight.
Aftercare & Troubleshooting
Once you start to see little roots poking out of the drainage holes, or if you gently tug on a cutting and feel some resistance, congratulations! It’s time for a little more space.
Carefully transplant your rooted cuttings into individual pots. Continue to keep them in a bright, indirect light location and maintain that humidity. Water them when the top inch of soil feels dry. As they grow, you can gradually acclimatize them to slightly less humid conditions.
Now, about those bumps in the road: Rot is the most common issue. If you notice your cuttings turning mushy, brown, or black, it’s usually due to overwatering or insufficient drainage. Make sure your soil is always airy and that you’re not letting them sit in soggy conditions. Another sign of failure is if the cuttings simply shrivel up and die – this usually means they dried out too quickly. That’s why that humidity is so important!
A Little Encouragement
Propagating plants is about patience and observation. Some of your cuttings will thrive, and some might not make it. That’s perfectly okay! Every attempt is a learning experience. Embrace the process, enjoy watching those tiny roots emerge, and celebrate each new plant you bring into existence. Happy gardening!
Resource: