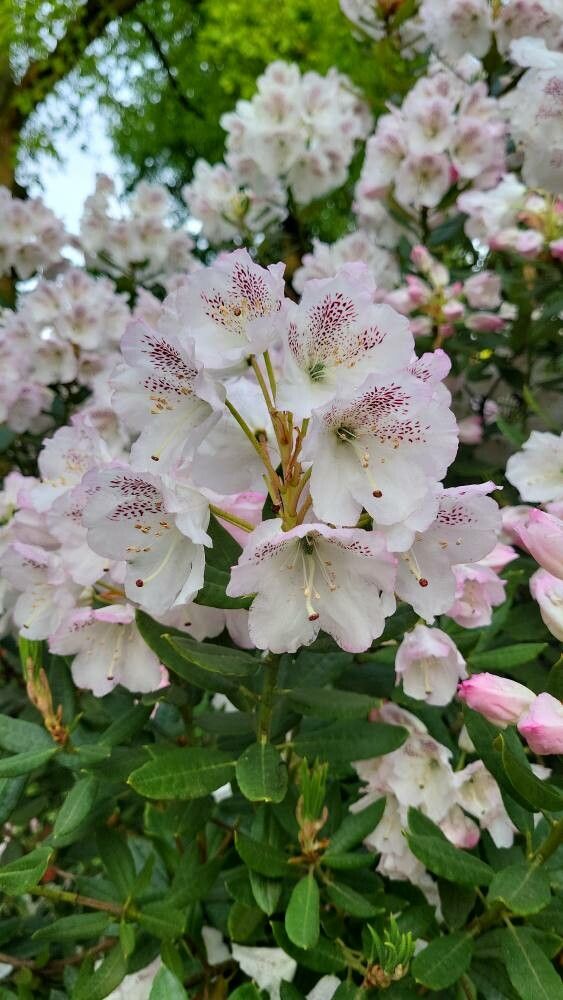
Oh, hello there, fellow plant lover! Come on in, grab a mug. I’m so glad you’re interested in Rhododendron aberconwayi. It’s a real beauty, isn’t it? Those gorgeous, often vibrantly colored blooms and that lush, glossy foliage… truly a showstopper in any garden. The best part? You can multiply this darling yourself! Propagating your own rhododendrons is such a fulfilling experience. You’re essentially giving life to a whole new plant from one you already cherish. Now, let me be upfront, Rhododendron aberconwayi can be a tad trickier than, say, a simple pothos. But don’t let that deter you! With a little patience and the right approach, it’s entirely achievable, even for those new to the propagating game.
The Best Time to Start
For the absolute best success rate with rhododendron cuttings, I’ve found that late spring to early summer is your golden window. This is when the plant is actively growing, and the stems have started to firm up but are still somewhat soft and pliable. We’re looking for what we call “semi-hardwood” cuttings. Think of it as the perfect stage – not too woody and brittle, not too tender and floppy.
Supplies You’ll Need
Gathering your supplies beforehand makes the whole process smoother. Here’s what you’ll want:
- Sharp Pruning Shears or a Craft Knife: Clean cuts are crucial.
- Rooting Hormone: A powder or liquid that encourages root development. I often use a powder for ease.
- A Well-Draining Potting Mix: A good blend for rhododendrons often includes peat moss, perlite, and compost or a specialized rhododendron mix. You want it to hold moisture but drain freely.
- Small Pots or a Propagation Tray: Clean, with drainage holes.
- Plastic Bags or a Propagation Dome: This will create that essential humid environment.
- Optional: Bottom Heat Mat: This can significantly speed up root formation.
- Labels and a Permanent Marker: So you don’t forget what’s what!
- Water: For misting.
Propagation Methods
While there are several ways to propagate rhododendrons, stem cuttings are generally the most reliable and practical for Rhododendron aberconwayi.
Taking Stem Cuttings:
- Select Your Stems: Look for healthy, disease-free stems that are about 4-6 inches long. As I mentioned, aim for that semi-hardwood stage. You can often find suitable stems on the current year’s growth.
- Make the Cut: Using your clean shears or knife, take a cutting from just below a leaf node. A leaf node is where a leaf attaches to the stem. This is where rooting is most likely to occur.
- Prepare the Cutting: Gently remove the lower leaves from the cutting. Leave about 2-3 leaves at the top. If the remaining leaves are very large, you can even cut them in half horizontally to reduce water loss through transpiration.
- Apply Rooting Hormone: Dip the cut end of the stem into your rooting hormone powder, tapping off any excess. If using liquid hormone, follow the package directions.
- Plant the Cuttings: Fill your pots or tray with your prepared potting mix. Make a hole with a pencil or your finger, then insert the cutting, ensuring the leaf nodes are buried. Gently firm the soil around the stem.
- Create a Humid Environment: Water the soil thoroughly until it drains from the bottom. Then, cover the pots loosely with a plastic bag, securing it with a rubber band or clip, or place them under a propagation dome. Ensure the plastic doesn’t touch the leaves if possible. If you’re using the bottom heat mat, place your pots on it now.
The “Secret Sauce”
Here are a few things I’ve learned over the years that make a real difference:
- Don’t Let Leaves Touch Water: If you’re using a method where the cuttings sit in water at all (which I generally don’t recommend for rhodos, but some try it), ensure the leaves are well above the waterline. Any submerged foliage is a recipe for rot.
- Consider Bottom Heat: Honestly, this is a game-changer. A gentle warmth from below, around 70-75°F (21-24°C), really encourages those roots to start forming much faster than ambient room temperature alone.
- Cleanliness is King: This can’t be stressed enough. Make sure everything – your tools, your pots, even your hands – are clean. This significantly reduces the risk of fungal infections and rot.
Aftercare & Troubleshooting
Once your cuttings are planted and covered, they need consistent care.
- Maintain Humidity: Check the soil moisture regularly. It should be consistently moist but not soggy. Mist the leaves occasionally if they look a bit dry, especially if your covering isn’t creating enough humidity.
- Provide Light: Place your propagation setup in a bright location, but out of direct sunlight. Too much sun will overheat the cuttings and dry them out.
- Be Patient! Rooting can take anywhere from 4-12 weeks, sometimes even longer. You can gently tug on a cutting after a few weeks. If you feel resistance, that’s a good sign roots are forming.
- Signs of Trouble: The most common culprit is rot. If your cuttings turn a slimy brown or black and fall off, it’s usually a sign of too much moisture and not enough air circulation, or a fungal issue. Remove affected cuttings immediately and try to improve drainage or ventilation. If your cuttings look shriveled and dry, they might be too exposed to air or not getting enough water.
A Little Encouragement
You’ve got this! Propagating Rhododendron aberconwayi is a journey, and each attempt is a learning experience. Don’t get discouraged if your first few aren’t a roaring success. Keep observing your plants, adjust your technique, and most importantly, enjoy the process of coaxing new life from your beloved rhododendron. Happy propagating!
Resource:
https://identify.plantnet.org/k-world-flora/species/Rhododendron%20aberconwayi%20Cowan/data