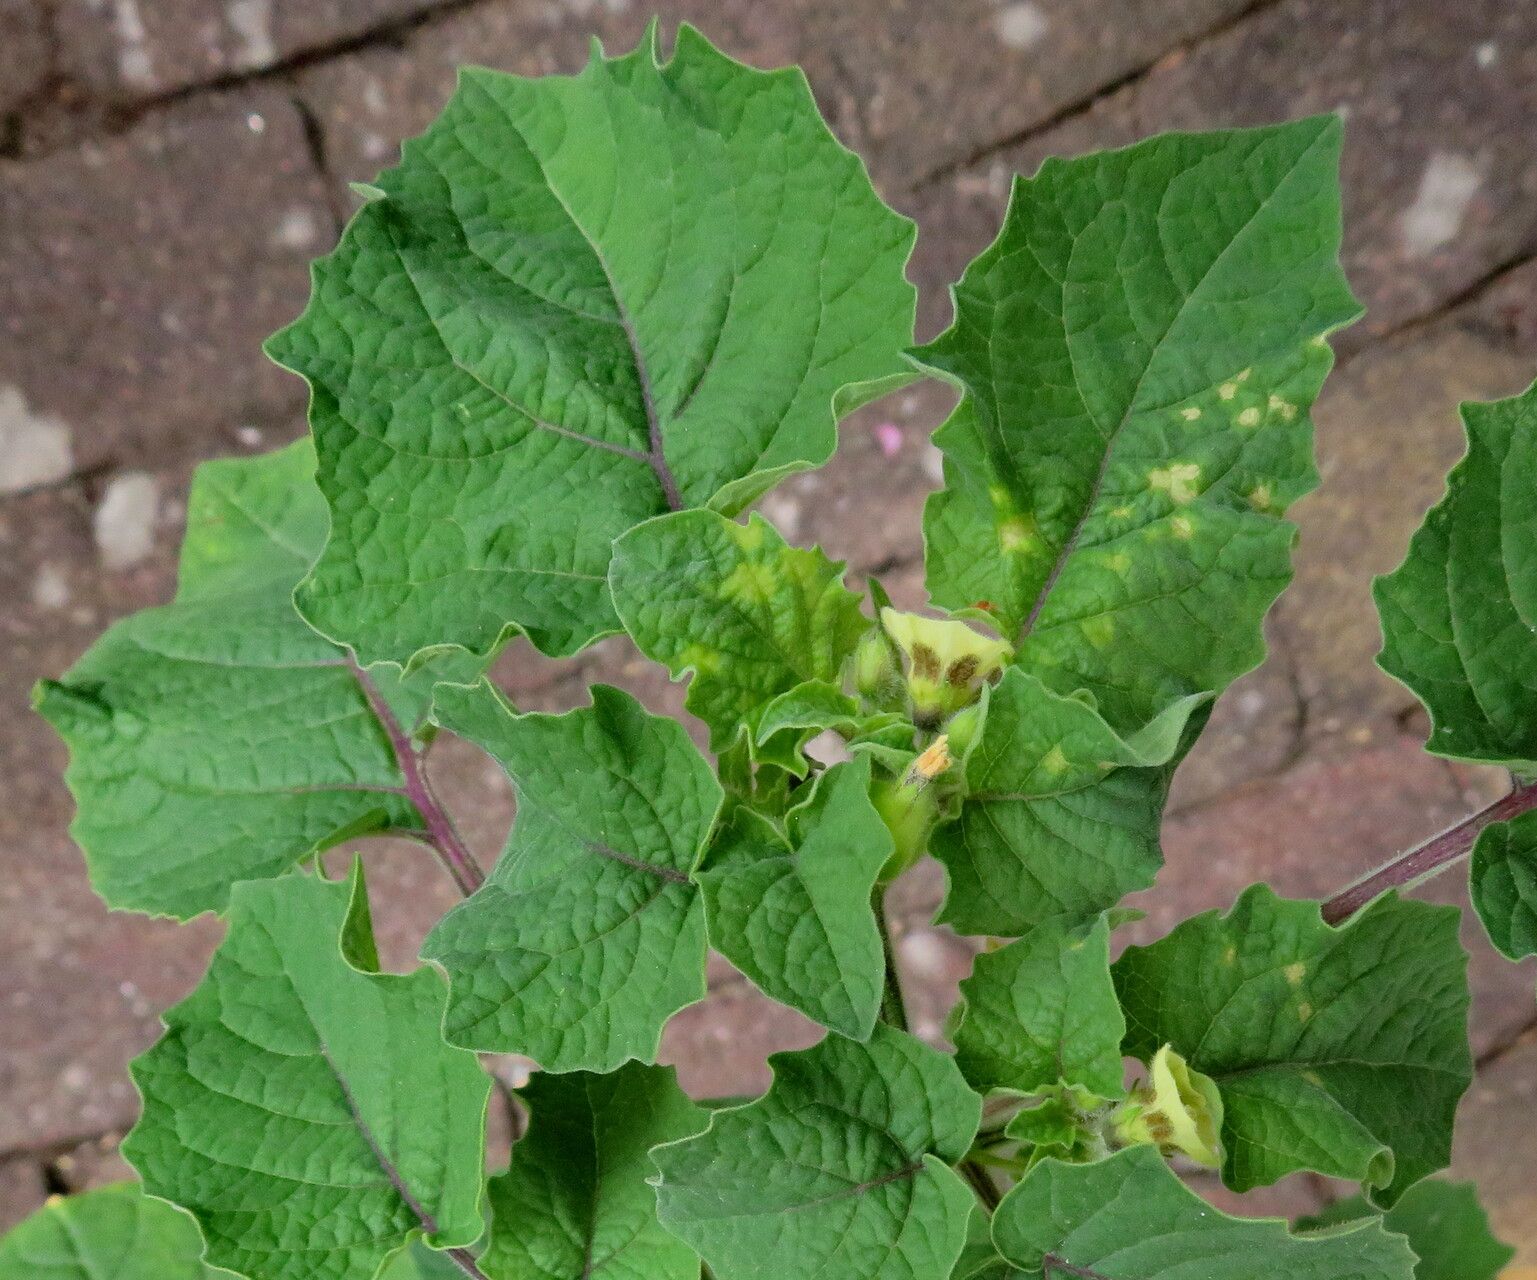
Hey there, fellow garden enthusiasts! I’m so excited to chat with you today about one of my absolute favorite summer treasures: Physalis pruinosa, or the Ground Cherry. These little plants are such a joy to grow. They produce these adorable, papery lanterns holding sweet, tangy fruits that taste like a mix of pineapple and tomato. They’re incredibly easy to grow from seed, but I find propagating them from cuttings is just so rewarding. It’s a fantastic way to get more plants for free and share them with friends. And guess what? If you’ve ever been a little intimidated by propagating, ground cherries are wonderfully forgiving. They’re a great plant for beginners looking to dip their toes into the world of plant multiplication.
The Best Time to Start
For the highest success rate, I always recommend taking cuttings in late spring or early summer. Think about it: the plants are in their active growing phase, full of energy and ready to sprout new roots. You want to take cuttings from healthy, non-flowering stems. Look for pieces that are about 4-6 inches long and have at least a couple of sets of leaves.
Supplies You’ll Need
Okay, gather your bits and bobs. You won’t need anything too fancy:
- Clean, sharp pruning shears or a knife: For making clean cuts.
- A small pot or two: Around 4-inch pots work well. Make sure they have drainage holes!
- Seed starting mix or a well-draining potting mix: I like to mix in a bit of perlite or coarse sand for extra drainage.
- Rooting hormone (optional, but helpful): This little powder or gel can significantly speed up root formation.
- A plastic bag or humidity dome: To keep your cuttings moist.
- Water: For watering and potentially for water propagation.
Propagation Methods
Let’s get our hands dirty! Here are my go-to methods for propagating ground cherries:
Stem Cuttings
This is my favorite method for Physalis pruinosa. It practically guarantees success!
- Take your cuttings: In late spring or early summer, select healthy, vigorous stems from an established plant. Use your clean shears to take a cutting that’s about 4-6 inches long. Make a cut just below a leaf node (where a leaf attaches to the stem).
- Prepare the cutting: Gently remove the lower leaves from the cutting, leaving just 2-3 sets of leaves at the top. If the top leaves are very large, you can carefully cut them in half to reduce water loss.
- Apply rooting hormone (if using): Dip the cut end of the stem into your rooting hormone. Gently tap off any excess.
- Potting up: Fill your clean pot with your prepared potting mix. Make a small hole in the center of the soil with your finger or a pencil.
- Plant the cutting: Place the cut end of the stem into the hole, ensuring the leaf nodes are buried in the soil. Gently firm the soil around the stem.
- Water gently: Water the soil thoroughly but gently. You don’t want to dislodge the cutting.
- Create a mini-greenhouse: Cover the pot with a clear plastic bag or a humidity dome. This is crucial for keeping the humidity high, which encourages root development. Place a few small twigs or chopsticks inside the bag to keep it from touching the leaves.
- Find a bright spot: Place the pot in a location that receives bright, indirect light. Avoid direct sun, which can scorch the delicate cuttings.
Water Propagation
This is a super simple way to watch roots grow!
- Take your cuttings: Follow steps 1 and 2 from the stem cutting method.
- Place in water: Put your prepared cuttings in a clean jar or glass filled with room-temperature water. Make sure the leaf nodes are submerged but the leaves are out of the water.
- Change the water regularly: Change the water every few days to keep it fresh and prevent bacterial growth.
- Watch for roots: You should start seeing tiny white roots emerging from the submerged nodes within a couple of weeks.
- Pot up: Once the roots are about an inch long, gently transplant them into pots filled with your well-draining potting mix, just like you would with stem cuttings.
The “Secret Sauce” (Pro Tips)
Here are a couple of things I’ve learned over the years that really make a difference:
- Bottom Heat is Your Friend: If you have a seedling heat mat, placing your pots on it can dramatically speed up rooting. The warmth encourages the plant to send out roots faster.
- Don’t Let Those Leaves Drown! This is a big one, especially for water propagation. Leaves submerged in water are prone to rot. Keep them just above the waterline. When potting stem cuttings, make absolutely sure the leaves of your cutting aren’t touching the soil surface directly.
Aftercare & Troubleshooting
Once roots have formed (you can gently tug on the cutting; if there’s resistance, it has roots!), you can start treating it like a little seedling. Gradually remove the plastic bag over a few days to acclimate it to lower humidity. Water it when the top inch of soil feels dry. Keep it in that bright, indirect light.
The most common issue you’ll see is rot. If your cutting turns black and mushy, it’s a sign of too much moisture and not enough air circulation. If you see this, often it’s best to discard the cutting and start fresh, ensuring better drainage and airflow next time. Sometimes, a cutting might just not take. Don’t get discouraged! It happens to all of us.
A Little Encouragement
Propagating Physalis pruinosa is such a fulfilling gardening task. It’s a chance to connect with nature on a deeper level, and the reward of seeing a tiny cutting transform into a thriving plant is truly special. Be patient with your efforts, enjoy the process of watching new life emerge, and soon you’ll have a whole patch of these delightful ground cherry plants! Happy propagating!
Resource:
https://identify.plantnet.org/k-world-flora/species/Physalis%20pruinosa%20L./data