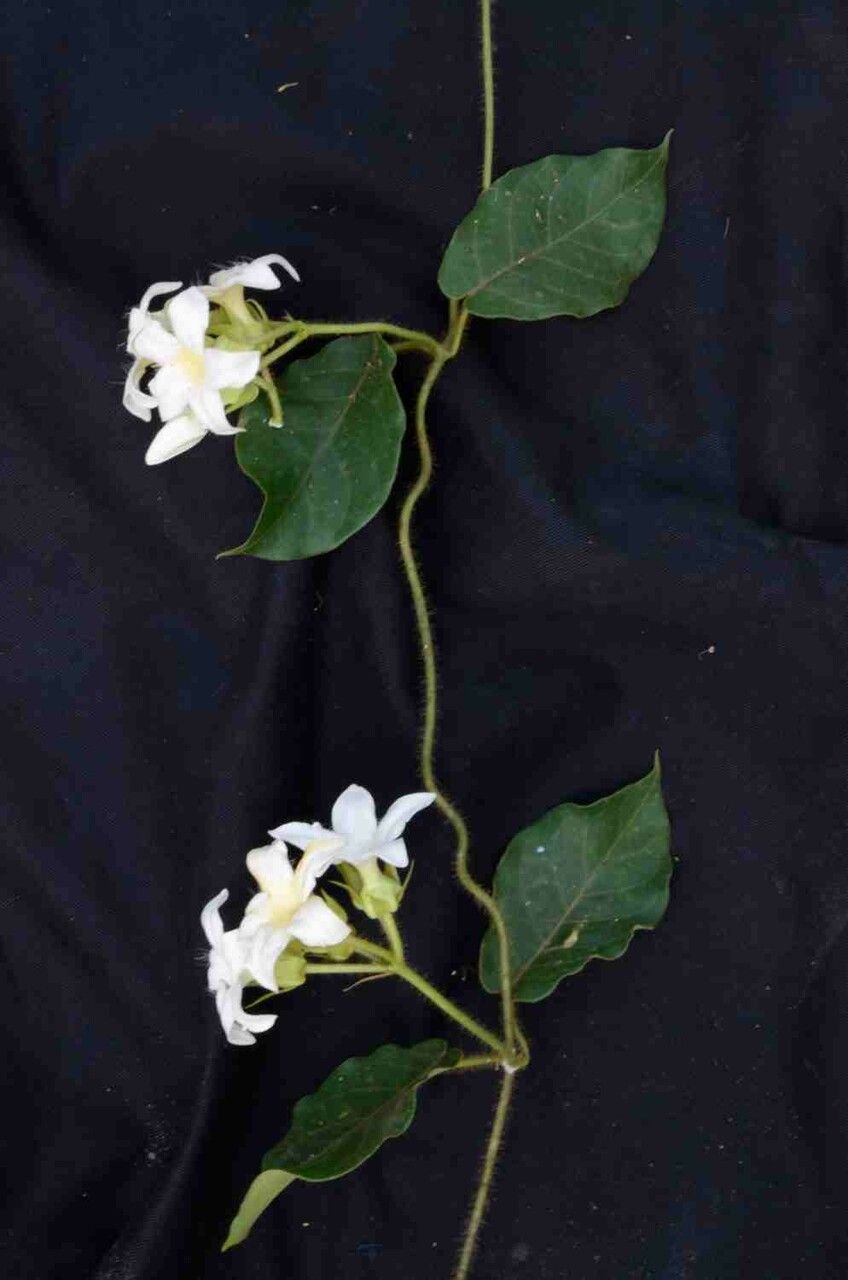
Hello, fellow plant lovers! It’s so good to have you join me today. We’re going to dive into the wonderful world of propagating Macroscepis grandiflora, a plant that truly steals the show with its stunning blooms. If you’ve ever admired this beauty – and trust me, it’s hard not to – then you’re in for a treat. Creating new plants from your existing ones is one of the most satisfying parts of gardening, and Macroscepis grandiflora is a fantastic subject to experiment with. It’s generally considered moderately easy to propagate, which is great news for those of you looking to expand your collection without too much stress.
The Best Time to Start
For Macroscepis grandiflora, I find that spring is your golden ticket. As the plant enters its active growing season, it’s brimming with energy, making it much more receptive to propagation. You’re looking for healthy, non-woody stems that are either actively growing or have just finished flowering. Avoid trying to propagate from old, woody growth or during the plant’s dormant period.
Supplies You’ll Need
Gathering your supplies beforehand makes the whole process much smoother. Here’s what I always have on hand:
- Sharp, sterilized pruning shears or a clean knife: This is crucial for making clean cuts to prevent disease.
- Rooting hormone (optional, but recommended): A little boost can go a long way, especially for trickier cuttings. Look for one with a fungicide.
- Well-draining propagation mix: A good blend for me is equal parts perlite and peat moss, or a specialized seedling starter mix.
- Small pots or propagation trays: Clean, with drainage holes, of course!
- A mister or spray bottle: For keeping your cuttings consistently humid.
- Clear plastic bags or a propagation dome: To create a mini-greenhouse effect.
- Labels and a permanent marker: To keep track of what’s what!
Propagation Methods
I’ve had the best luck with Macroscepis grandiflora using stem cuttings. It’s straightforward and yields great results.
Stem Cuttings:
- Select your cutting: Choose a healthy stem that’s about 4-6 inches long. Look for one that has at least two sets of leaves.
- Make the cut: Using your sterilized shears, make a clean cut just below a leaf node (where a leaf attaches to the stem). This is where the roots will emerge.
- Prepare the cutting: Gently remove the lower leaves, leaving just a couple at the top. If your cutting is long, you can even cut it in half if it has multiple leaf nodes, as each node can potentially sprout roots.
- Apply rooting hormone (if using): Dip the cut end of the stem into your rooting hormone, tapping off any excess.
- Plant your cutting: Fill your small pots with the propagation mix. Make a small hole with your finger or a pencil, then insert the cutting. Gently firm the soil around the stem to ensure good contact.
- Water gently: Water thoroughly but avoid waterlogging the soil. You want it moist, not soggy.
- Create a humid environment: Place the potted cutting into a propagation tray or pot it individually and then cover the entire pot with a clear plastic bag or place it under a propagation dome. Make sure the leaves aren’t touching the plastic, as this can encourage rot. You can use stakes to prop up the bag if needed.
- Find a good spot: Place your cuttings in a warm location with bright, indirect light. Avoid direct sunlight, which can scorch the delicate cuttings.
The “Secret Sauce” (Pro Tips)
Here are a couple of tricks I’ve learned over the years that really help boost success with Macroscepis grandiflora:
- Bottom heat is your friend: If you have a seedling heat mat, placing your propagation trays on it can make a huge difference. This gentle warmth encourages root development from the bottom up, mimicking ideal soil temperatures. You’ll see roots form much faster!
- Don’t be tempted to peek too early: I know it’s hard! Resist the urge to pull on your cuttings to see if they have roots. Wait at least 3-4 weeks before giving them a very gentle tug. If there’s resistance, you’ve got roots! Patience is key here.
Aftercare & Troubleshooting
Once you see signs of new growth – tiny leaves unfurling or a gentle tug revealing roots – it’s time for a little more watchful care.
Caring for Your New Plant:
- Gradual acclimation: Slowly remove the plastic bag or propagation dome over a few days to help the new plant adjust to lower humidity.
- Watering: Continue to keep the soil consistently moist but not waterlogged. As the plant grows, you can water it a bit more thoroughly when the top inch of soil feels dry.
- Light: Keep it in bright, indirect light. As it gets stronger, you can gradually introduce it to more light, but always watch for signs of stress.
Troubleshooting:
- Wilting: This is usually a sign of too little water or the cutting hasn’t rooted yet. Ensure the soil is moist and the humidity is high.
- Rotting: If the stem turns black and mushy, it’s rot. This is often caused by too much moisture or poor air circulation. Unfortunately, rotten cuttings can’t be saved. Make sure your soil drains well and you’re not overwatering. Sterilizing your tools is crucial to prevent this.
- No root development: This can happen if the cutting wasn’t healthy to begin with, the conditions aren’t right (too cold, too dry), or it just takes longer. Sometimes, a second attempt is all it needs.
A Bit of Encouragement
Propagating plants is a journey, not a race. There will be times when things go perfectly, and other times when you scratch your head. Don’t let a failed attempt discourage you! Every gardener has them. Keep trying, observe your plants, and enjoy the process of nurturing something new into existence. Your Macroscepis grandiflora will thank you for it. Happy propagating!
Resource: