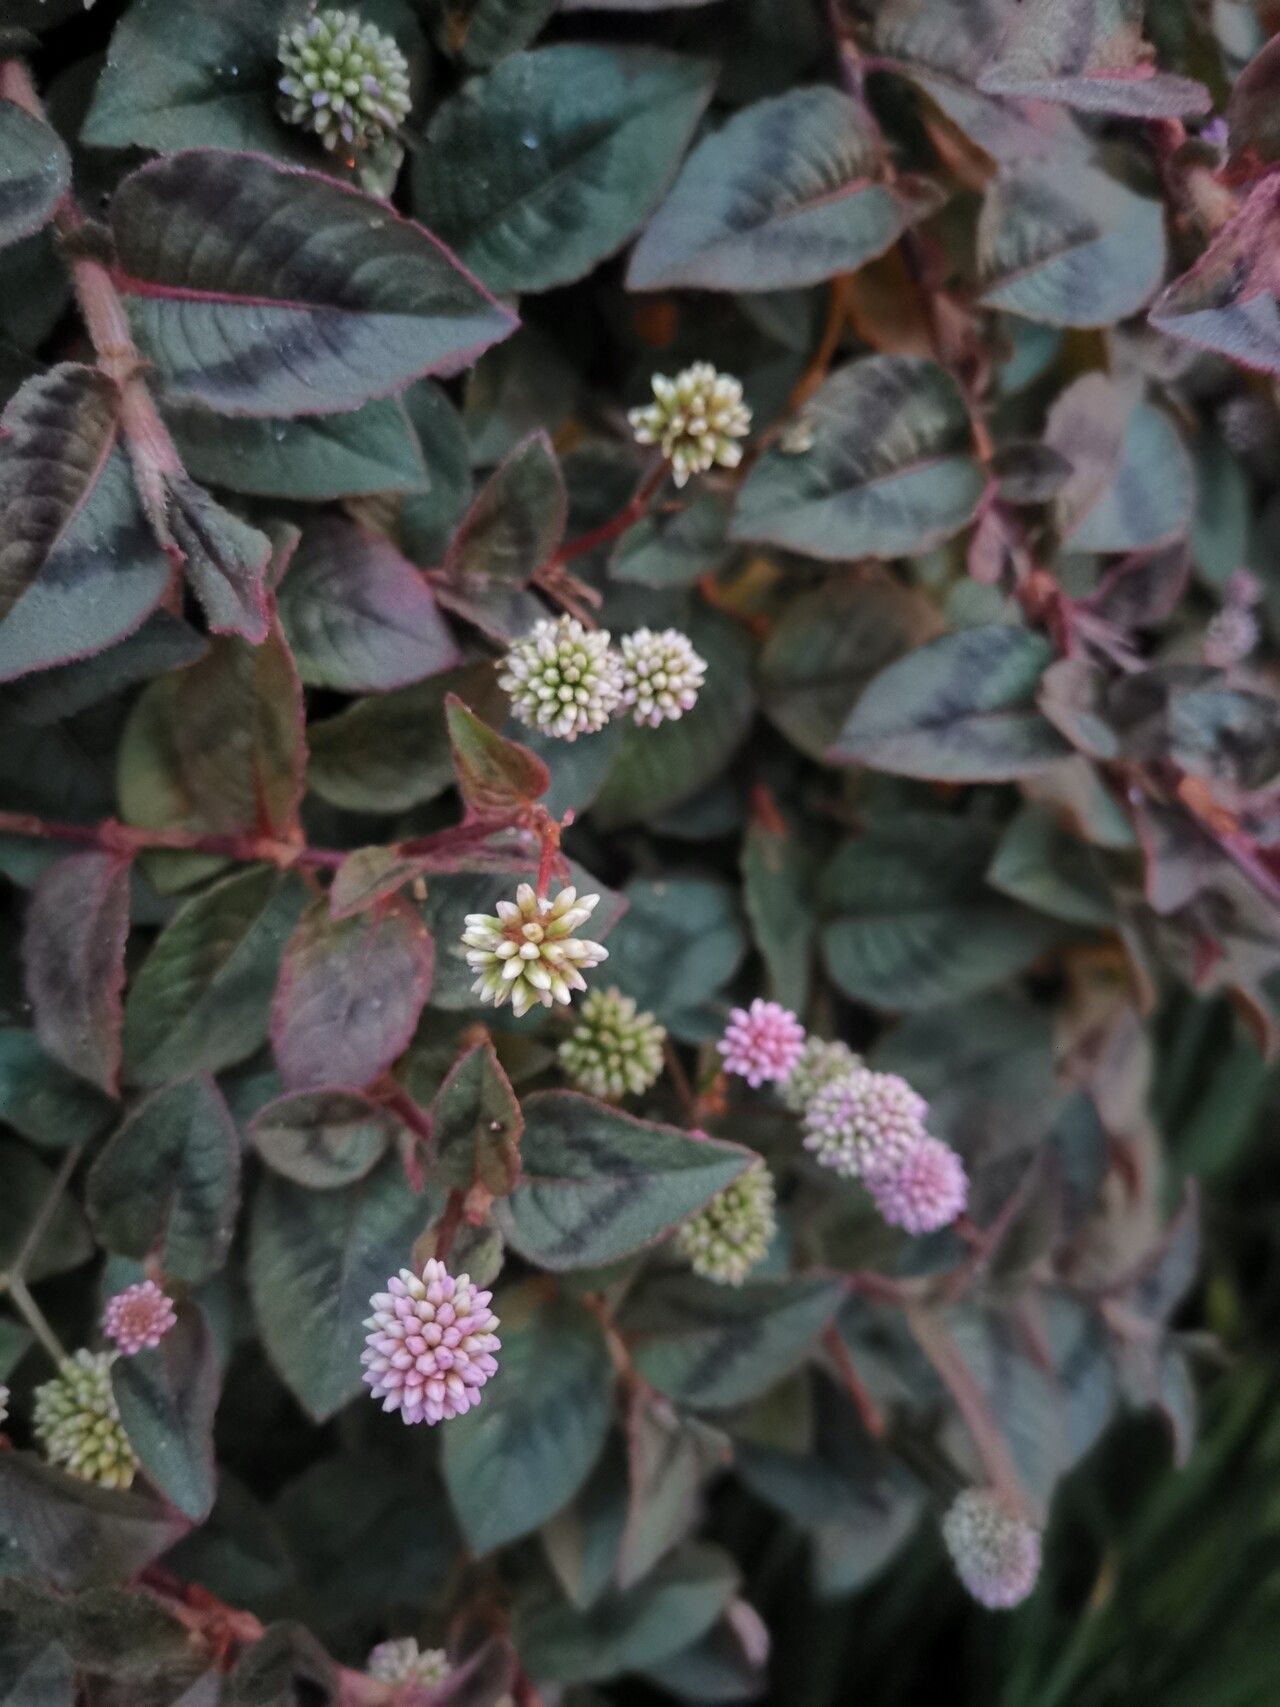
Hello, fellow garden enthusiasts! I’m so excited to talk to you today about a plant that has truly stolen my heart: Persicaria capitata, also known as creeping knotweed or pink clover. This charming groundcover isn’t just a pretty face; it’s remarkably versatile and incredibly rewarding to propagate. If you’re looking to fill in bare patches in your garden, create new container displays, or simply love the satisfaction of growing your own plants, this is a fantastic one to add to your repertoire. And the best part? It’s wonderfully easy, even for beginners!
The Best Time to Start
For the most success with Persicaria capitata, I find that spring or early summer is your golden ticket. This is when the plant is actively growing and has plenty of energy to put into developing new roots. You can also take cuttings in late summer, but you’ll want to ensure they have enough time to establish before cooler weather sets in. Look for healthy, vigorous stems that aren’t flowering just yet.
Supplies You’ll Need
To get started on your propagation journey, you won’t need much. Here’s what I generally have on hand:
- Sharp pruning shears or a clean craft knife: For making clean cuts.
- Rooting hormone (optional but recommended): Helps speed up the rooting process. I like to use a powder or gel.
- A well-draining potting mix: A good blend of perlite, vermiculite, and peat moss is ideal. You can also use a seed-starting mix.
- Small pots or seed trays: For starting your cuttings. Make sure they have drainage holes!
- Plastic bags or a propagator lid: To create a humid environment.
- Watering can or spray bottle: For gentle watering.
Propagation Methods
Persicaria capitata is a master of multiplication, and it’s happy to be multiplied by a few different methods. Here are my favorites:
Stem Cuttings: My Go-To Method
This is my absolute favorite way to propagate Persicaria capitata. It’s quick, effective, and gives you a real sense of accomplishment.
- Take Your Cuttings: Choose a healthy stem that’s at least 3-4 inches long. Using your clean shears or knife, make a cut just below a leaf node. A leaf node is where a leaf attaches to the stem. This is where the magic of root formation usually happens.
- Prepare the Cuttings: Gently remove the lower leaves from your cutting, leaving just the top few leaves attached. This prevents them from rotting in the soil. If your leaves are very large, you can even cut them in half horizontally to reduce water loss.
- Apply Rooting Hormone (Optional): Dip the cut end of the stem into your rooting hormone, tapping off any excess.
- Plant Your Cuttings: Fill your pots or trays with your pre-moistened potting mix. Create a small hole with your finger or a pencil and gently insert the cutting, ensuring the leaf nodes that you removed leaves from are below the soil surface.
- Create Humidity: Water the soil lightly. Then, cover the pots with a clear plastic bag or a propagator lid. This traps moisture and creates the humid environment your cuttings crave. Place them in a bright spot, but out of direct sunlight.
Water Propagation: Watching Them Grow
If you’re a visual person and love seeing roots develop, try this method!
- Gather Cuttings: Follow steps 1 and 2 from the stem cuttings method.
- Place in Water: Find a clean jar or glass and fill it with room temperature water. Place your cuttings in the water, ensuring that the leaf nodes where you removed the leaves are submerged.
- Change Water Regularly: This is key! Change the water every 2-3 days to keep it fresh and prevent the stems from rotting.
- Wait for Roots: You should start to see tiny white roots emerging from the nodes within a couple of weeks. Once the roots are about an inch long, you can pot them up into soil as you would a successful stem cutting.
Division: A Quick and Easy Boost
As your Persicaria capitata matures, it will naturally form clumps. Dividing these clumps is a fantastic way to get instant, established plants.
- Gently Excavate: In the spring or fall, carefully dig up a mature clump of your Persicaria capitata.
- Separate the Roots: Gently tease apart the roots with your fingers or use a clean spade if the clump is large. You’re aiming to separate it into smaller sections, each with healthy roots and some leafy growth.
- Replant: Replant these divisions directly into your garden beds or into pots with fresh potting mix. Water them well and they will quickly establish.
The “Secret Sauce” (Pro Tips)
Over the years, I’ve learned a few tricks that make a big difference.
- The “Bottom Heat” Trick: For stem cuttings, placing the pots on a heated propagator mat can significantly speed up root development. It mimics the warmth of spring soil and encourages those roots to get going.
- Don’t Drown Your Stems: When using the water propagation method, make sure the leaves themselves are not submerged in the water. Only the stem and the submerged nodes should be in contact with the water. This really helps prevent rot.
- Patience with the Potting Mix: When potting up your rooted cuttings, I find that using a very light, airy mix is best. It encourages those delicate new roots to spread out without feeling suffocated.
Aftercare & Troubleshooting
Once your cuttings have developed a good root system (you might even see new leaves appearing!), it’s time to transition them to a slightly less humid environment.
- Gradual Acclimation: Slowly reduce the humidity over a week or two. This might mean opening the plastic bag a little wider each day, or removing the propagator lid for longer periods.
- Watering: Once potted, water them well, then allow the top inch of soil to dry out between waterings. Overwatering is one of the most common pitfalls, leading to mushy stems and eventually, rot.
- Signs of Trouble: If your cuttings turn yellow and limp, it could be a sign of overwatering or not enough light. If they become mushy and dark at the cut end, that’s a clear indication of rot, usually from too much moisture and poor air circulation. Don’t be discouraged if a few don’t make it – it happens to all of us! Just try again.
A Little Patience, A Lot of Joy
Propagating Persicaria capitata is such a simple yet incredibly satisfying process. It’s a wonderful way to connect with your plants and enjoy the magic of growth. Be patient with the process, don’t be afraid to experiment, and most importantly, have fun! Soon you’ll have a whole army of these delightful plants ready to beautify your garden. Happy propagating!
Resource: