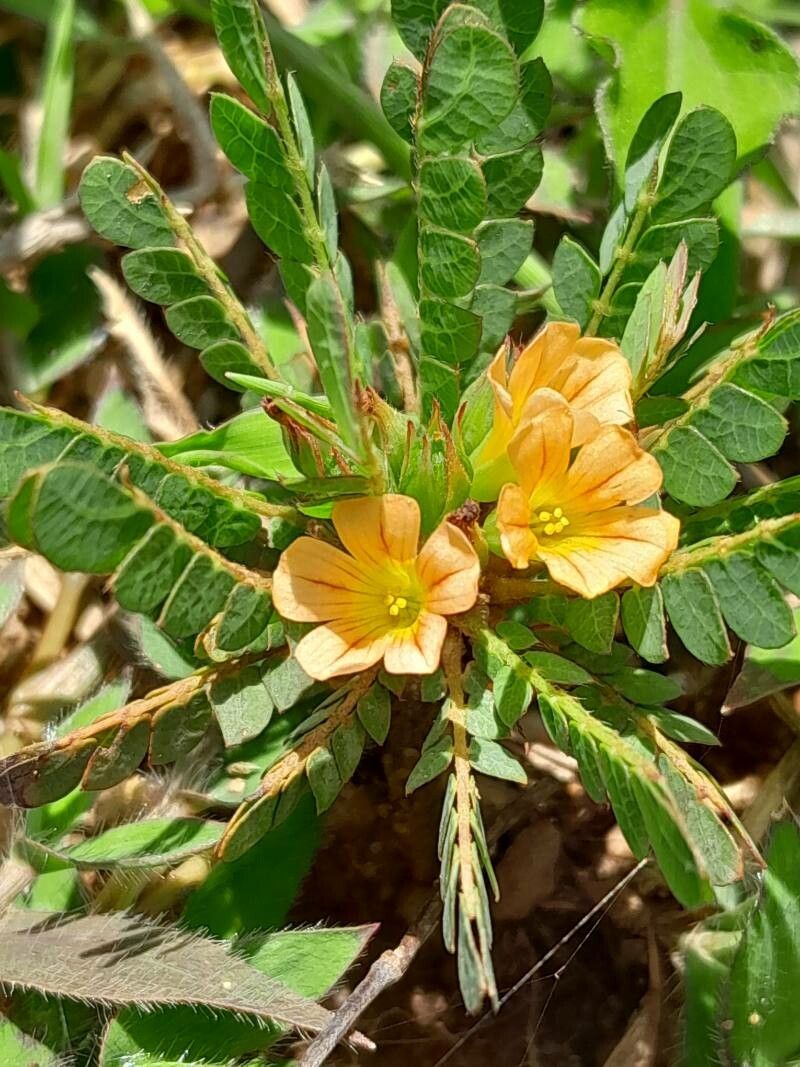
Oh, hello there! So glad you could join me for a chat about one of my absolute favorite houseplants: Biophytum umbraculum. You might know it as the “Little Tree Plant” or the “Life Plant,” and honestly, these names hint at its charming nature. Its delicate, umbrella-like leaves that fold up at night are simply captivating. And the best part? It’s surprisingly rewarding to grow more of these beauties from your own existing plants. It’s not a finicky diva, but it does appreciate a little know-how.
The Best Time to Start
For the highest success rate, I always recommend propagating your Biophytum in late spring or early summer. This is when the plant is actively growing and has plenty of energy to put into new roots. You can certainly try at other times, but you’ll find the growth a little more sluggish. Look for healthy, vigorous growth on your established plant as your cue.
Supplies You’ll Need
Gathering your supplies beforehand makes the whole process so much smoother. Here’s what I usually have on hand:
- Sharp, clean pruning shears or a sharp knife: A clean cut is crucial to prevent disease.
- Well-draining potting mix: A good blend for us is one part seedling starter mix, one part perlite, and one part coco coir. This offers aeration and moisture retention without getting waterlogged.
- Small pots or propagation trays: Anything from tiny nursery pots to old yogurt cups with drainage holes will do.
- Rooting hormone (optional but recommended): This can give your cuttings an extra boost. I prefer a powdered hormone.
- Clear plastic bags or a propagation dome: To create a humid environment for your cuttings.
- Water spray bottle: For keeping things moist.
Propagation Methods
While Biophytum umbraculum can also be grown from seed, I find stem cuttings to be the most straightforward and quickest method for home propagation.
- Select Your Cutting: Look for a healthy stem on your well-established plant that is at least 3-4 inches long and has at least two sets of leaves. Avoid any stems that look leggy or weak.
- Make the Cut: Using your sharp shears or knife, make a clean cut just below a leaf node (where a leaf attaches to the stem). This is where new roots are most likely to form.
- Prepare the Cutting: Gently remove the bottom leaves from the cutting, leaving just a couple of sets of leaves at the top. If your cutting is very long, you can even trim it down to encourage bushier growth later.
- Apply Rooting Hormone (Optional): If you’re using rooting hormone, dip the cut end of the stem into the powder. Tap off any excess.
- Plant Your Cutting: Fill your small pots or trays with your pre-moistened potting mix. Make a small hole in the center of the mix with your finger or a pencil. Insert the cut end of your Biophytum stem into the hole, pushing it down about an inch or so. Gently firm the mix around the base of the cutting.
- Create a Humid Environment: Water the potting mix lightly. Then, cover the pot with a clear plastic bag or place it under a propagation dome. This traps humidity, which is essential for cuttings to root. If you’re using a plastic bag, you might want to prop it up with a small stake or a couple of pencils so it doesn’t touch the leaves.
The “Secret Sauce” (Pro Tips)
Little details can make all the difference, can’t they? Here are a couple of things I’ve learned over the years that really help with Biophytum propagation:
- Bottom Heat is Your Friend: Biophytum roots best when its base is warm. Placing your pots on a heat mat designed for seedlings can dramatically speed up the rooting process. It’s not strictly essential, but it’s a game-changer, especially if your home is on the cooler side.
- Gentle Airflow is Key: While you want humidity, you don’t want stagnant, damp air, which can encourage rot. Once a day, lift the plastic bag or open your propagation dome for about 15-30 minutes to allow for some fresh air exchange. You won’t believe the difference this makes.
Aftercare & Troubleshooting
Once your cuttings are planted, keep the potting mix consistently moist but not soggy. Think of it like a wrung-out sponge. Place them in a spot with bright, indirect light. Avoid direct sun, which can scorch the delicate cuttings.
You’ll know your cutting is rooting when you see new growth emerging from the top. This can take anywhere from 3 to 8 weeks, so patience is a virtue here! You can also give a gentle tug on the cutting; if there’s resistance, roots have formed.
The most common issue you might encounter is rot. If you see the stem turning mushy and black, it’s a sign of too much moisture and possibly poor air circulation. In this case, sadly, that cutting is likely lost. It’s better to err on the side of slightly too dry than too wet. If you notice signs of mold, increase airflow and be sure to remove any affected parts immediately.
A Little Encouragement to Grow
Propagating Biophytum umbraculum is a wonderful way to share the joy of this unique plant. Don’t be discouraged if your first attempt doesn’t yield a forest of new plants. Gardening is always an experiment, and each success, no matter how small, is a triumph. Enjoy the process, learn as you go, and soon you’ll have little trees aplenty to admire and share! Happy growing!
Resource:
https://identify.plantnet.org/k-world-flora/species/Biophytum%20umbraculum%20Welw./data