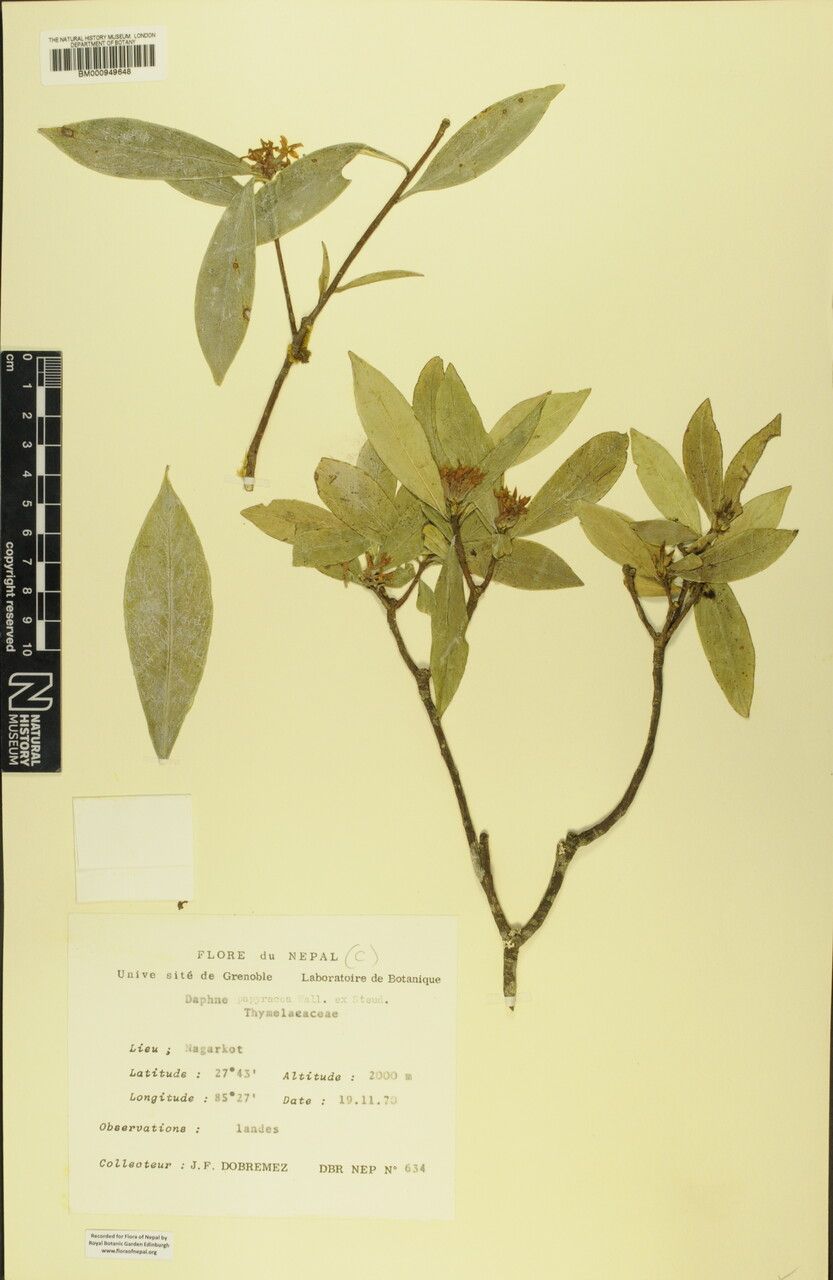
Oh, Daphne papyracea! What a delightful plant to talk about. If you’ve ever had the pleasure of breathing in its intoxicatingly sweet fragrance, you know exactly why I’m so drawn to it. The clusters of delicate, often fragrant, white or pink flowers that appear in winter can truly be a beacon of beauty when everything else in the garden is resting. And the best part? Sharing that beauty by propagating them is incredibly rewarding.
Now, I’m not going to sugarcoat it – Daphne papyracea can be a little fussy. It’s not typically the first plant I’d recommend to absolute beginners, but with a little patience and attention to detail, it’s certainly achievable!
The Best Time to Start
For Daphne papyracea, the sweet spot for propagation is usually late spring to early summer. This is when the plant is actively growing, and the new shoots are semi-hardwood – not too soft and floppy, and not too woody. You’re looking for stems that snap cleanly when bent, rather than just bending limply.
Supplies You’ll Need
Gathering your supplies beforehand makes the whole process so much smoother. Here’s what I always have on hand:
- Clean, sharp pruning shears or a sharp knife: For taking clean cuts, which is crucial.
- Rooting hormone powder or gel: This really gives your cuttings a boost.
- A well-draining potting mix: I like a mix of equal parts perlite and peat moss, or a good quality potting mix amended with extra perlite. You want to avoid anything that stays soggy.
- Small pots or propagation trays: Clean, sterilized pots are a must to prevent disease.
- A plastic bag or humidity dome: To create a mini-greenhouse effect for your cuttings.
- Soft water or rainwater: If your tap water is very hard, using filtered or rainwater can be beneficial.
Propagation Methods
While Daphne papyracea can be grown from seed, it’s notoriously difficult and often results in plants that don’t come true to the parent. So, we’ll focus on stem cuttings, which is my go-to method.
-
Take Your Cuttings: When you’ve identified the perfect semi-hardwood growth, select healthy, disease-free stems. Make a clean cut just below a leaf node (the point where a leaf attaches to the stem). Aim for cuttings that are about 4-6 inches long. Gently remove the lower leaves, leaving just a few at the top to help with photosynthesis.
-
Apply Rooting Hormone: Dip the cut end of each cutting into your rooting hormone, tapping off any excess. This step significantly increases the chances of successful rooting.
-
Plant Your Cuttings: Fill your small pots with your well-draining mix. Make a small hole in the center with a pencil or your finger. Insert the cutting into the hole, ensuring the rooting hormone coated part is in the soil. Gently firm the soil around the base of the cutting.
-
Create a Humid Environment: Water the soil thoroughly until it drains from the bottom. Then, cover the pot with a plastic bag (supported by stakes so it doesn’t touch the leaves) or place it under a humidity dome. This traps moisture, which is vital for the cuttings to develop roots before they dry out.
-
Provide Warmth and Light: Place the pots in a bright location out of direct sunlight. Daphne papyracea appreciates consistent warmth, so placing them on a heat mat can really speed up the rooting process.
The “Secret Sauce” (Pro Tips)
Here are a few things I’ve learned over the years that make a real difference:
- Don’t Let Leaves Touch the Water (if you ever try water propagation): While stem cuttings in soil are my preference, if you’re tempted to try water propagation, make sure the fallen leaves never touch the water. They just become a breeding ground for decay and will rot your cuttings before they can root.
- Bottom Heat is Your Friend: As I mentioned, a heat mat is a game-changer! It encourages root development from the bottom up, which is exactly what you want. It mimics the warm soil Daphne loves in its natural habitat.
- Gentle Moisture, Not Soggy: Daphne roots hate sitting in wet soil. When you water, water well, but then let the surface of the soil dry out slightly between waterings. It’s better to be a touch dry than too wet.
Aftercare & Troubleshooting
Once your cuttings have been in their humid environment for several weeks, gently tug on one. If you feel resistance, it’s a good sign roots have formed! You can then carefully transplant your new baby Daphne into its own slightly larger pot with a good potting mix.
In the beginning, keep them in bright, indirect light and continue to maintain consistent moisture. Don’t be alarmed if a leaf or two yellows and drops; it’s normal.
The biggest enemy here is rot. If you see your cuttings going mushy at the base, or developing black spots and falling over, it’s usually a sign of too much moisture and not enough air circulation. If you catch it early, you might be able to salvage a cutting by trimming away the bad part and replanting it in fresh, dry soil, but often it’s a tough one to recover from.
A Encouraging Closing
Propagating Daphne papyracea is a journey, not a race. There will be times when it feels like nothing is happening, and you might even lose a cutting or two. That’s okay; it’s all part of the learning process for all of us gardeners. Be patient, celebrate the small victories, and most importantly, enjoy the process of bringing more of that exquisite fragrance into your life. Happy gardening!
Resource:
https://identify.plantnet.org/k-world-flora/species/Daphne%20papyracea%20Wall.%20ex%20G.Don/data