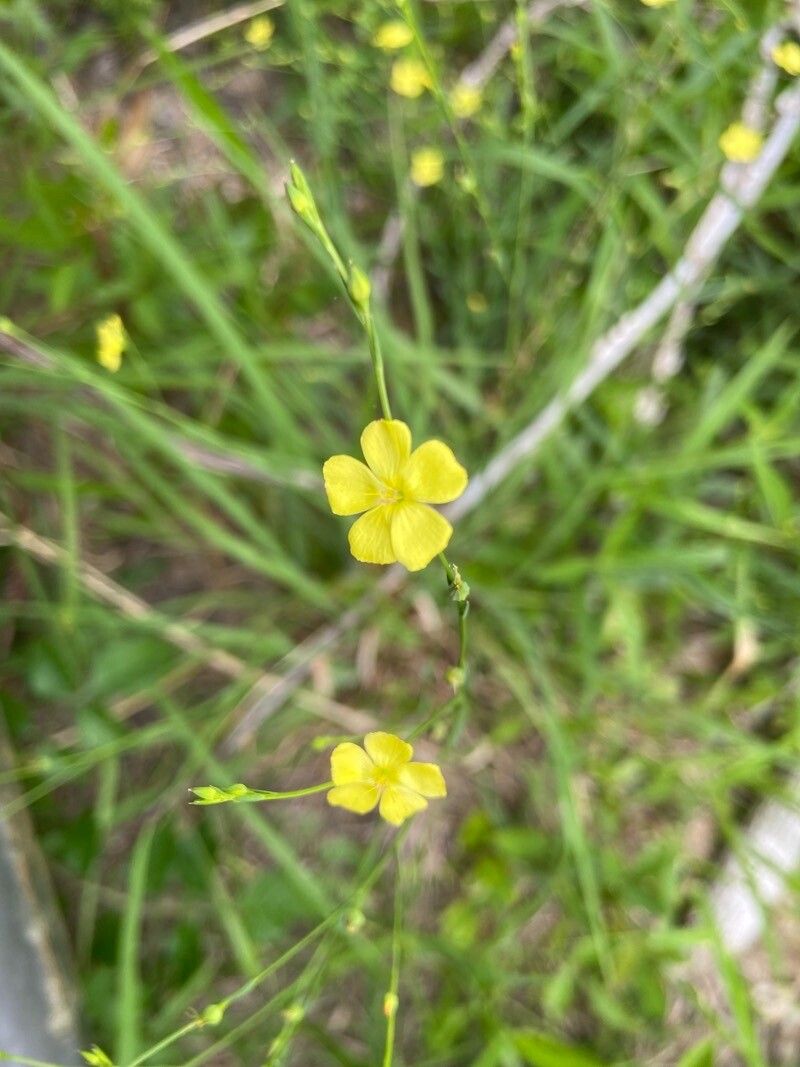
Hey there, fellow plant enthusiasts! I’m so excited to chat with you today about a truly charming little bloom: Linum medium, or as many of us affectionately call it, slender flax. If you’ve ever admired its delicate, sky-blue flowers dancing in the breeze, you know exactly why it’s a garden favorite. And the best part? Growing more of these beauties yourself is incredibly rewarding. For beginners? I’d say propagating flax is a pretty accessible and satisfying project. You don’t need to be a seasoned pro to get started!
The Best Time to Start
When it comes to giving your slender flax the best chance to thrive, late spring to early summer is your sweet spot. This is when the plant is in its active growth phase, full of vigor, and eager to put out new shoots. Starting a little before it really hits its stride means you’re working with young, pliable material that’s more receptive to rooting.
Supplies You’ll Need
Gathering your tools beforehand makes the whole process so much smoother. Here’s what I like to have on hand:
- Sharp, clean pruning shears or a razor blade. A clean cut is crucial.
- A good quality seed-starting mix or a light, well-draining potting mix. Some perlite mixed in can work wonders.
- A rooting hormone (optional, but can give you a helpful boost). I prefer the liquid or gel forms.
- Small pots or propagation trays with drainage holes.
- A clear plastic bag or a propagation dome to create a humid environment.
- A spray bottle filled with clean water for misting.
- A marker to label your new plants!
Propagation Methods
Slender flax is quite adaptable, and I’ve had great success with a couple of methods. Let’s dive in!
1. Stem Cuttings: This is my go-to for Linum medium.
- First, select healthy, non-flowering stems from your mature plant. Look for stems that are about 4-6 inches long and feel firm but not woody.
- Using your sharp pruners or razor, take cuttings just below a leaf node. This is where roots are most likely to form.
- Gently remove the lower leaves from the cutting, leaving just a few at the top. This prevents them from rotting in the soil.
- If you’re using rooting hormone, dip the cut end into the hormone powder or liquid. Give it a light tap to shake off any excess.
- Fill your small pots or trays with your prepared soil mix. Make a small hole with your finger or a pencil.
- Insert the cut end of the flax stem into the hole, ensuring the nodes where you removed the leaves are below the soil surface. Gently firm the soil around the cutting.
- Water the soil gently to settle it around the cutting.
- Cover the pot with a clear plastic bag or propagation dome to maintain high humidity. You can prop up the bag with a skewer if it touches the leaves.
- Place the pots in a bright spot but out of direct, harsh sunlight.
2. Water Propagation (for the impatient!): While stem cuttings in soil are my preference for long-term success, you can sometimes get a head start with water.
- Follow the same steps as above for taking cuttings, but skip the rooting hormone.
- Instead, place the cuttings in a jar or glass of clean water. Make sure the leaf nodes you removed are submerged, but crucially, ensure no leaves are touching the water.
- Change the water every few days to keep it fresh.
- Place the jar in bright, indirect light.
- You should start to see tiny white roots emerging within a couple of weeks. Once the roots are about an inch long, you can carefully transplant them into pots filled with soil, treating them like newly rooted cuttings.
The “Secret Sauce” (Pro Tips)
Here are a few little tricks that I’ve learned over the years that can really boost your success rates:
- Bottom Heat is Your Friend: If you can, pop your pots onto a gentle heat mat. This little bit of warmth from below encourages root development without scorching the fragile stems. It’s like giving them a cozy little hug down below!
- Don’t Drown Them! When watering your cuttings, always go for a gentle watering. Overwatering is the fastest way to invite rot. The soil should be consistently moist but never soggy. Think damp sponge, not swimming pool.
- Patience is a Virtue, My Friends: I know it’s tempting to keep peeking and prodding, but resist the urge to pull on your cuttings to check for roots too early. You might damage the delicate new growth. Give them at least 3-4 weeks before you gently tug.
Aftercare & Troubleshooting
Once you start to see new leafy growth emerging from your cuttings, that’s a fantastic sign! It means roots are forming.
- Gradually acclimate your new plants to lower humidity by slowly opening up the plastic bag or propagation dome over a week or so.
- Continue to water them consistently, allowing the top inch of soil to dry out slightly between waterings.
- As they grow, you might need to pot them up into larger containers.
The most common issue you’ll face is rot. If you notice your cuttings turning black and mushy, it’s usually a sign of too much moisture and not enough air circulation. If this happens, you may need to discard the affected cuttings and start again, ensuring better drainage and less watering next time. Sometimes, a cutting just doesn’t take, and that’s okay! It’s all part of the learning process.
A Encouraging Closing
So there you have it! Propagating Linum medium is a wonderfully achievable way to fill your garden with more of those cheerful blue blooms. Be patient with your little cuttings, celebrate every sign of new growth, and most importantly, enjoy the magic of growing plants from scratch. Happy propagating!
Resource:
https://identify.plantnet.org/k-world-flora/species/Linum%20medium%20(Planch.)%20Britton/data